Lets start by writing an application to Flash the LED on the
Xplained Mini board. We will use a delay loop with a
NOP instruction
inside a large counter and pulse the LED with about a 1% duty cycle. The code for
low_power_101 is shown
here.#include<avr/io.h>void delay (uint16_t length){// Simple delay loopfor(uint16_t i=0; i<length; i++){for(uint8_t j=0; j<255; j++){asmvolatile("nop");}}}intmain(void){// PORTB5 to output
DDRB =(1<<5);// Do forever:while(1){// PORTB5 on
PORTB =(1<<5);// Short delaydelay(50);// PORB5 off
PORTB =0x00;// Long delaydelay(5000);}}Important: For this example set
the optimisation level to None (-O0) in the project options under Toolchain →
AVR/GNU C Compiler → Optimization.
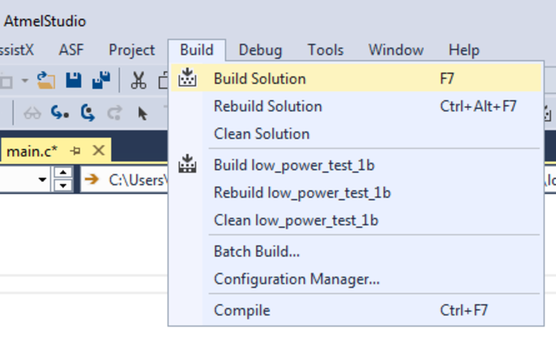
Todo: Build
the project/solution (F7).
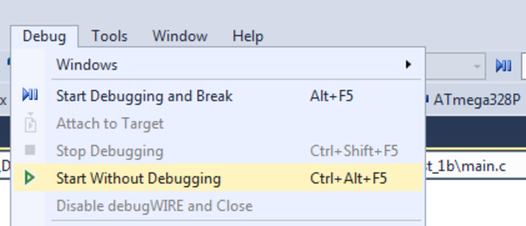
Todo: Program the
application into the target by selecting Start Without Debugging
(Ctrl+Alt+F5).
LED0 on the mEDBG kit should now start to blink.
Info: In
this example we are going to make use of Programming mode only. In most systems
running code through a debugger will not yield accurate current measurements. This
is because the target device’s debug module (OCD) requires a clock source which
cannot be disabled while debugging.
Important: Remember to
disable on-board power on the Xplained Mini.