A typical use of the Terminal module is print-type debugging. A serial interface is used to print debug messages from the target device to the terminal. In the following example an SPI interface will be used but the procedure will be the same for any serial interface.
The target device is an ATmega256RFR2 on an ATmega256RFR2 Xplained Pro kit. As the SPI interface is already wired internally on the board, the only connection needed is the USB cable between the host computer and the Xplained Pro board.
Todo:
- Make a new project in Atmel Studio (File → New → Project → GCC C Executable Project)
- Replace the content of the automatically generated main.c file with the code below
#include <avr/interrupt.h>
#include <avr/sleep.h>
volatile uint8_t led_on;
volatile uint8_t send_message;
volatile uint8_t ticker = 0;
const char* message_on = "LED ON ";
const char* message_off = "LED OFF ";
ISR (INT4_vect)
{
	// Simple debounce
	if (PINE & (1 << 4))
	return;
	// Update LED
	if (led_on)
		PORTB |= (1 << 4);
	else
		PORTB &= ~(1 << 4);
	// Invert led_on
	led_on = ~led_on;
	// Flag a message send
	send_message = 1;
	// Increment ticker
	ticker++;
	// Reset ticker
	if (ticker >= 10)
	ticker = 0;
}
void spi_send (const char data)
{
	PORTB &= ~(1 << PINB0);
	// Send a character to the USART
	SPDR = data;
	// Wait for the character to be sent
	while (!(SPSR & (1 << SPIF)))
	;
	PORTB |= (1 << PINB0);
}
int main(void){
	// PORTB4 to output
	DDRB = (1 << PINB4);
	// LED OFF
	PORTB |= (1 << PINB4);
	led_on = 0;

	// Enable pullup on button pin to avoid floating line
	PORTE |= (1<<PINE4);
	// Enable falling edge interrupt for button pin
	EIMSK = (1 << INT4);
	EICRB = (1 << ISC41);

	// SPI
	// MOSI, SCK and /SS as output
	DDRB |= (1 << PINB2) | (1 << PINB1) | (1 << PINB0);
	// Set /SS high
	PORTB |= (1 << PINB0);
	// Enable SPI, Master, set clock rate fck/16
	SPCR = (1 << SPE) | (1 << MSTR) | (1 << SPR0);

	// Interrupts on
	sei();

	while(1) {
		if(send_message) {
			// Send a message
			const char* pmessage;
			if (led_on)
				pmessage = message_on;
			else
				pmessage = message_off;
			while (*pmessage)
				spi_send(*pmessage++);
			// Send the ticker value
			spi_send(ticker + '0');
			spi_send('\n');
			// Sent
			send_message = 0;
		}
	}
}
The code triggers an interrupt when the switch (SW0) on the Xplained Pro board is pushed and toggles the LED0 at each push. Each time the switch is pushed a message is printed on the SPI interface.
Todo: Build
the project/solution (F7).

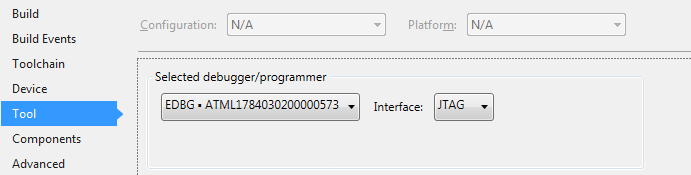
Todo:
- Open the project properties (right click the project in the Solution Explorer and select Properties)
- On the Tool tab, select the appropriate tool and interface
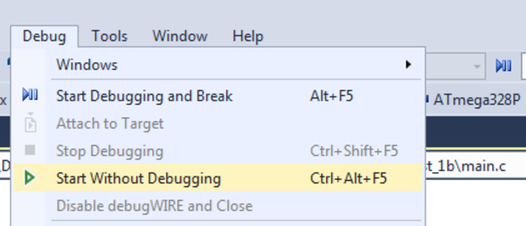
Todo: Program the
application into the target by selecting Start Without Debugging
(Ctrl+Alt+F5).
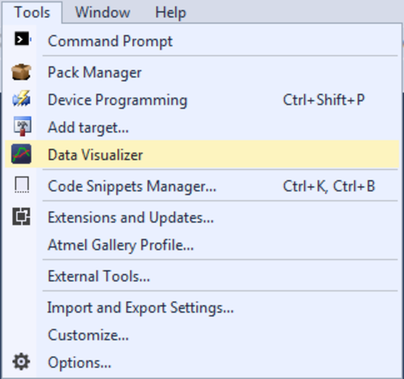
Todo: Open
the Data Visualizer as an extension inside Atmel Studio by selecting it in the
Tools menu.