6.1 Atmel Studio
The following steps describe how to use the output from Atmel START in Atmel Studio.
Exporting the Project from Atmel START
- On the Atmel START website, create a new project (Example or Board).
-
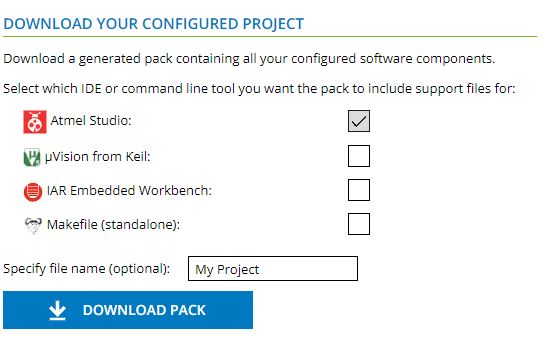
Click on the Export Software Component button. For
exporting project for Atmel Studio and Somonium IDE, select Atmel
Studio.

-
Click on DOWNLOAD PACK.
An ‘atmelstart.atzip’ pack file will be downloaded.
Steps to Import the Atmel START Output into Atmel Studio
- Launch Atmel Studio.
-
Select .

- Browse and select the downloaded ‘atmelstart.atzip’ file.
-
The "Atmel Start Importer" dialog box will open. Enter the project details . Click OK.

A new Atmel Studio project will be created, and the files will be imported.

Generate Doxygen Output
Some projects contain documentation formatted for Doxygen.
-
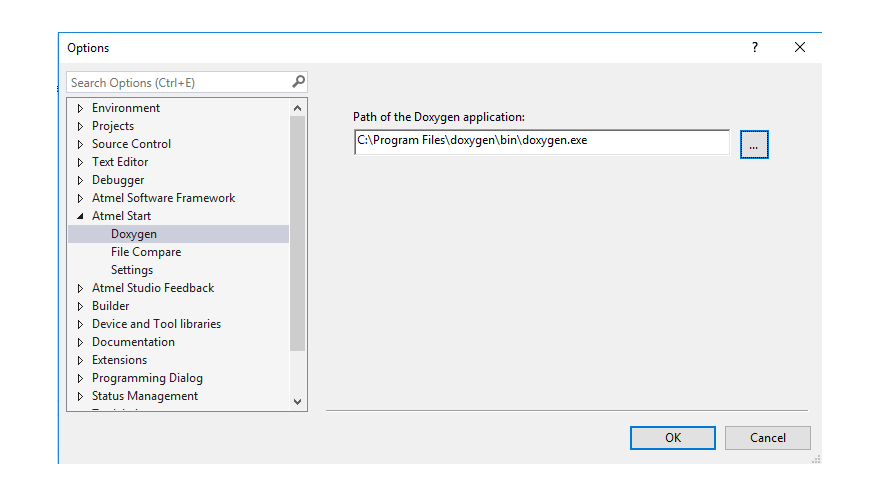
Note: Doxygen must be installed; download it from http://www.doxygen.org. You will be asked to configure Studio to locate Doxygen executable; this defaults to ‘C:\Program Files\doxygen\bin\doxygen.exe’.Click on the Doxygen button to generate documentation.Doxygen will run, and the generated documentation will open in a window.Tip: The generated files can be found under the folder ‘doxygen/generator/html’ and ‘doxygen/generator/xml’. These are not added to the project. There is a separate Doxygen extension for Studio that can be used if more control is needed. It can be found at https://gallery.atmel.com
Steps to Re-Configure the Project using Atmel START
-
Click on the Re-Configure button or right click on
the project node in the Solution Explorer window, and from the menu, select
Re-configure Atmel Start Project.
 Atmel START will open up in a window inside Atmel Studio.
 -
Do changes to the project; click the GENERATE
PROJECT button at the bottom of the Atmel START
window.
 The old configuration will be removed and the new configuration applied.
 -
If there are any modified files, you will get a window with a list of the
modified files. Select which files should be overwritten. Optionally, select
to backup the overwritten files.

Creating New Project using Start
Start can be opened in a window inside Studio to generate a project or load an example project.
-
Select Atmel Start Project or Atmel Start Example Project from the menu.
 A new project is created.
Settings
Settings are accessed from menu .
-
Set location of Doxygen executable.

-
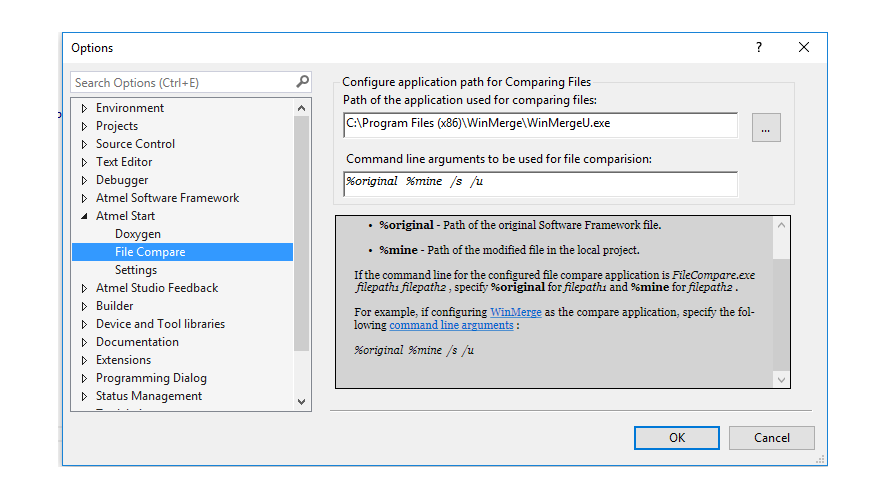
Define tool for file comparison.

-
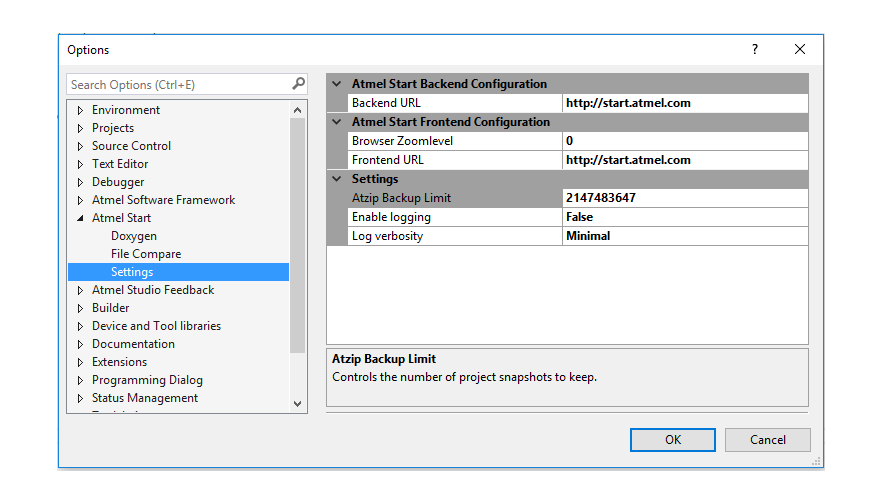
General settings.

Restore Project from Backup
A backup of the project is taken when reconfiguring with Atmel START. Backups are stored in the folder ‘.atmel-start-backup’ under the project folder.
-
Backups of type ‘.atzip’ are opened in Atmel Studio by
using the Atmel Start Importer.
Note: These backups have a bug: If the user has added or renamed files and folders to the backed-up project, these will be removed if the restored backup is reconfigured in Atmel START. If this happens, import the project again and avoid using Atmel START to reconfigure.
-
Backup of type ‘.zip’.
- Unzip to a folder.
- Create a new project in Atmel Studio of type ().
- In Solution Explorer on the right side, select the Solution, right click and select Add Existing Project, browse to the unzipped folder and select the Atmel Studio project file.
