
2 Building AT91Bootstrap Project Using MPLABx
- Open a console and execute the
following command to clone at91bootstrap repository into a directory named
at91bootstrap.X
git clone https://github.com/linux4sam/at91bootstrap at91bootstrap.X - Open at91bootstrap.X directory as project in MPLABx
Configure Compiler
- Open project properties window,
and choose Makefile option to configure the compiler:
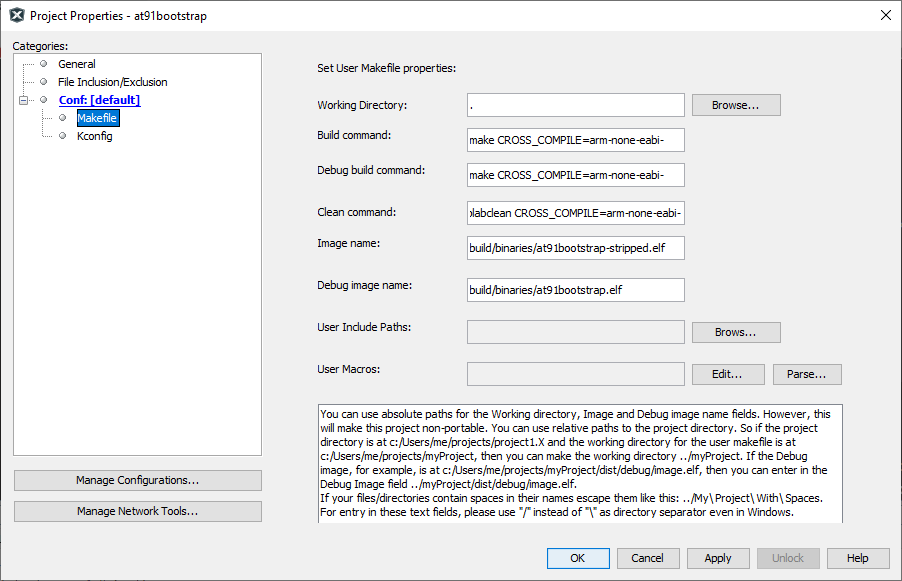
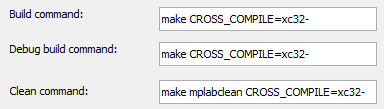
- Default option is configured to
use Arm gcc. To use xc32, replace all instances of arm-none-eabi- to xc32- as
follows
Note: For the build to be successful, the configured compiler
should be available in the system path.
Configure Target
- Open project properties window,
and choose Kconfig option to configure the build target:
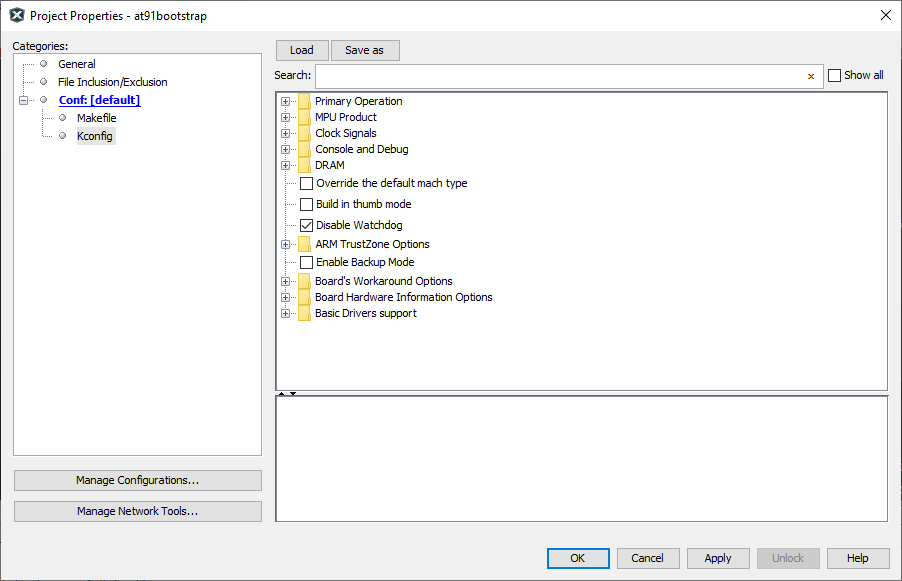
- Click on LOAD button and
navigate to the configs folder inside at91bootstrap.X directory. The user needs
to choose the default configuration file (defconfig) based on what the user
needs the at91boostrap to do
Debug/Run application from within MPLABx
- Load {Curiosity_kit}_bkpt_none_defconfig. For example, on SAM9X75 Curiosity Board, select sam9x75eb_bkptnone_defconfig as the configuration file
- Click on Apply and
OK buttons to configure the project
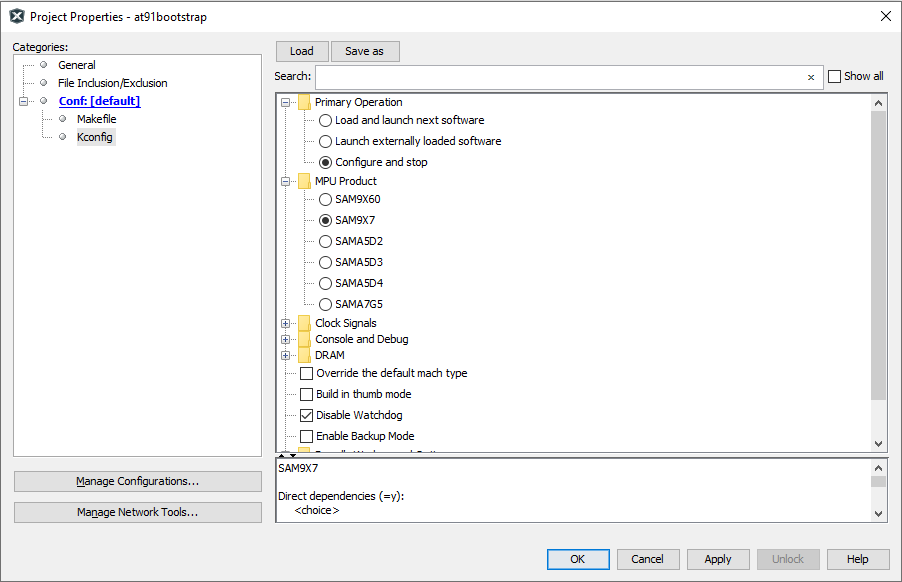
- The user can see that the MPU product is selected as SAM9X7 and the primary operation is selected as Configure and Stop
Load and Run application from an SD card
- Load {Curiosity_kit}sd_uboot_defconfig. For example, on SAM9X75 Curiosity Kit, select sam9x75ebsd_uboot_defconfig as the configuration file
- Click on Apply and
OK buttons to configure the project
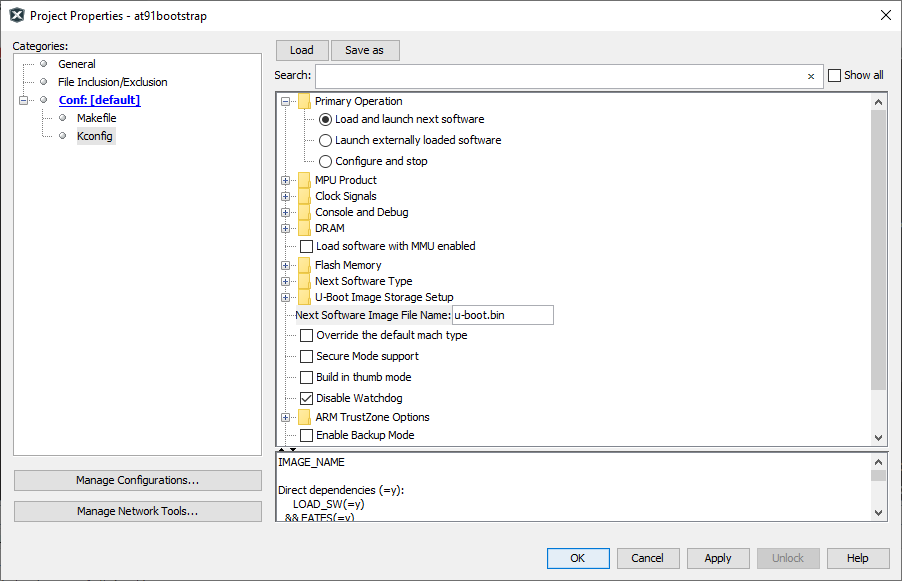
- The user can see that the MPU product is selected as SAM9X7 and the primary operation is selected as Load and launch next software
- Edit the Option Next
Software Image File Name from u-boot.bin to
harmony.bin

Build Target
Once the target configuration is applied in the properties window, the user can build the at91boostrap just as any other MPLABx project. After the build is complete, the user can find the generated binary files under build/binaries directory.