2 Target Setup
The image below illustrates the target setup, including a debug cable and a power cable. The SD card is inserted.
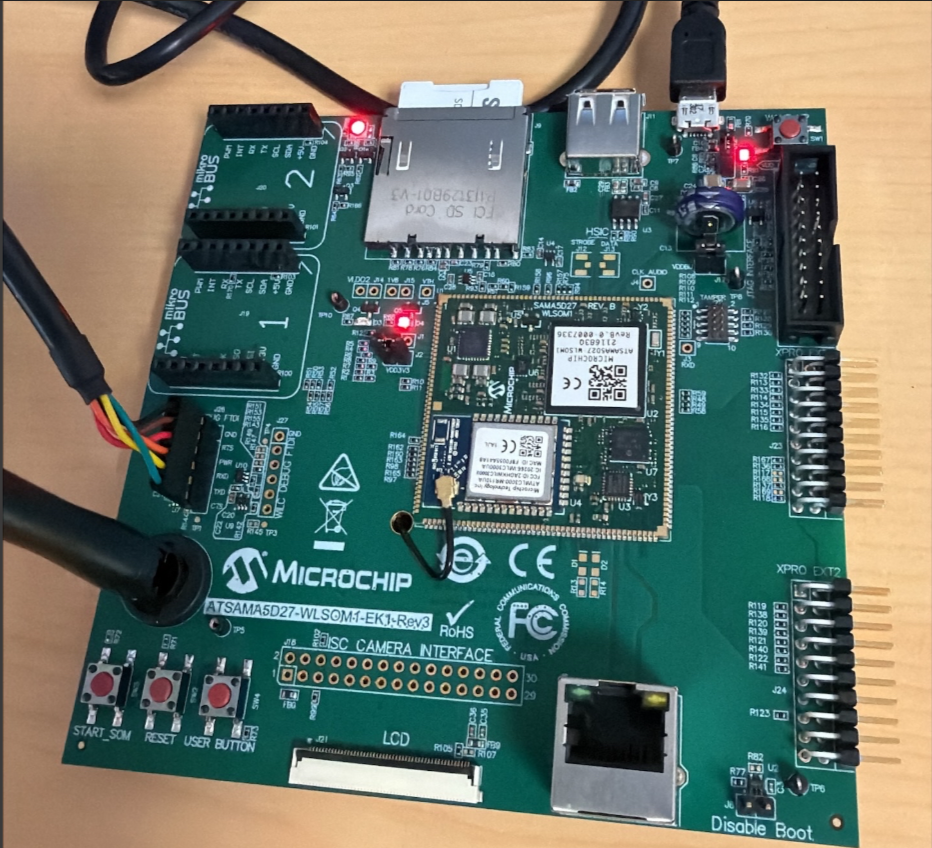
Proceed as follows to set up the target:
- Power on the board.
- Insert the SD card into the target.
- Connect the USB/FTDI serial cable.
- Use the required serial application (minicom
shown here): sudo minicom -s
Figure 2-2. minicom Settings Window 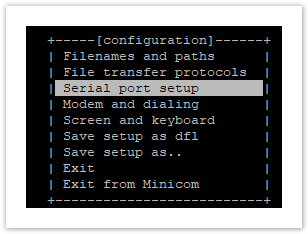
- Select the required options and edit the settings
to successfully open the communication port (/dev/ttyUSB0 in this
example).
Figure 2-3. minicom Configuration Window 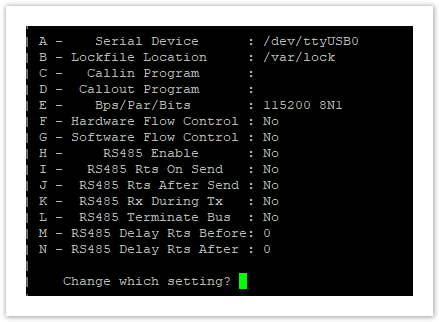
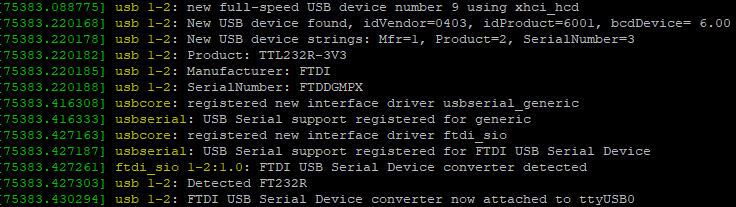
Identifying the Serial Port
On the PC, connect the FTDI cable and identify the serial cable using the sudo dmesg command.
In this case, the device mount is /dev/ttyUSB0.