
1.2.8 Running Demonstration Example
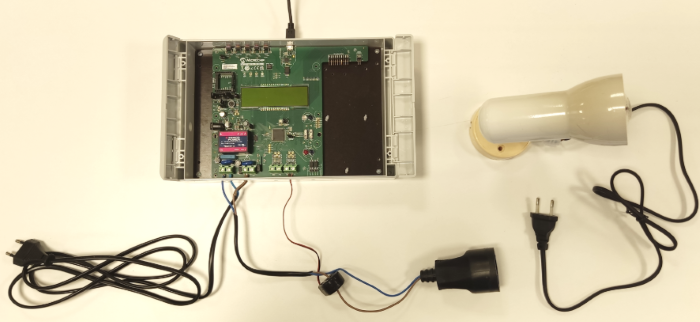
This chapter shows a simple example of use of the Demo Meter Application running on a real environment, measuring from a connected load. The setup is a light bulb connected to a PIC32CXMTSH-DB board through a Current Transformer, as depicted in the following image:
Build the provided example application and Flash it into the evaluation board from MPLAB X IDE.

- A virtual COM port will be detected on the computer, when the USB cable is connected to USB-UART connector.
- Open a standard terminal application on the computer, such as Hyper-terminal or Tera Term, and configure the virtual COM port.
- Set the serial baud rate to 115200 baud in the terminal application.
- See that the initialization prints a command prompt on the serial port terminal.
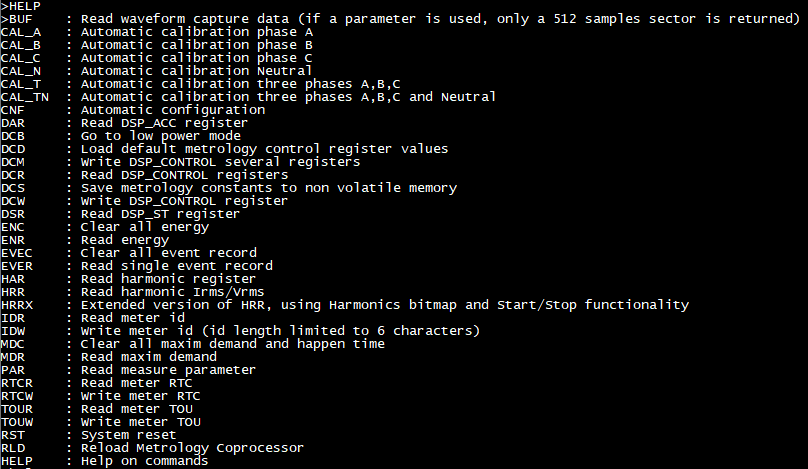
Before reading the measures, let us calibrate the Metrology. To do so, the user will use the Automatic Calibration. For more details on this topic, refer to the Automatic Calibration.


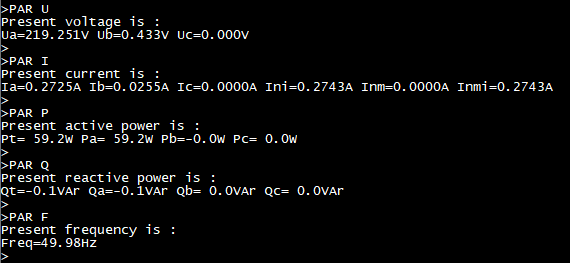
See that the result is the expected (with slight differences, due to being connected to real mains, and not to a stabilized power source).
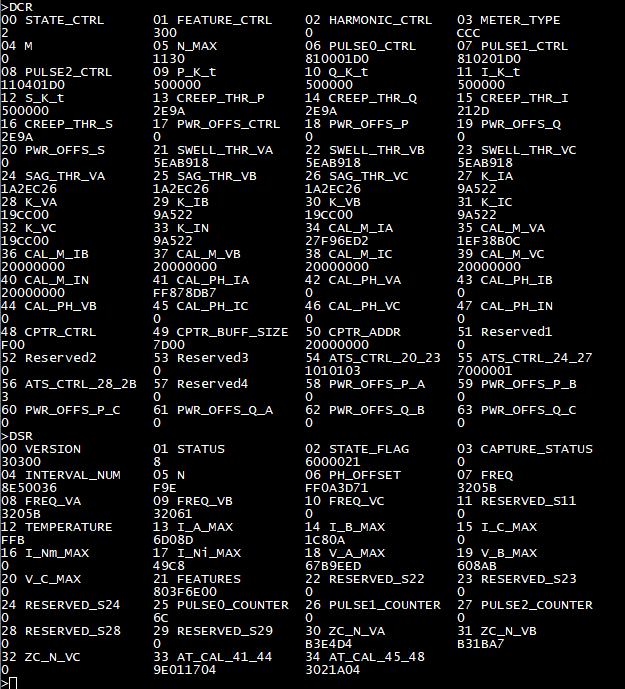
Refer to the “PIC32CXMTx Metrology Reference Guide” (DS50003461) to understand the value of each register.