7.2.1 RFD Project Creation with MAC Component
Create a new MCC Harmony Project. For more details, refer to 2.5 Creating a New MCC Harmony Project.
Once Project graph is getting displayed for the created project, double click on the IEEE 802.15.4 MAC component.
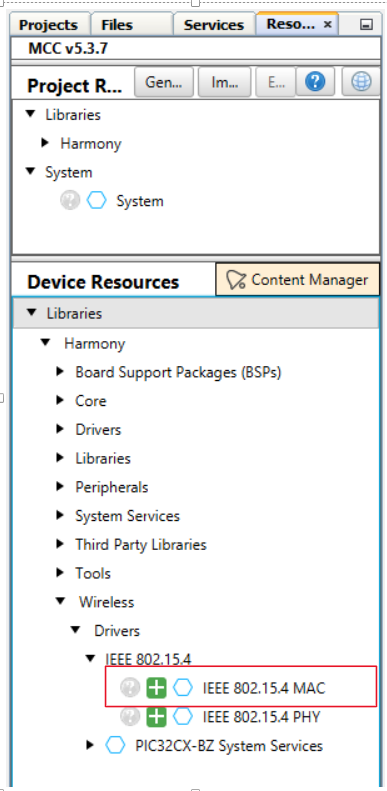
Note: IEEE 802.15.4 PHY and MAC components will appear in Device Resources only if, wireless_15_4_phy and wireless_15_4_mac repo is cloned in MCC framework path
Upon selecting the component, the dependent modules are added to the project and Pop-ups will come. Select “Yes” for all of them.
Right Click on TIME module for selecting the timer source, Select any one of the timer.
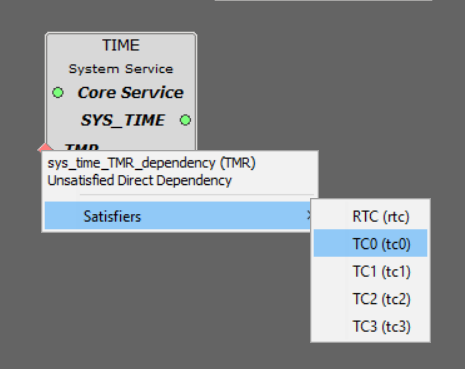
Click on Time Component -> Go to Configuration Options -> Change the Number of Clients 5 to 10 based on software timers (if less than 5 timers no need to change).

Device type selection (Choose RFD) for RFD project generation and If security required choose MAC Security Config as Enabled and click on yes on pop window as security dependency of wolf Crypt Library.
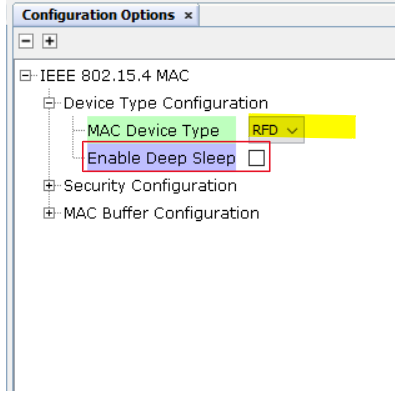
If we select RFD device type it will show Enable Sleep option, so if the option is needed enable Sleep option. If Enabled sleep option, the dependent modules are getting added to the project and Pop-up will come for getting the approval. Select “Yes” for all of them.
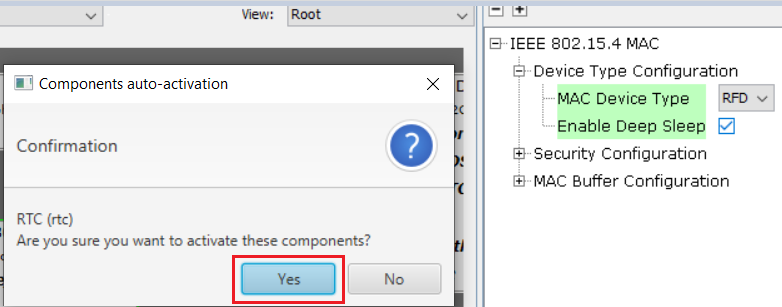
Double click on Device Support in Project Graph tab(it will be highlighted) -> In Configuration Options tab -> Device Support -> Check the Enable PMU Mode Setting -> PMU Mode ->Select PMU_MODE_BUCK_PWM
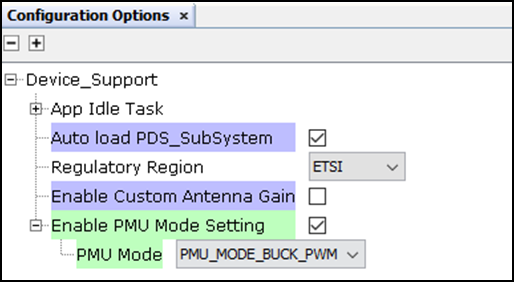
Plugins -> double click on Clock Configuration
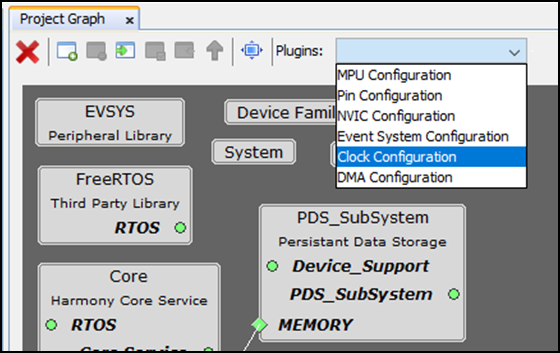
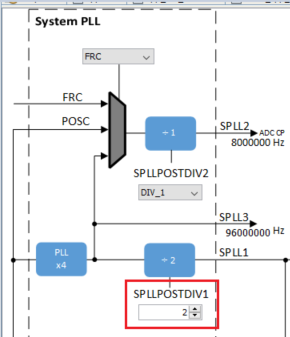
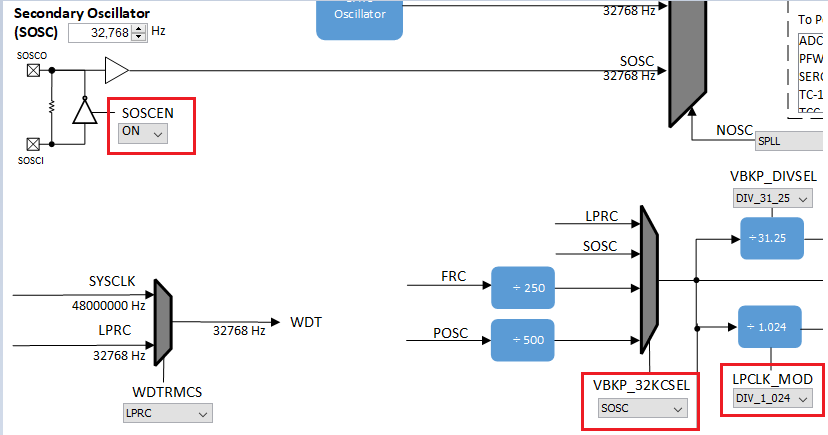
Follow the below images to configure the clocks
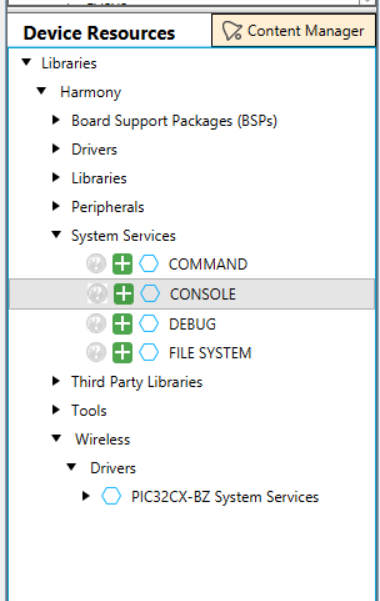
Click on CONSOLE under System Services.
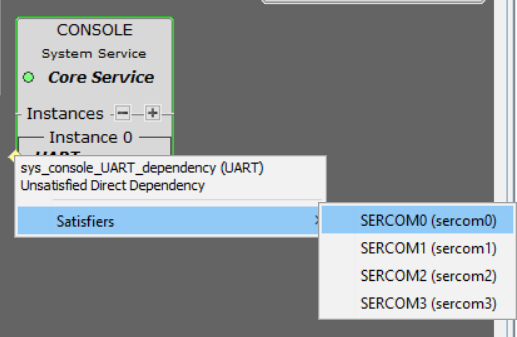
Right click on Console Driver => Go to Satisfiers => Click on SERCOM0(sercom0)
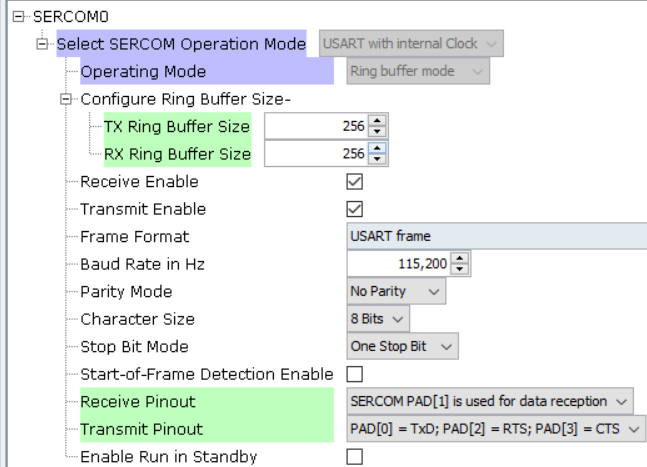
Click on SERCOM 0 => Go to configuration options => Change Receive pinout, Transmit pinout, TX and RX Ring buffer size as 256
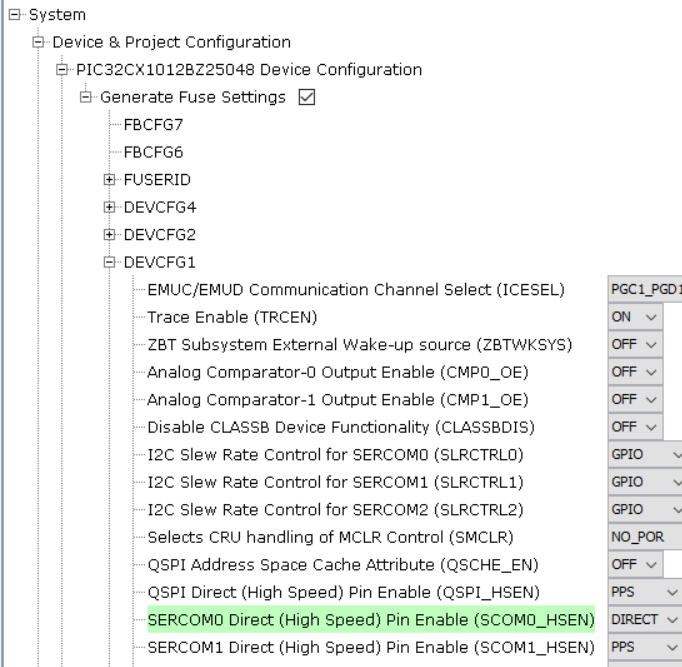
Configure the SERCOM0 system setting to enable the Direct High Speed
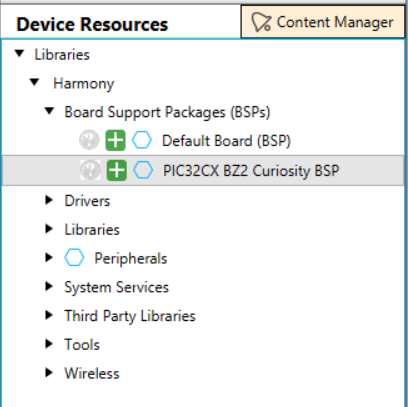
Click On PIC32CX BZ2 Curiosity BSP under Device Resources.
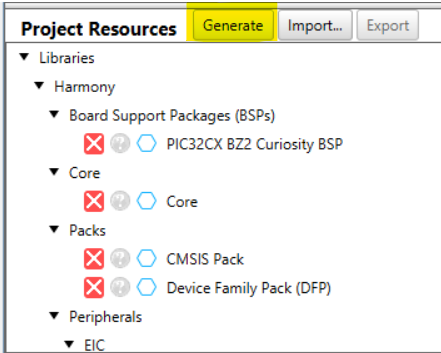
Click on Generate Tab for Code generation. Upon code generation, MAC files will be added to the project.
RTOS task for MAC Layer will be created and WPAN_Init() will be called from SYS_Initialize() function. Change argument of SYS_Load_Cal () function to WSS_ENABLE_ZB in initialization.c file.

Copy the demo_app_rfd folder from Project repository (wireless_apps_pic32cxbz2_wbz45 /apps/ieee_802_15_4 / MAC/ push_pull_mac_app/demoapp_rfd/firmware/src/) into created project folder (../firmware/src/)
Include demoapp rfd folder as corresponding RFD project of Header files.
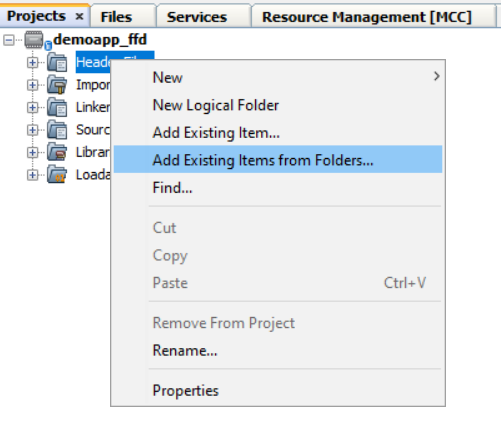
For including demoapp rfd header files in project
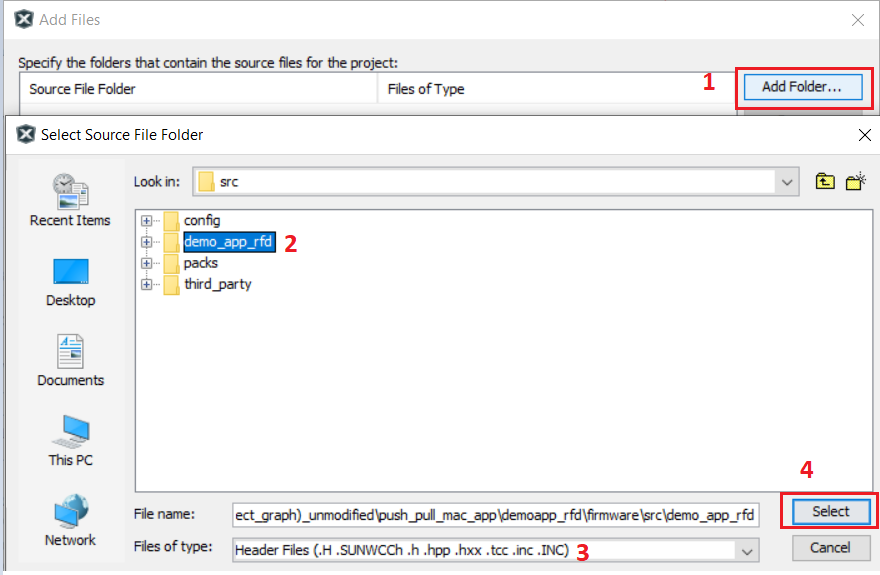
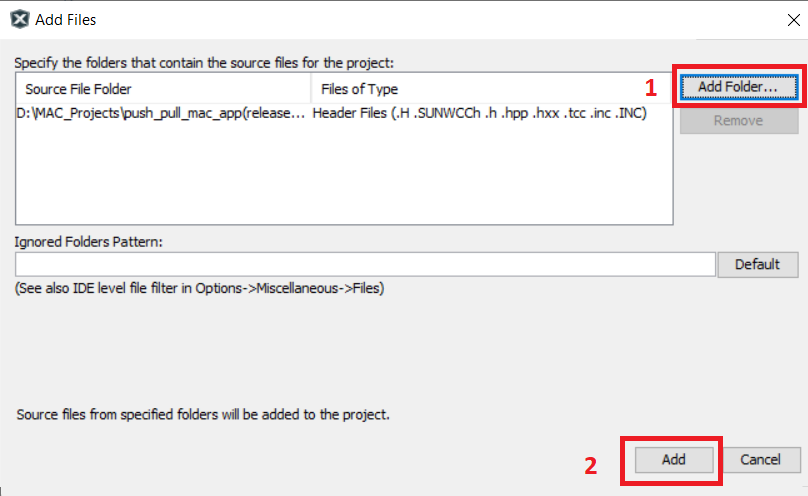
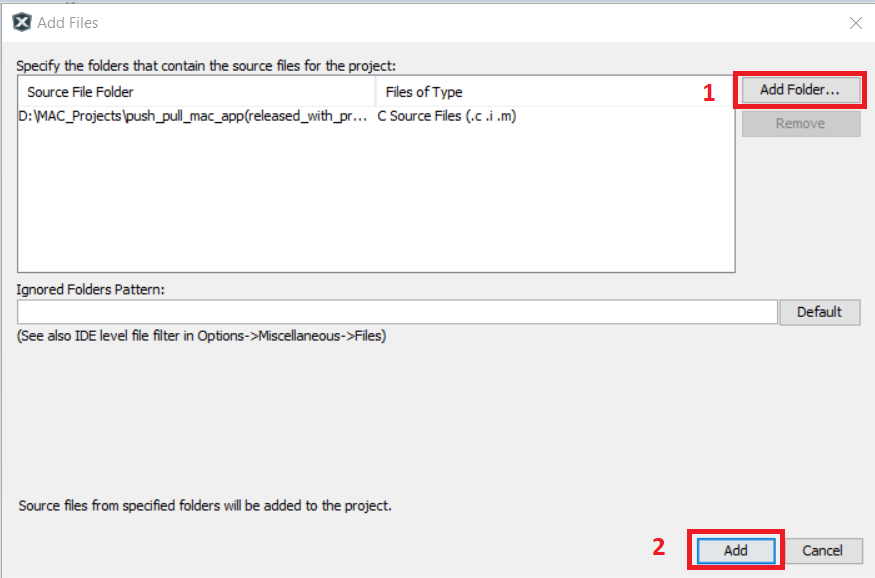
After selecting demoapp rfd folder, it will show as below image. And click on Add.
Include demoapp rfd folder as corresponding RFD project of Source files.
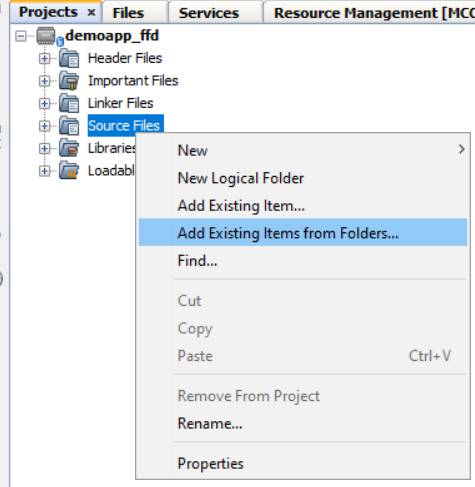
For including demoapp rfd source files in project -
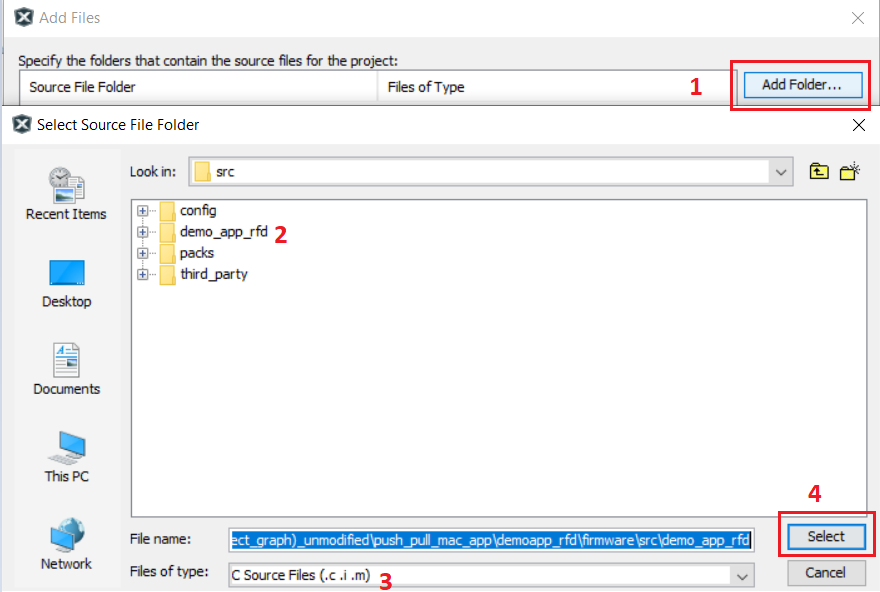
After selecting demoapp rfd folder, it will show as below image now click on Add.
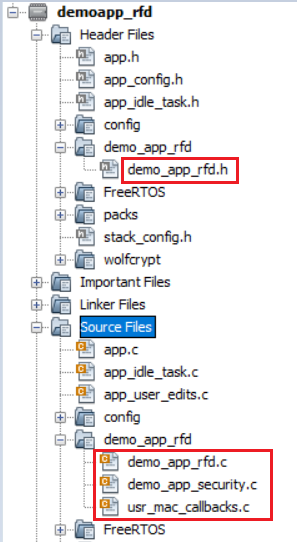
Added Demo no beacon app RFD Application files
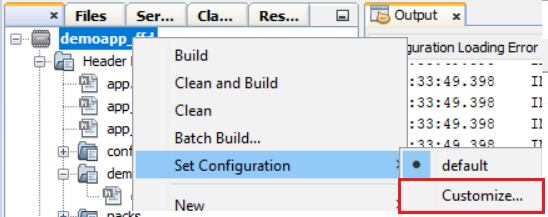
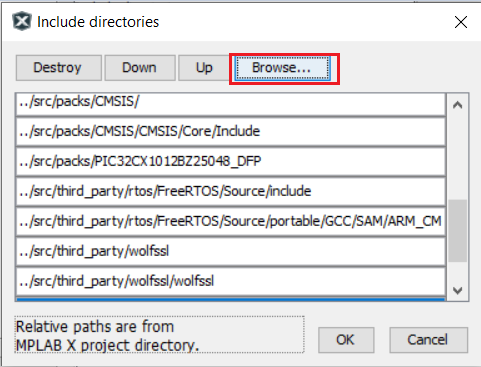
Open Configuration for adding include header files directories.
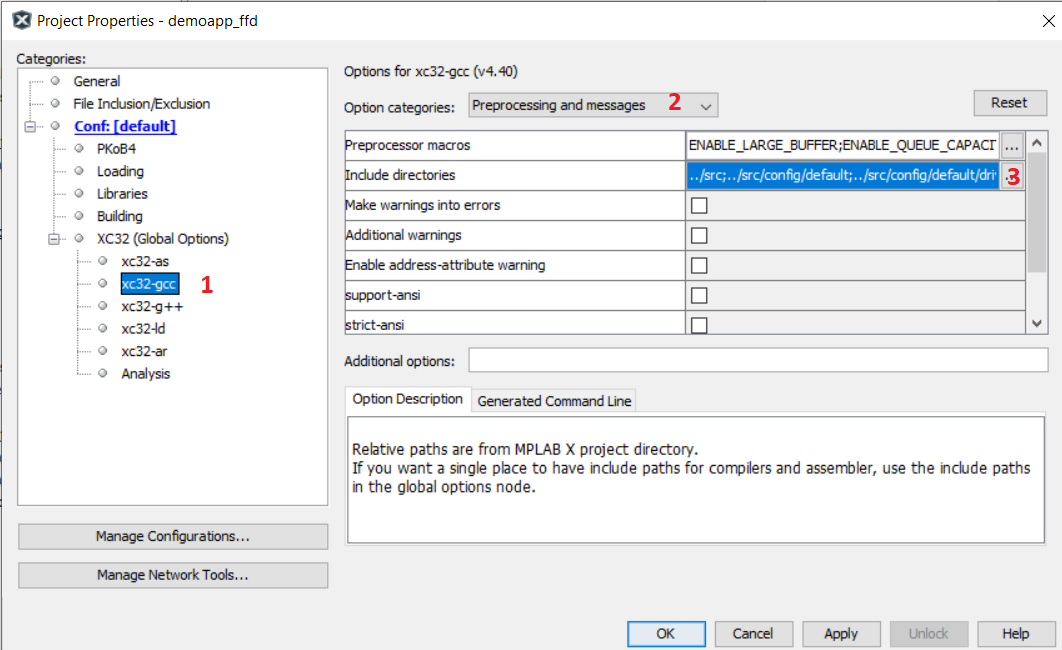
Select XC32-gcc => Select Preprocessing and messages in option categories => Click on Include directories.
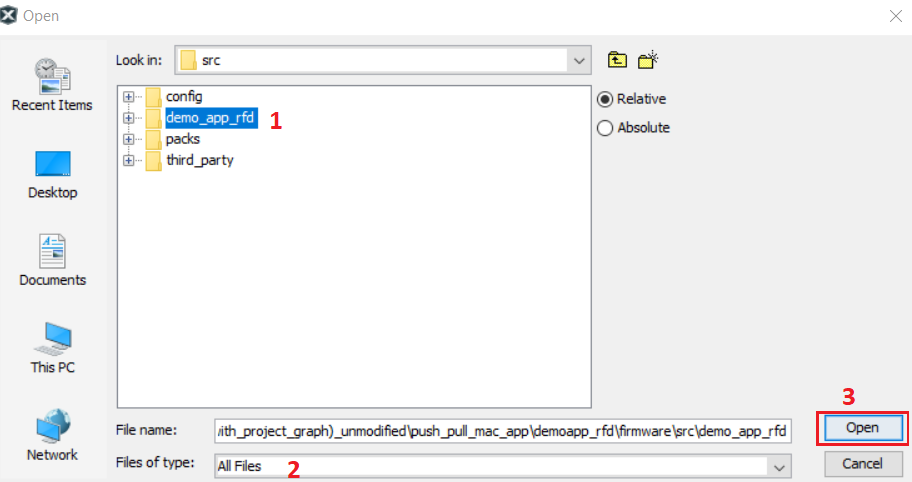
Browse and include demoapp rfd folder and click Apply and OK.
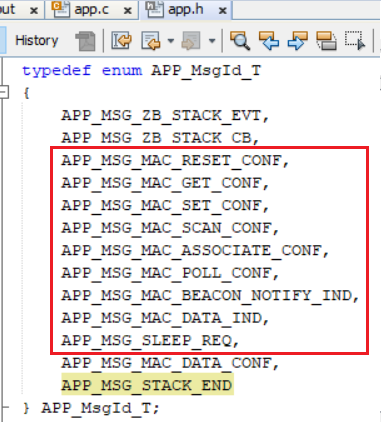
app.h file changes: add RFD APP message ID’s.
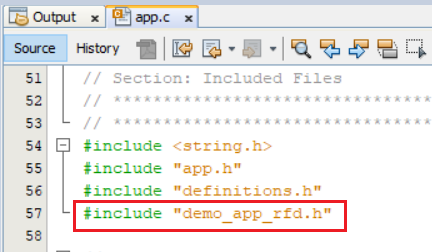
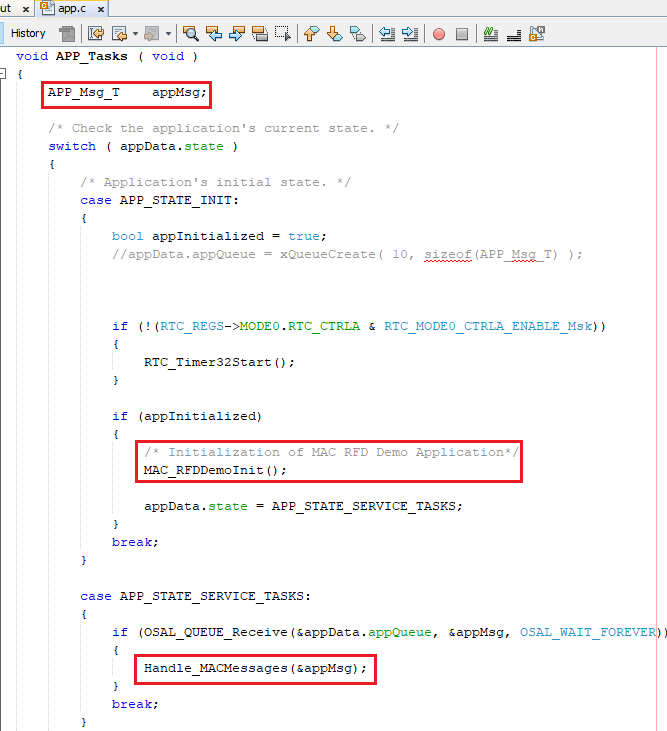
app.c file changes:
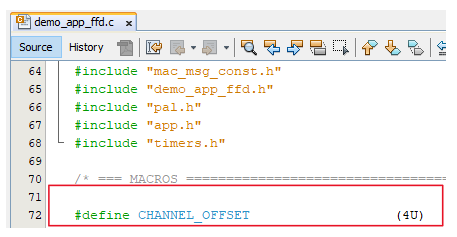
For channel configuration (example:CHANNEL_OFFSET :3 , Channel => 11 + 3 = 14)
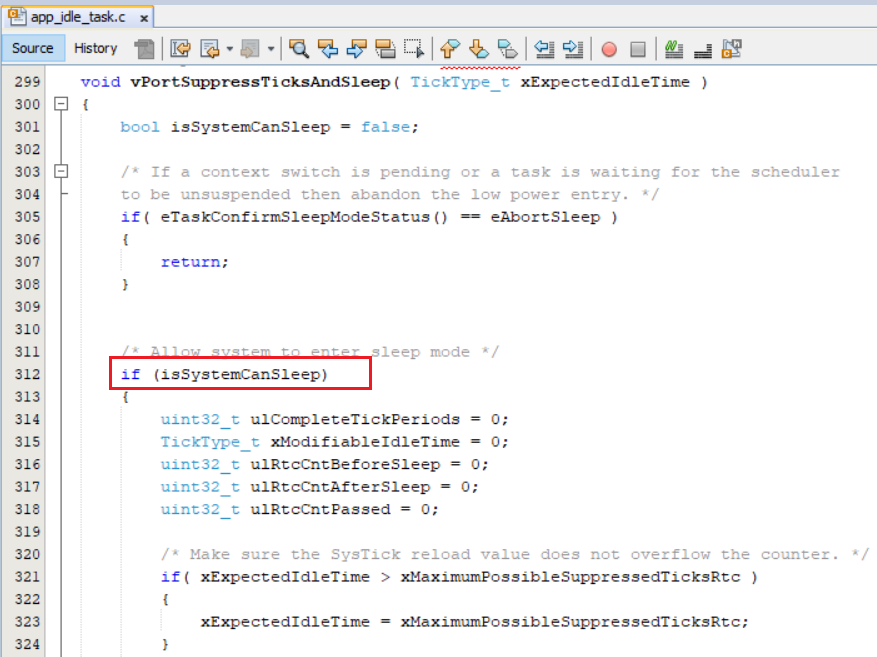
If sleep enabled in RFD: add in selected line in app_idle_task.c. Device deep sleep in RFD demo is handled directly from APP task, so there is no need for calling vPortSuppressTicksAndSleep(). This is application specific change.
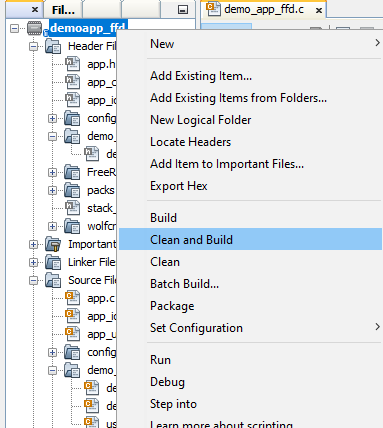
Right click on the project and Click on Clean and Build
