Jump to main content
2.1.3 Creating New Harmony MCC Project
-
Open the MPLAB® X IDE
-
Create a New Project by clicking the New Project icon Microchip Technology or
by selecting File -> New Project
-
In the New Project window select 32-Bit MCC Harmony Project and click
Next
-
In the Framework Path, enter the path of the folder to which the MPLAB Harmony
3 packages are downloaded.
-
In the Project Setting dialog window, fill in or select the information needed
as follows:
-
Location: Enter a valid path to store the application project
-
Folder: Enter Project Folder name. For example,
sam_e70_xult.
-
Name: Enter Project Name. For example,
tcpip_client_getting_started.
-
Path: Selecting the above fields auto populates the Path.
-
Click Next
-
In the Configuration Settings dialog window, fill in or select the information
needed as follows:
-
Name: Configuration Name. For example, sam_e70_xult.
-
Target Device: For this example, select ATSAME70Q21B.
-
Click Finish
-
Click Select MPLAB Harmony in MCC Content Manager Wizard
-
Click Finish in MCC Content Manager Wizard.
-
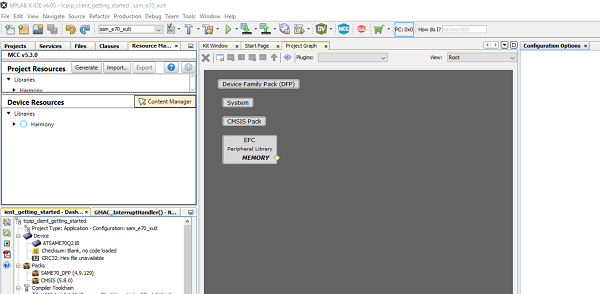
The above step will open MCC Project Graph.