
2 Getting Started with MCC Melody
Video and hands-on training to quickly get you up and running with MCC Melody and how the Getting Started Use Cases work.
Getting Started Use Cases:
To get started with MCC Melody, training materials have been built into the API references
for each MCU Family supported: AVR, PIC16F/PIC18F and dsPIC33).
Note: Find a
supported MCU here: MCC Melody API References and MCU Device Support.
Many components have a "How to Use the …." section, which include a number of use
cases consisting of the following:
- Required configuration settings of the component (and potentially other components).
- Schematics of the board used, e.g., In Pin Grid View: Select a LED pin as an Output, renaming it to LED.
- Code snippets to add to your application.
Videos: Some of the use cases include videos, which give a high level overview of how to run the use cases. These may be especially useful if new to the MPLAB Tools Ecosystem.
Note: While the videos give an overview of the use case, always check
the configuration settings and code snippets for the latest use case version. Use cases will
be updated when changes or improvements are made to the component's configuration setting
options or the generated API.
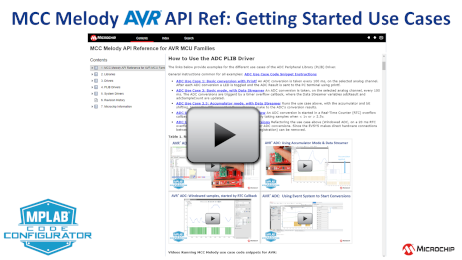 |  |
Videos of MCC Melody use case code snippets for AVR:
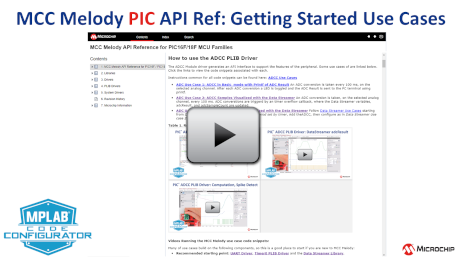
| Videos of MCC Melody use case code snippets for PIC16F/18F:
|
| Microchip University Courses | |
| MCC Melody API Reference for AVR® MCUs | MCC Melody API Reference for PIC® MCUs |
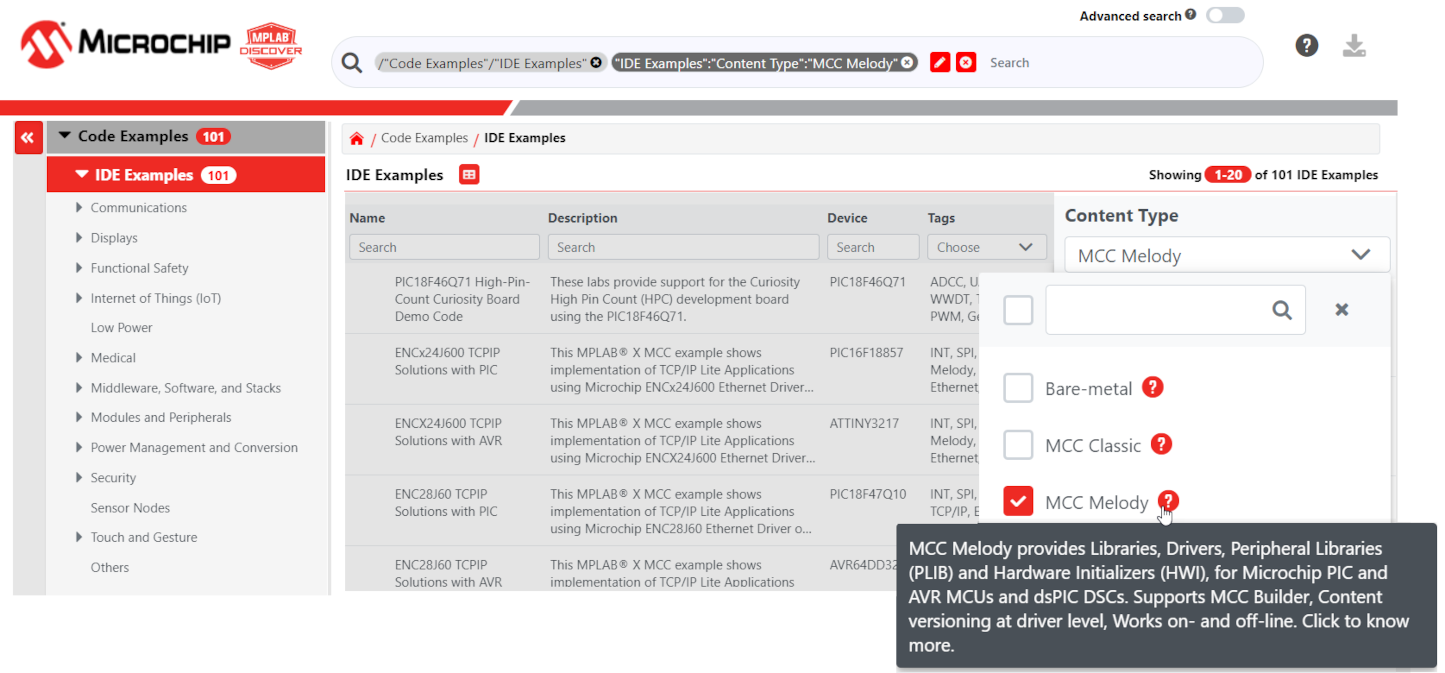
Starting with a MPLAB® Discover Example for MCC Melody:
- In MPLAB®
Discover, select MCC Melody in the Content-Type Column, to show only MCC Melody
based projects. Note: See Discover Tips & Tricks> Tags > MCC Melody.
- Select open in Xpress to work
online.Note: You can also download examples to open in MPLAB Xpress (see right column for instructions).
- Click on the MCC icon to open MCC Melody.
- Use MCC to create, configure, and generate a new project for your selected micro-controller.
- Program, debug and execute your embedded software.
- Commit changes to GitHub to save
progress or download a project to continue working offline in MPLAB® X IDE.
Working Offline in MPLAB® X IDE/MCC Plugin:
- Obtain a (development) board with a
supported PIC16F/18F, PIC24/dsPIC or AVR device. Note: Find a supported MCU here: MCC Melody API References and MCU Device Support.
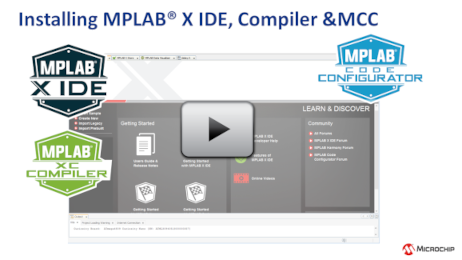
- Install MPLAB® X IDE, Compiler and MCC, by separately installing the following:
- Install the MPLAB® X IDENote: The MPLAB® Code Configurator (MCC) plug-in is now included with the MPLAB X IDE.
- Install the XC8 / XC16 Compiler Suite
- Install the MPLAB® X IDE
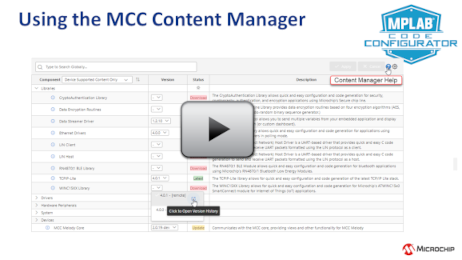
- Select MCC Melody in Content Manager. Once you have clicked finish, MCC Melody will open.
- Use MCC to create, configure, and generate a new project for your selected processor.
- Program, debug and execute your embedded software.
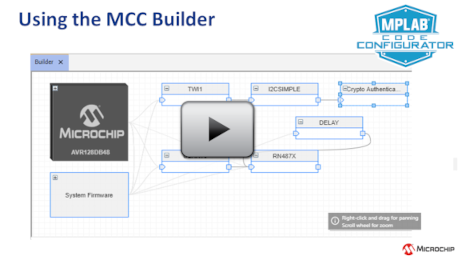
Content Manager, Builder and Installation:
 |
 |
 | Recent highlights: DV Run Time Library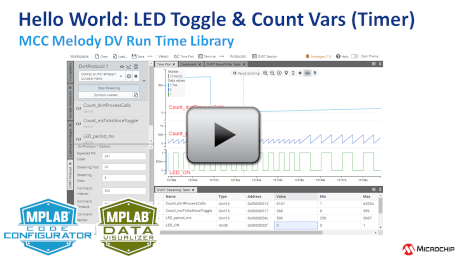 |
| Related Microchip University Courses | |
| Overview of the Microchip Code Configurator (MCC) Content Manager (CM) | This course provides basic information on how to navigate and create a new project using the Content Manager. The class starts with installation and then goes through the steps of creating a project and also shows you how to find helpful resources. |
| Introduction To MPLAB® X IDE | This class covers the basics of the MPLAB X IDE. (Dec 2020) |
| Visual Debugging with MPLAB® Data Visualizer | In this class, we’ll use MPLAB® Data Visualizer as a plugin to MPLAB X IDE to plot real-time data from PIC®, AVR® and SAM MCUs using the Curiosity Nano and Xplained Pro platforms. (Feb 2021) |