5.8 Creating a Bootloader Client With Secure Boot and Secure Device Firmware Update for PIC® Devices
This section demonstrates how to configure a bootloader client to extend support for secure features.
Note: When adding a bootloader to an
existing application, make sure to select a device that has sufficient memory to hold
the bootloader and multiple application images.
Description: This section details a full secure bootloader use case on the PIC18F57Q43 microcontroller, which applies to many variants of the PIC18F family and can also be extrapolated to other 8-bit PIC and AVR chips. This example uses the PIC18F57Q43 Curiosity Nano board for demonstration and variations when using AVR128DA48 Curiosity Nano. Refer to the board schematics for configuration information.
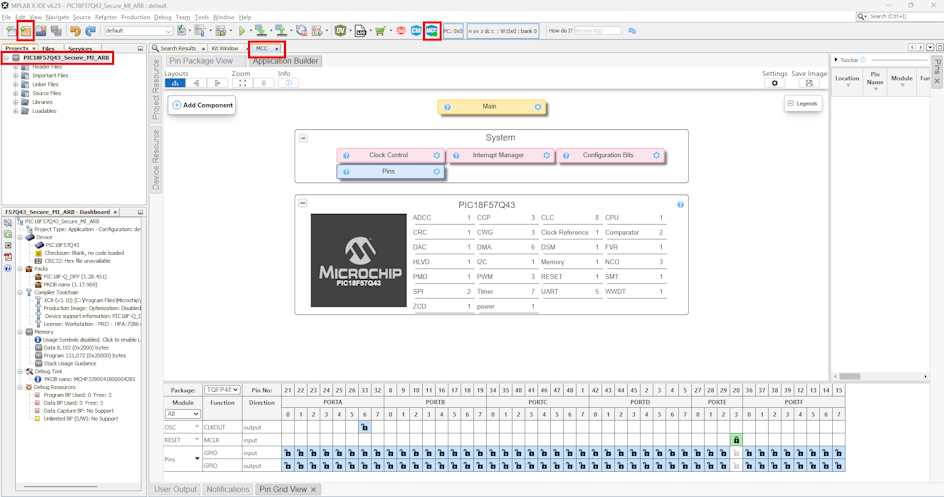
- Create a new MPLAB® X IDE project
and open MCC. MCC opens automatically when a new project is created. If
not, click the MCC button in the menu bar to start the MPLAB Code
Configurator.
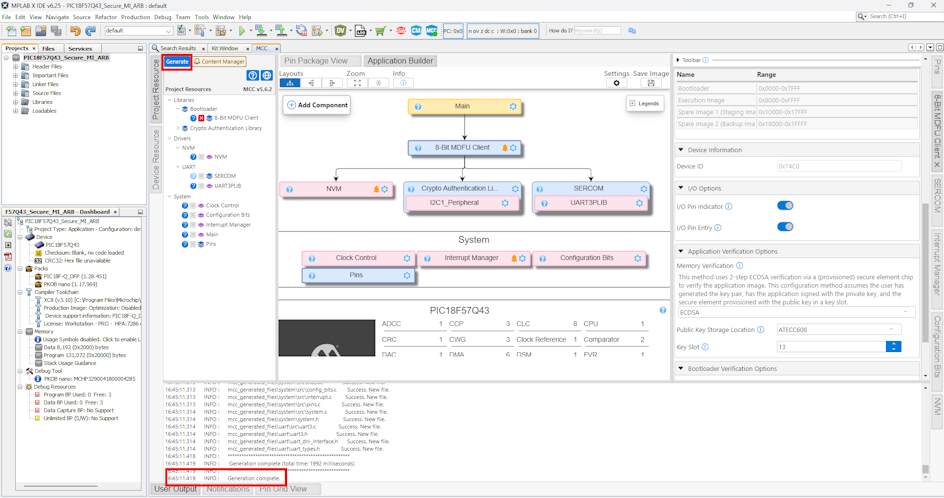
- Add the 8-Bit MDFU Client from
the Device Resource section and configure it according to the indications in the
Notifications tab.

- Select ECDSA option from the
drop-down menu for Memory Verification. Select the Public Key Storage Location
as ATECC608 from the drop-down menu. Default Key Slot selected is 13.

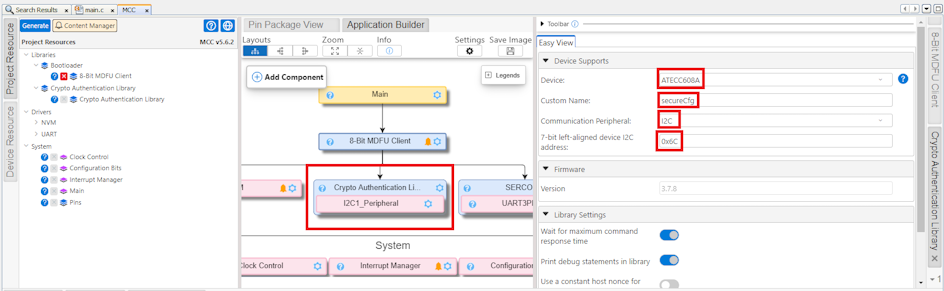
- Configure the Crypto Authentication Library settings.
- Click Generate.
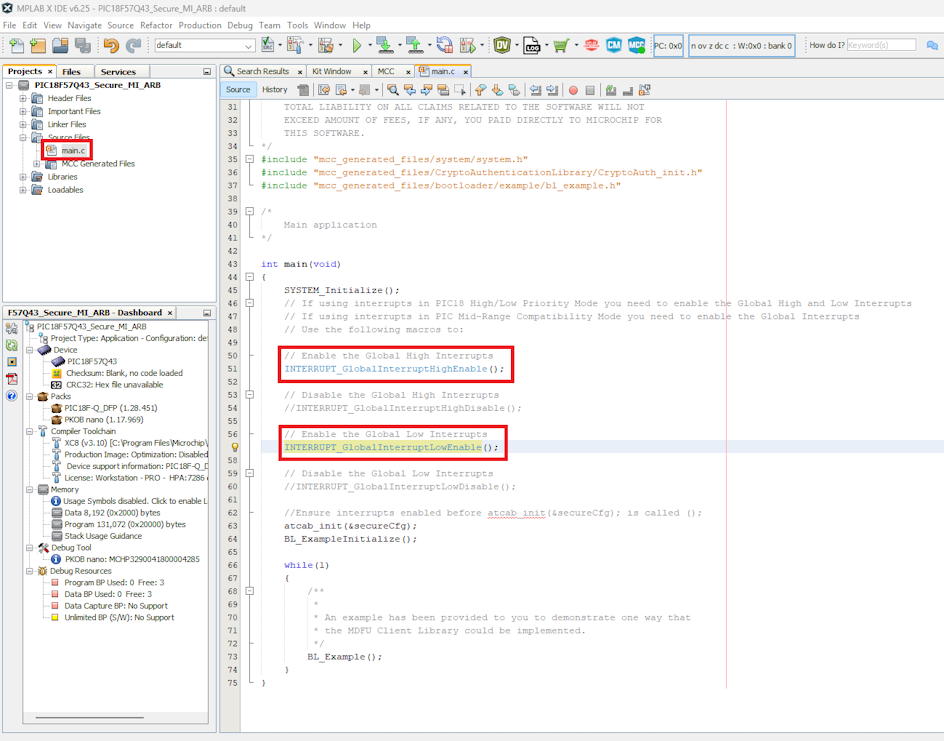
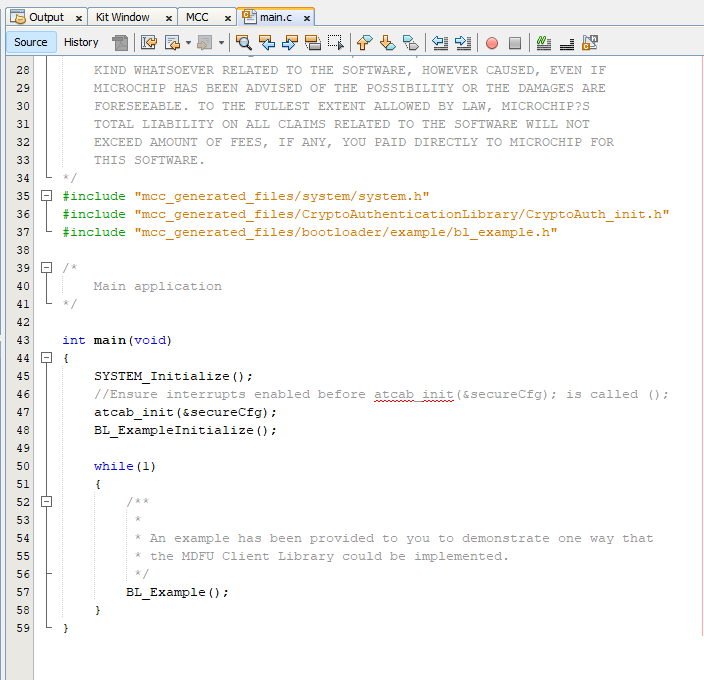
- In the
main.cfile, uncomment the interrupt enable lines.For PIC devices:
For AVR devices:
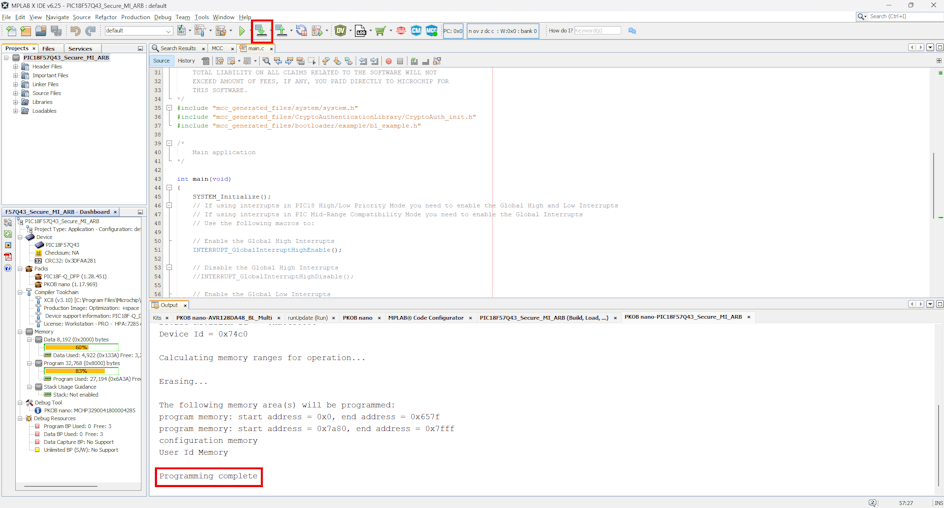
- To prepare the chip to bootload, click the Make and Program Device
button. After this programming process ends, the LED on the PIC18F57Q43
Curiosity Nano board will stay ON continuously.