5.1 Simulation
The simulation uses a 432 × 240 image in the YCbCr422 format represented by two files, each for Y
and C as input and generates a H.264 file format containing two frames. The
following steps describe how to simulate the core using the testbench.
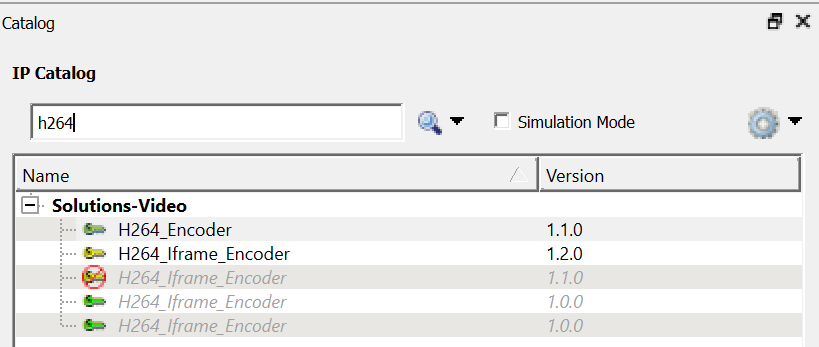
- Go to Libero SoC Catalog > View >
Windows > Catalog, and then expand Solutions-Video. Double click
H264_Encoder, and then click OK.
Figure 5-1. H.264 Encoder IP Core in Libero SoC Catalog 
- To generate the required SmartDesign for
the H.264 Encoder IP simulation, click Libero Project > Execute script.
Browse to script ..\<Project_name>\component\Microchip\SolutionCore\
H264_Encoder\ <H264 IP version>\scripts\H264_SD.tcl, and then click
Run .
Figure 5-2. Execute Script Run The default AXI data bus width is 512. If the H.264 Encoder IP is configured for 256/128 bus widths, type AXI_DATA_WIDTH:256 or AXI_DATA_WIDTH:128 in the Arguments field.
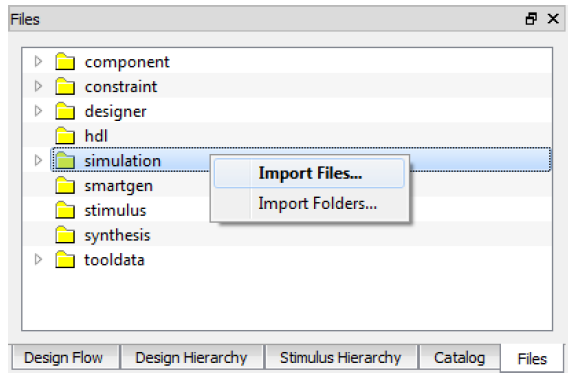
The SmartDesign appears. See the following figure.Figure 5-3. Top SmartDesign - On the Files tab,
click simulation > Import Files.
Figure 5-4. Import Files 
- Import the
H264_sim_data_in_y.txt,
          H264_sim_data_in_c.txt
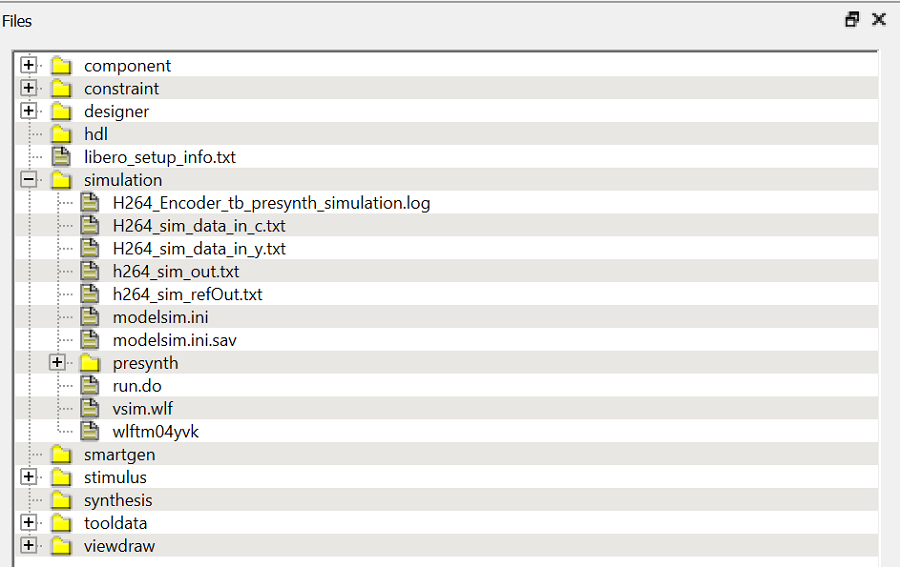
file and theH264_sim_refOut.txtfile from the following path: ..\<Project_name>\component\Microchip\SolutionCore\ H264_Encoder\<H264 IP version>\Stimulus. - To import a different file, browse the folder that contains the required file, and click
Open. The imported file is listed under simulation, see the
following figure.
Figure 5-5. Imported Files 
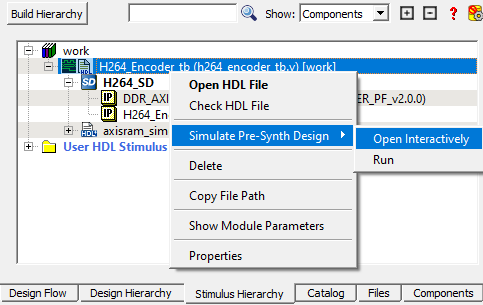
- On the Stimulus Hierarchy tab, click
H264_Encoder_tb (H264_Encoder_tb. v) > Simulate Pre-Synth Design >
Open Interactively. The IP is simulated for two frames.
Figure 5-6. Simulating Pre-Synthesis Design 
ModelSim opens with the testbench file as shown in the following figure.
Figure 5-7. ModelSim Simulation Window
Important: If the simulation is interrupted due to the run
time limit specified in the
DO file, use the run -all
command to complete the simulation.