
5.2 Guide to View Touch Tune Data Using MPLAB® Data Visualizer
This section provides information on how to visualize touch data when a bidirectional connection is enabled in the Touch Configurator.
Project Configuration and Generation
For creating and configuring a project for visualization, follow the steps in the Generate a Touch Project With MCC Melody section in the case of MPLAB® Code Configurator (MCC) Melody, or the Generate Touch Project With MCC Harmony section in the case of MCC Harmony.
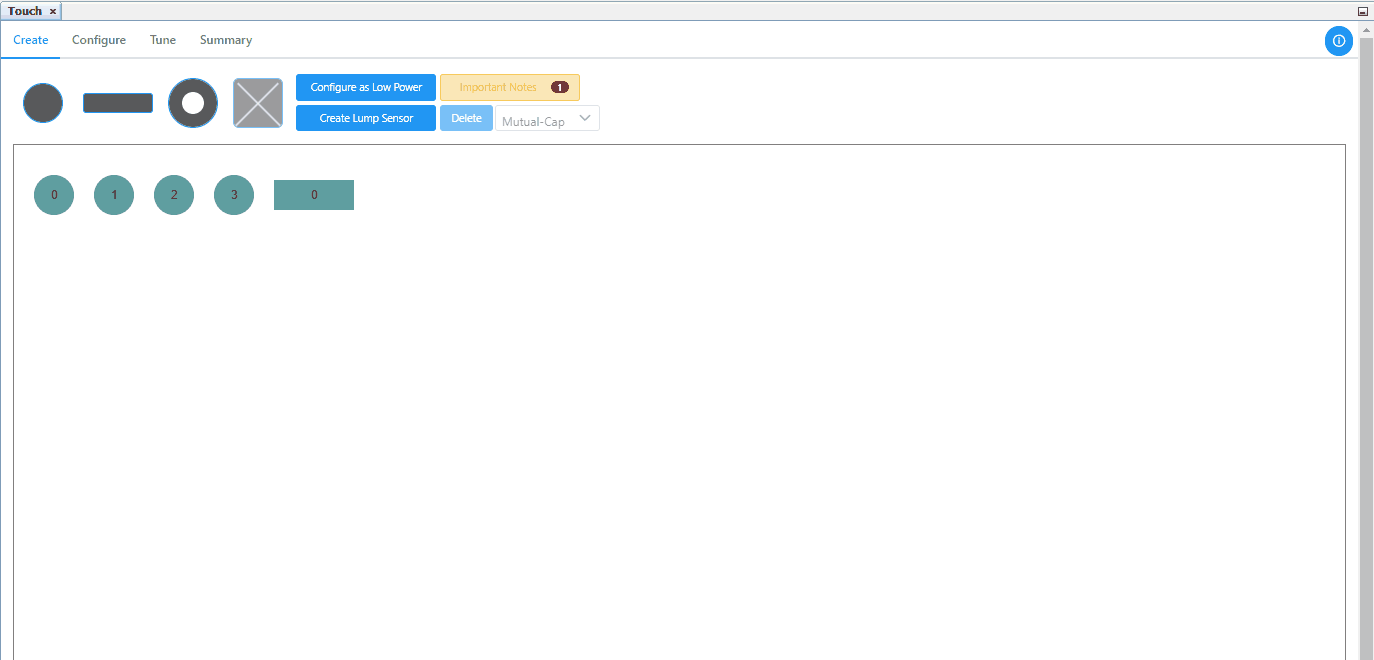
After the creation and configuration of the sensors, navigate to the Tune tab in the Touch Configurator, toggle the Enagle Touch Tuning Data connection button and select Touch Tuning as the option.

Data Visualization
Open the MPLAB® Data Visualizer plug in/stand alone and follow the steps given below for Touch visualization and tuning.
The three main sections for data visualization are,
- Connection
- Configuration
- Graph

Section I: Connection
Step 1: Baud Rate setup
Once the window is open, go to the Connections tab, select the correct COM port. In the COM port settings section, click the ‘Gear’ icon and set the Baud Rate required for the project.

Step 2: Touch COM port selection
In the Touch section, select the correct COM port form the drop down as the data source.

Step 3:
Now start the streaming on the COM port first and then start the streaming on the Touch section.

Section II: Configuration
Step 4: Selection of parameters
Select any one of the listed options other than Output Data. In this case, Sensor Node Parameters is selected.

Step 5: Modification of Parameters
Under the Sensor Node Config tab, select and modify any one of the parameters in the table.

Step 5: Writing to the kit
Once the required parameters are changed, the Write to kit button changes its color to yellow and it can be clicked. If the write is successful, the button will change to green, indicating success; otherwise, it will change to red, indicating an error with the kit.

Step 6: Reading from the kit
Click Read From Kit button to retrieve the configuration from the kit.

Section III: Graph
For CVD devices:
The Graph is automatically populated for Deviation and Pressed parameters for the sensors.
For PTC devices:
The Graph is automatically populated for State and Delta parameters for the sensors.