
1.1 Configuring an Ordinary PTP Master Clock using Web GUI
To configure an ordinary PTP master clock, perform the following steps:
- Click Configuration > PTP.
- Click Add New PTP Clock.
Figure 1-1. Add New PTP Master Clock 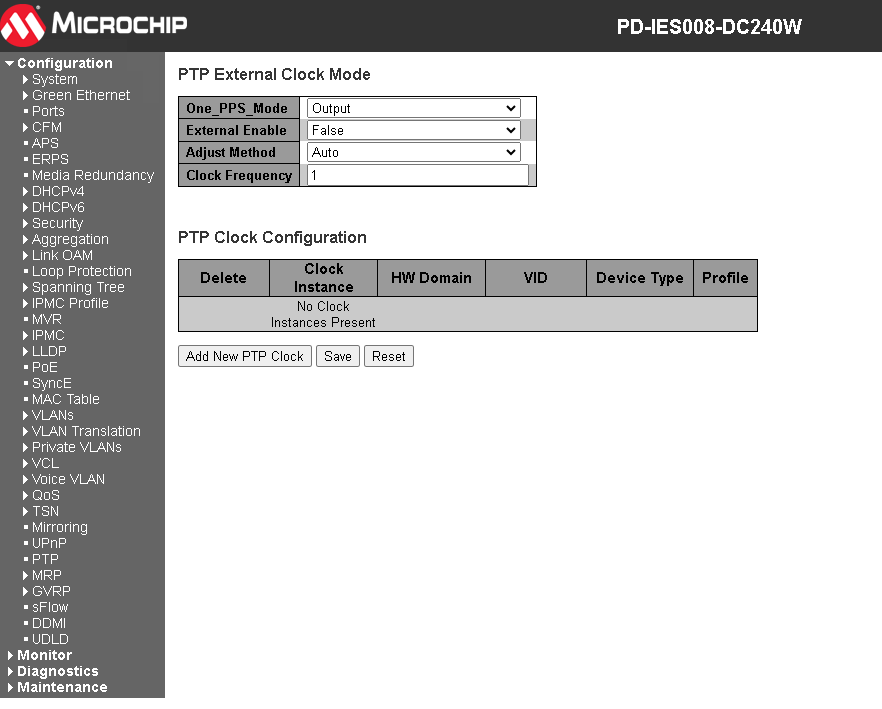
- Configure the following properties:
- HW Domain = 0
- Device Type = Masteronly
- Profile = 1588
Figure 1-2. Create PTP Clock Instance 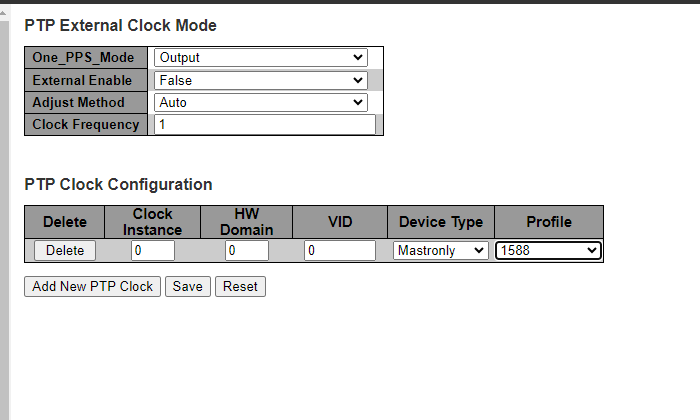
- Click Save.
- Click the Clock Instance link.
Figure 1-3. Select PTP Clock Instance 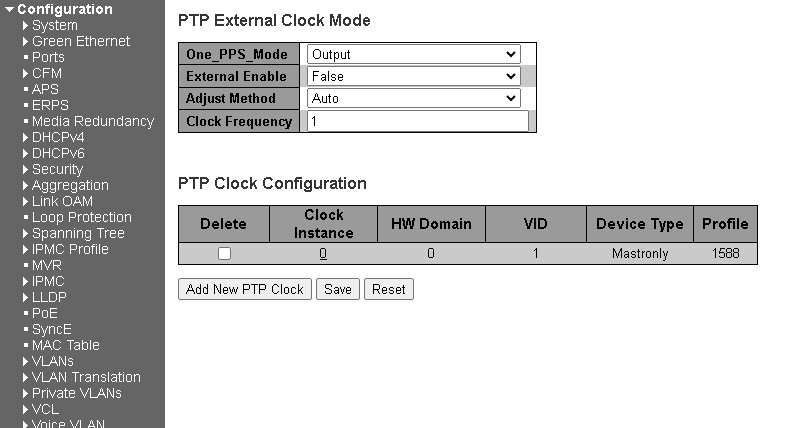
- The PTP Clock’s Configuration and Status page opens. Configure the following properties:
- Under the Port Enable and Configuration area, select the suitable ports.
- Under the Clock Default Dataset area, set the following:
- From the 2 Step Flag drop-down list, select True.
- In the Pri1 text box, type a lower number than the PTP slave.
- Under Port Enable and Configuration area, click Ports Configuration. The PTP clock’s Port Data Set Configuration page opens.
Figure 1-4. Configure PTP Clock Instance
- To set delay mechanism used in the path, in the Dlm box, type or select suitable value, and then click Save.
Figure 1-5. Configure Port Data for PTP Clock Instance 