2.1 Graphical User Interface Installation
The following steps describe how to install the I2C Monitor Graphical User Interface:
- If Microsoft®.NET Framework is already installed, go to Step 3. If not, download Microsoft®.NET Framework from www.microsoft.com and follow the installation instructions.
- If Adobe Acrobat Reader is already installed, go to Step 3. If not, download Adobe Acrobat Reader from http://get.adobe.com/reader/ and follow the installation instructions.
- Download the I2C Monitor Graphical User Interface (v.11.1) archive from www.microchip.com/MCP16503 under “Documentation & Software.”
- Unzip the I2C Monitor Graphical User
Interface archive, which contains the
setup.exefile.Note: If an older version or a corrupted version of the current I2C Monitor Graphical User Interface is already installed on the computer, please see I2C Monitor Graphical User Interface Uninstall before proceeding with the installation. - Double click the
setup.exefile to open the InstallShield Wizard window and wait for the extraction to complete. If required, the installation can be stopped by clicking Cancel. - In the Welcome to the InstallShield
Wizard for I2C Monitor window, click Next to start the installation.
Figure 2-1. Starting the I2C Monitor Graphical User Interface Installation 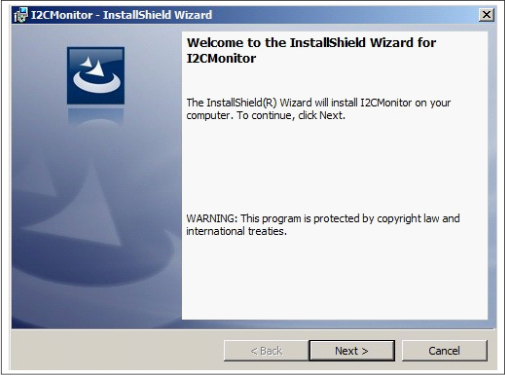
- The installation path can be changed,
although it is recommended to keep the default path. Click Next to
continue.
Figure 2-2. Selecting the Destination Folder 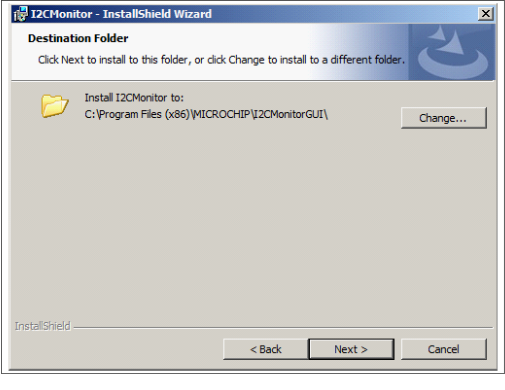
- In the Ready to Install the Program
window, click Install and wait for the application to proceed with the
installation. The progress can be observed in the “Status” bar.
Figure 2-3. Installing the I2C Monitor Graphical User Interface 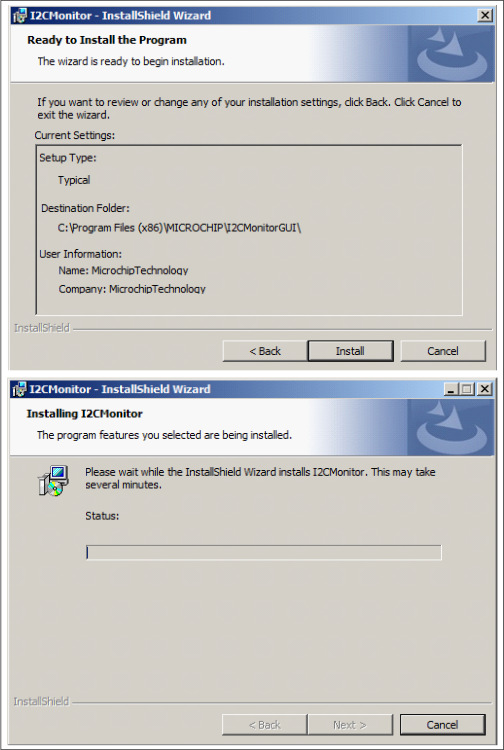
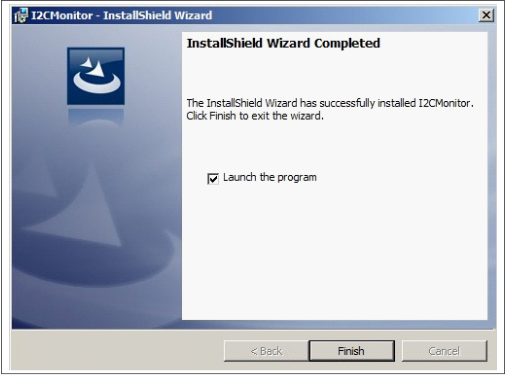
- Once the installation is complete,
leave the “Launch the program” box checked to automatically start the I2C Monitor
GUI, or deselect this check box to start the GUI at a later stage. Click
Finish to end the installation.
To start the GUI at a later stage, either click the desktop icon or browse to Windows Start>All Programs>Microchip>I2C Monitor.
Figure 2-4. The Installation Complete Window