
5 Setup Essentials
Step-by-step project setup and pin-header assembly instructions.
5.1 Quick Start
- Choose your preferred integrated development environment (IDE):
- MPLAB® Tools for VS Code®
- Partner Toolchains: Microchip supports a range of partner toolchains. For more information and a list of supported tools, visit the Development Tool Partners page.
- For VS Code follow these steps:
- Download and install VS Code for your operating system.
- Install MPLAB Tools for VS Code.
- Browse and select an example project using MPLAB® Discover
- Download and open the selected example project in VS Code.
- Connect the PIC32CM PL10 Curiosity Nano to your computer using a USB cable.
- Program the target MCU with the example code using MPLAB Tools for VS Code.
- Refer to this this guide for tips and tricks on using the extensions.
Next Steps
- Explore additional example projects in MPLAB® Discover and try customizing them for your application.
- Use the PIC32CM PL10 Curiosity Nano with a Curiosity Nano Base Board:
- Monitor data output:
- Use the integrated terminal in VS Code or use your preferred terminal to access the UART interface on your board
- For advanced data monitoring and visualization, use MPLAB Data Visualizer
Tip: Take a look at this free Microchip University course.
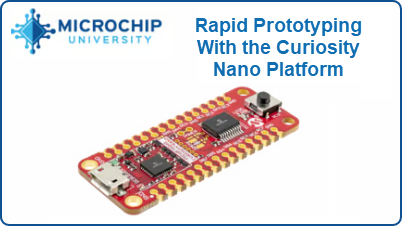 | The Curiosity Nano platform enables rapid prototyping and includes built-in debugging for working with new microcontrollers. |
5.2 Using Pin Headers
The edge connector footprint on the PIC32CM PL10 Curiosity Nano has a staggered design, where each hole is shifted 8 mils (~0.2 mm) off-center. This hole shift allows the use of standard 100 mil pin headers without soldering them to the board. The pin headers can be used in applications such as pin sockets and prototyping boards once they are firmly in place.

Tip:
- Start at one end of the pin header and gradually insert the header along the length of the board. Once all the pins are in place, use a flat surface to push them in
- For applications that permanently use pin headers, it is still recommended to solder them in place
- Once the pin headers are in place, they are difficult to remove by hand. Use a set of pliers and carefully remove the pin headers to avoid damage to the headers, the PCB, or yourself.