3.6.3 Opening Object File for Debugging
Steps to Create an Object Project
-
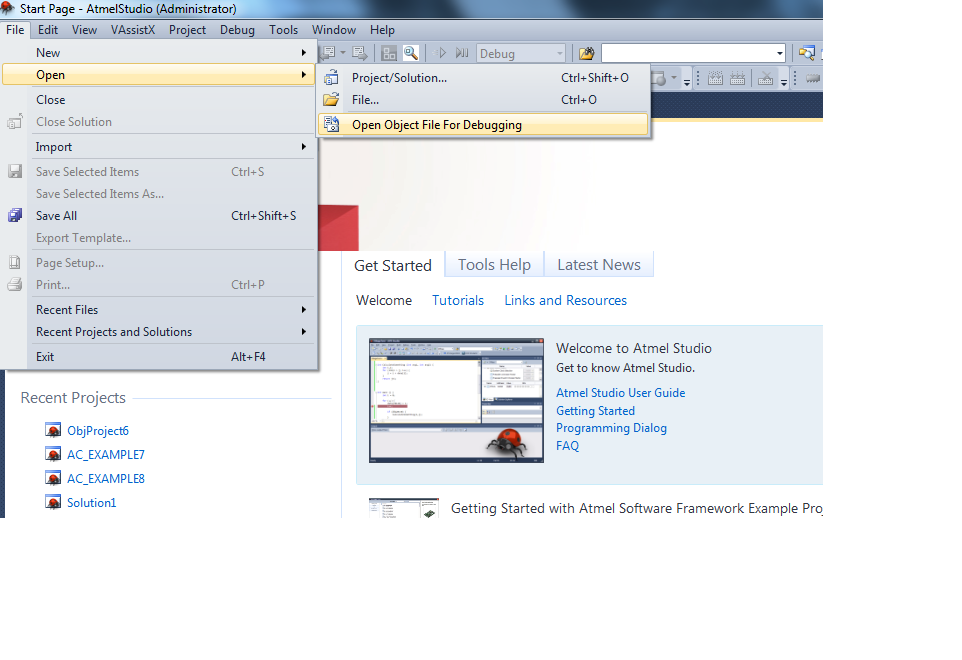
On the File menu, click Open, and then click Open Object File For Debugging.
Open Object File For Debugging wizard will appear.
-
-
In the Select the object file to debug, select your object file to debug. Microchip Studio must support the object format.
-
In the Project Name, type a name for the project. Microchip Studio will suggest a name, which you can override if wanted.
-
In the Location, select a save location. Microchip Studio will suggest a name, which you can override if wanted.
-
Maintain Folder Hierarchy for Source Files option is selected by default, which would create a similar folder structure in the Solution Explorer as that of the source project, i.e., the project used to create the object file. Otherwise, all the files are added to the root folder of the project file, i.e., the user will not see any folder in the Solution Explorer.
-
Add File As Link option is by default selected in which the object project shall refer the files from their original location without a local copy into the project directory. If the option is not selected, Microchip Studio will copy the files into the object project directory.

-
-
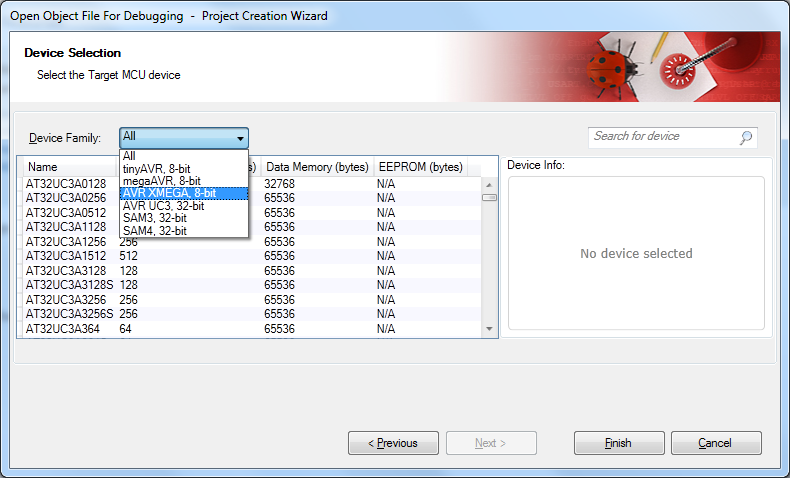
Click Next. The Device Selection dialog will appear.
-
Choose the appropriate target device. The target device should be the same, which was originally chosen to create the object file.
-
-
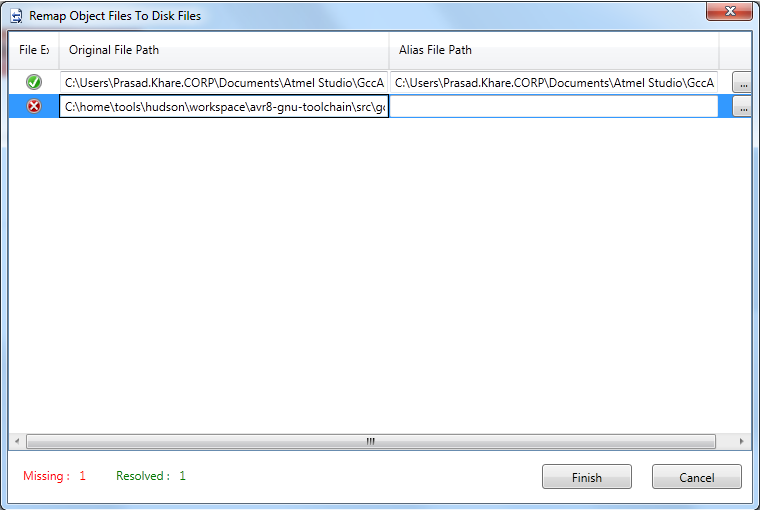
Click Finish. The object project files re-mapper appears (see screen-shot below). This dialog enables you to remap the location of the project files.
If the user resolves the parent folder for any original file, all the other files in the subsequent directory will be remapped recursively. So, it is helpful for the user to remap the number of files by just remapping only one.
-
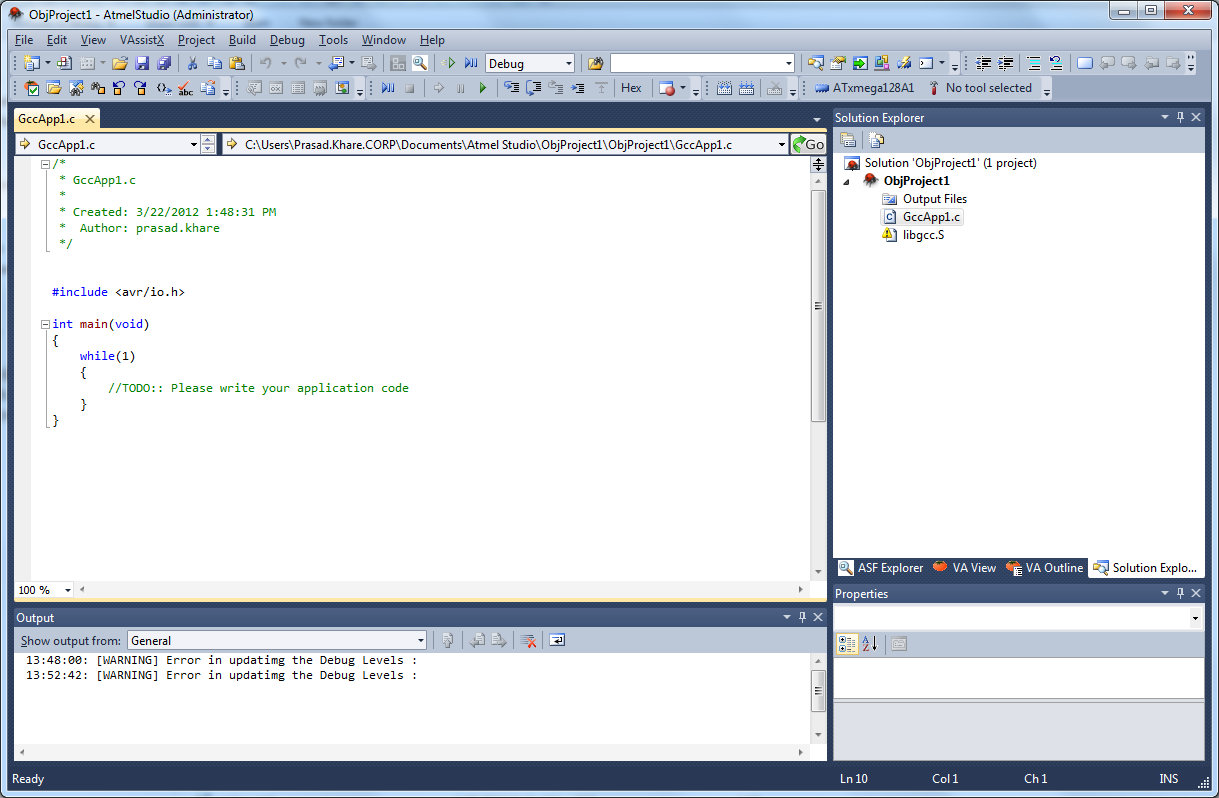
Now the object project is created. The unproperly remapped files are shown in solution explorer like 'libgcc.S', with a warning sign. Click F5 to debug this project.