3.2.2 Getting Started: Creating a New Project
- Open a browser and go to http://start.atmel.com.
-
Select CREATE NEW PROJECT.

The Create New Project screen will show up as shown in the figure below. In the FILTERS section, when adding MIDDLEWARE and DRIVERS to the project, the list of MCUs, which meet those requirements, is narrowed down. The SEARCH FOR SOFTWARE searches all software components, displaying relevant results for both Middleware and Drivers. Drivers refer to both MCU peripheral drivers or component drivers, written to support external components.
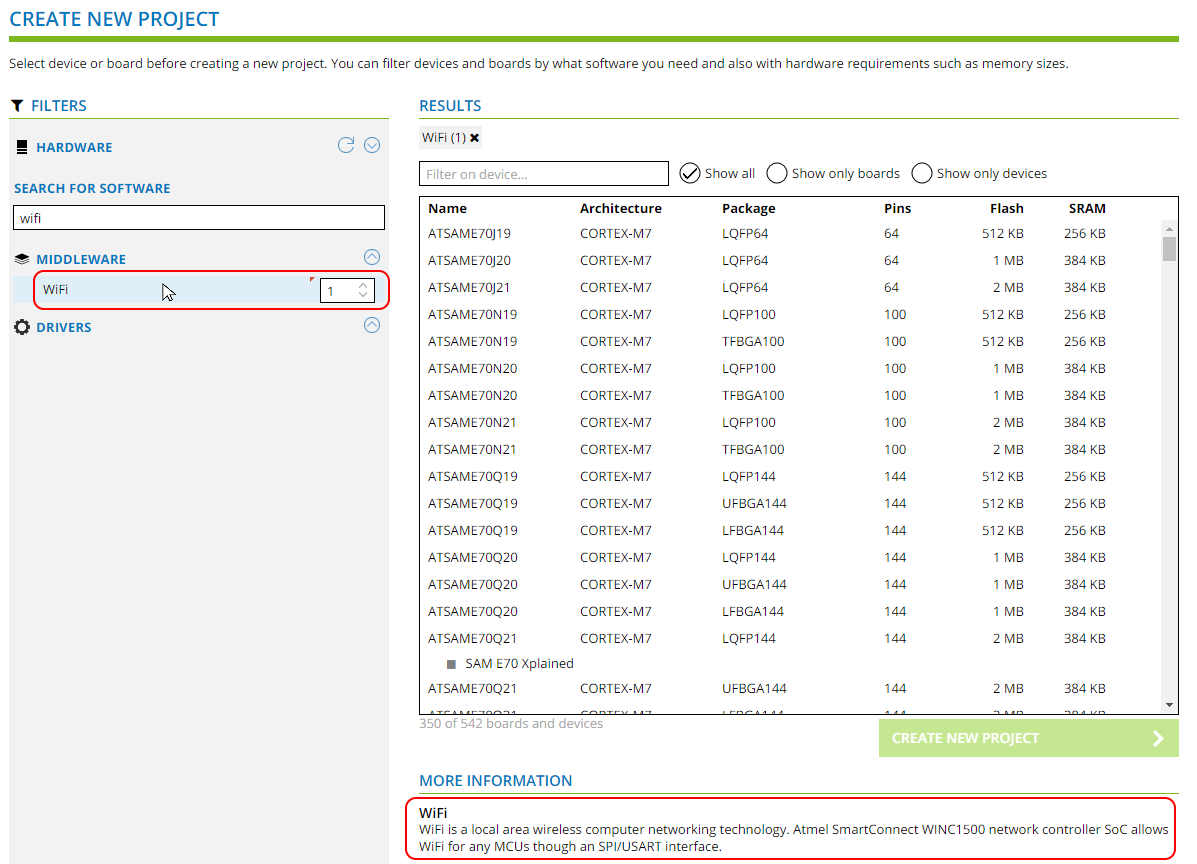
- For example, by typing "WiFi" in the SEARCH FOR SOFTWARE bar and clicking on the Wi-Fi middleware, found by the search, you will see a description of the selected software component under MORE INFORMATION. Here we can see that this is a library supporting the ATWINC1500 network controller SoC, through an SPI/USART interface.
-
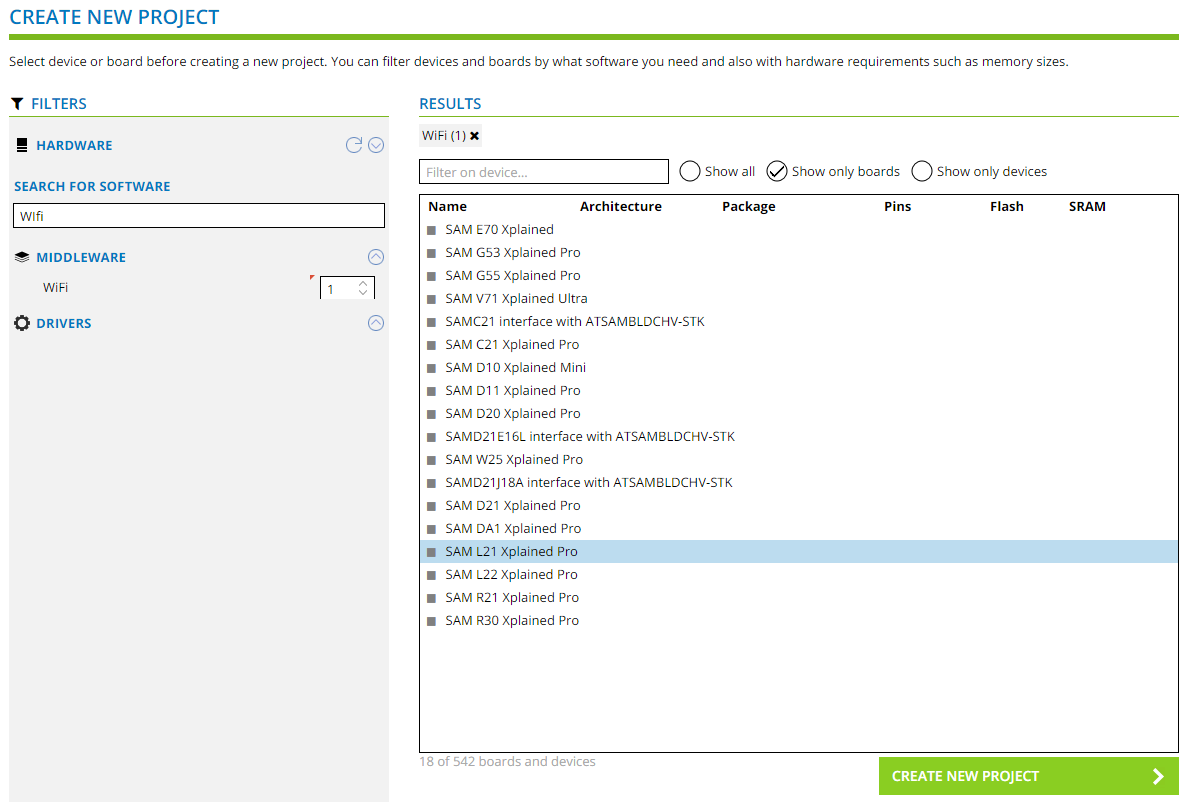
Incrementing the Wi-Fi middleware count to 1, now filters devices, showing only
those MCUs and boards which are able to work with the ATWINC1500 Wi-Fi SoC. To
see which kits support a Wi-Fi extension, mark “Show only boards” in the RESULTS
window. The image below shows the result at this stage. Click on
CREATE NEW PROJECT.
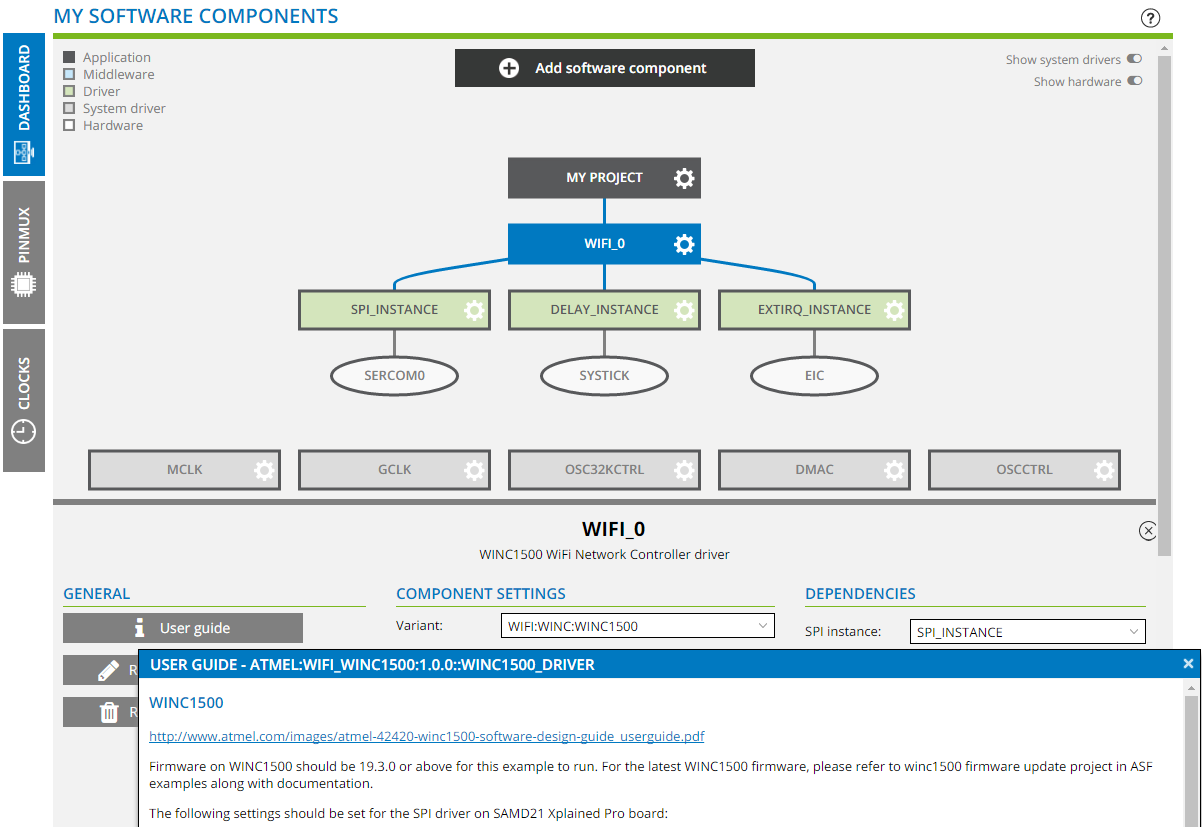
The project is created in Atmel START and opens in the DASHBOARD tab, as shown below. Note that the Wi-Fi middleware library for the ATWINC1500 module has already been added to the project, along with related driver dependencies. For more information on the Wi-Fi middleware, click on User Guide. Here you will find a link to the primary programming reference for the ATWINC1500, the ATWINC1500 Software Design Guide.
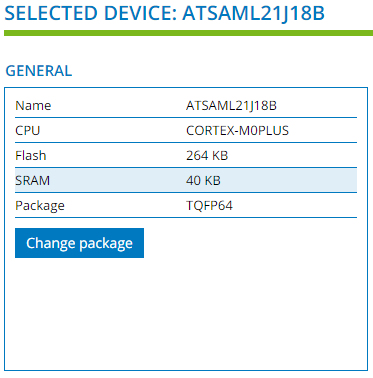
 Note: You can check that choosing the SAM L21 Xplained PRO board automatically selects the ATSAML21J18B (TQFP64) as device, which is the one mounted on it.
-
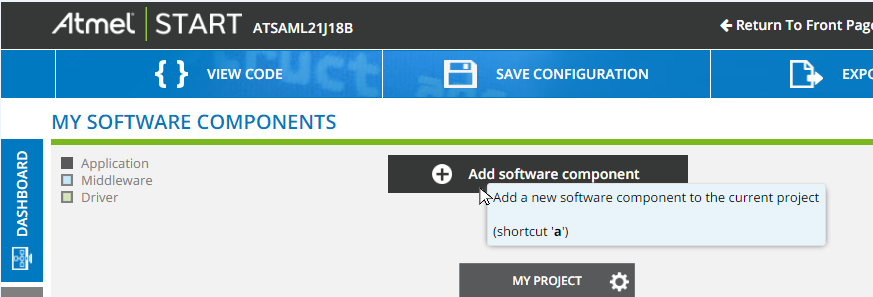
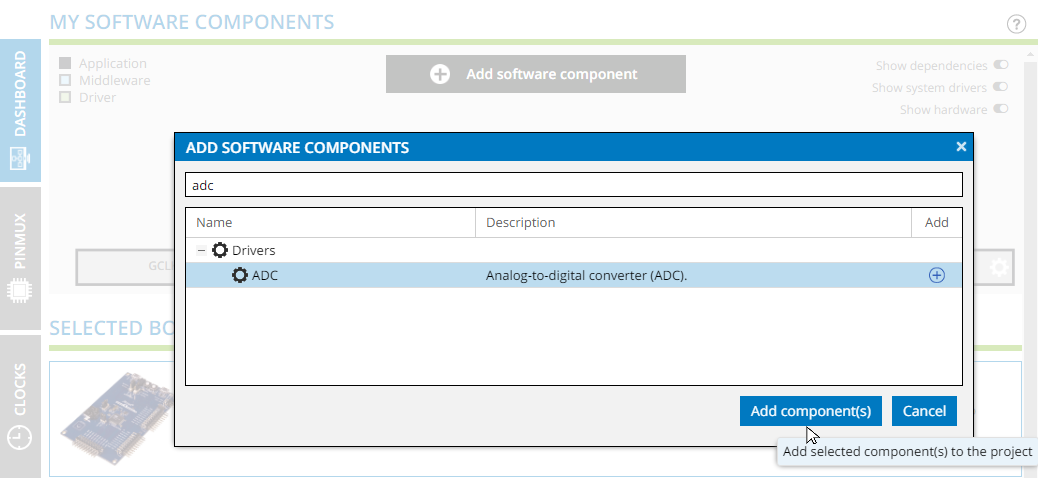
Now, click on Add software component and search for
"ADC". Then, select the ADC driver from the list and click on
Add component(s).
-
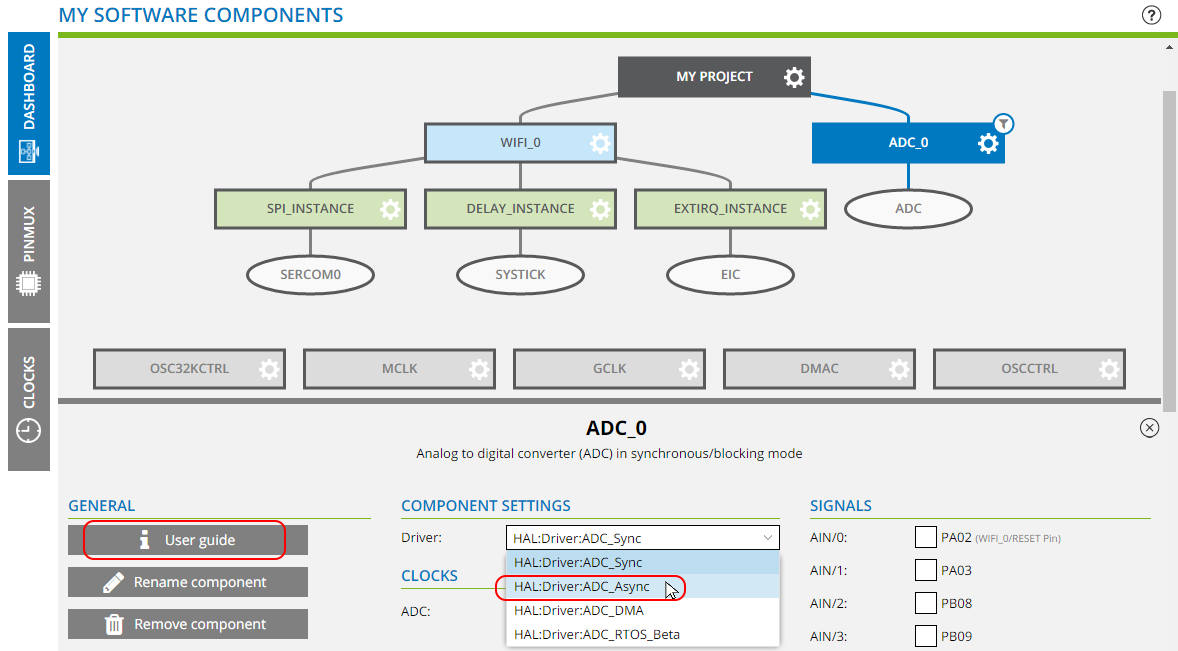
The ADC driver or Wi-Fi middleware library is now added to the project
dashboard. The Driver drop-down menu lets you select the driver type. Click on
the ADC_Async option.
-
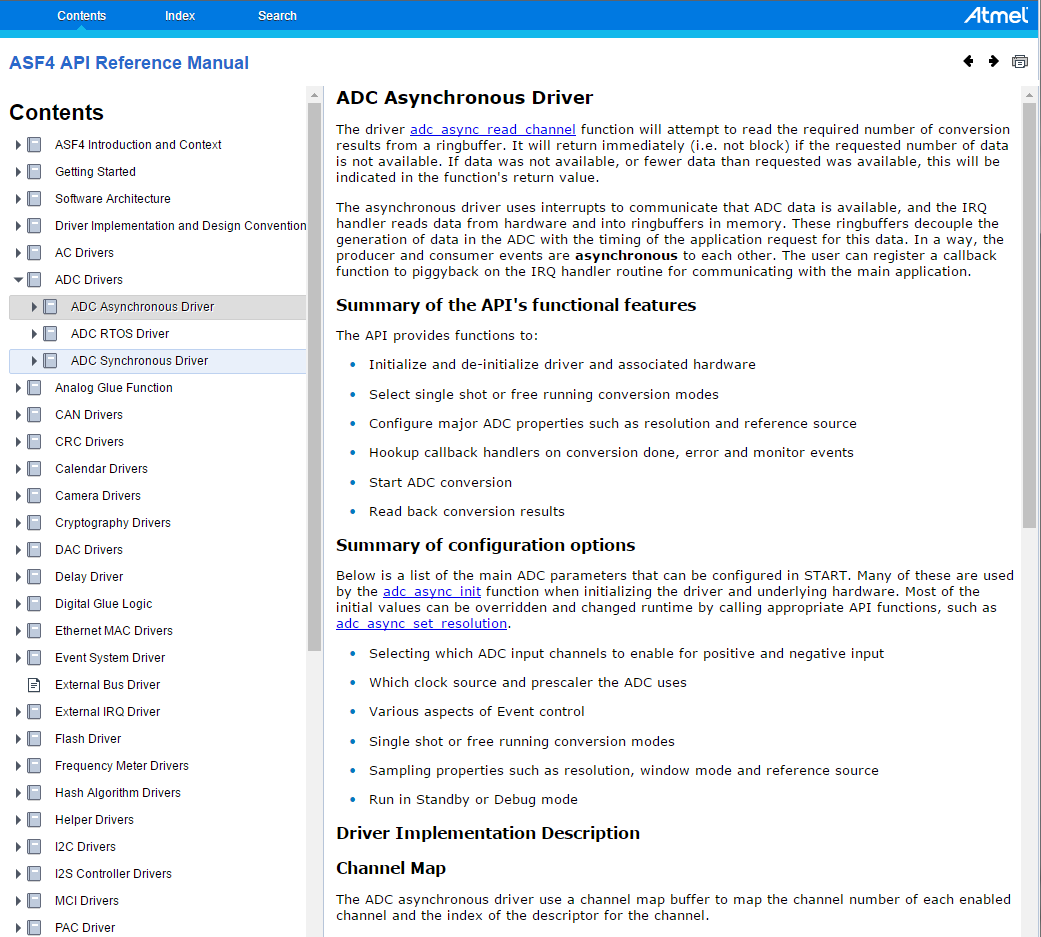
Clicking on User guide will now open an HTML version of the ASF4 API Reference Manual, in
context of the ADC_Async API reference, as shown below.
