
4.2 Running the Client Bootloader Application
Follow these steps to program the Client bootloader application on one of the PIC32CM LS60 Curiosity Pro Evaluation Kits.
- Download the Client bootloader application (Click Here).
- Open the Client Bootloader Application project group (path: <downloaded path>/pic32cm_ls60_secure_firmware_upgrade/firmware/bootloader/bootloadergroup) using the MPLAB X IDE.
- To launch the project, click and
expand bootloadergroup and then double-click on the
bootloader_secure.
Figure 4-1. Loading Client Bootloader Project 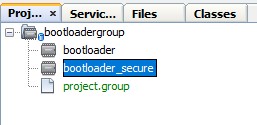
- To set the bootloader_secure project
as the main project, right-click on the project and then select Set as Main
Project.
Figure 4-2. Selecting the Client Bootloader project as The Main Project 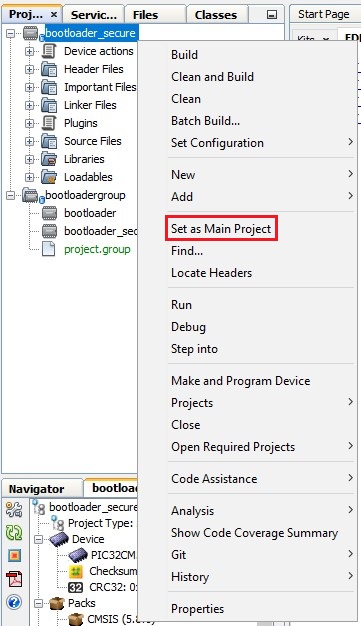
- The PIC32CM LS60 Curiosity Pro
Evaluation Kit supports debugging using an Embedded Debugger (EDBG). Connect the
Type-A male to micro-B USB cable to the micro-B USB port on one of the PIC32CM LS60
Curiosity Pro Evaluation Kit to power and debug the PIC32CM LS60 Curiosity Pro
Evaluation Kit.
Figure 4-3. PIC32CM LS60 Curiosity Pro Board Hardware Setup - In the Client Project Properties
window, select Hardware Tool and Compiler, and in the MPLAB X IDE Project
Properties window perform these tasks
- Under the left Categories section, select Conf: [pic32cm_ls60_cpro].
- In the right Configuration properties page, select the Connected Hardware Tool and Compiler Toolchain as shown below.
Figure 4-4. Client Project Properties - PIC32CM LS60 Curiosity Pro Evaluation Kit Note: Make a note of the serial number of the Client Bootloader board to avoid confusion with the Host board. - Click Apply, and then click OK.
- Build the project by clicking on the Clean and Build icon or selecting
Clean and Build Main Project from the drop-down item list and verify that
the project builds successfully.
Figure 4-5. Clean and Build Main Project 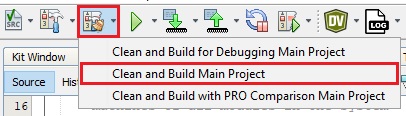
- Program the application by clicking the highlighted icon below.
Figure 4-6. Programing the Device 