7 Using Hierarchical Modules
Complex logic designs can increase their readability, and be reused by placing logic functions in modules, and then using that module elsewhere in the design.
Modules are defined as schematics or Verilog descriptions, which are managed in the documents section of the left panel.

Step 1. Create a new module
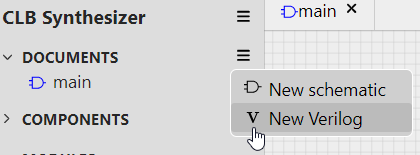
- In the documents drawer-menu, select New schematic or New Verilog
- Give the module a suitable name
The module is added to the document list, and a new tab appears for its definition.
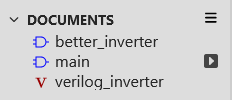
The icon indicates which of the documents is the top-level document in the hierarchy.
Step 2a. Schematic module
- Draw the required logic for the module
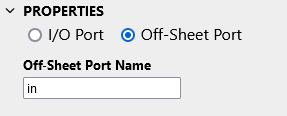
- Add input and output ports accordingly using the Off-Sheet Port in the properties pane and giving them suitable names for the function of the module

Step 2b. Verilog module
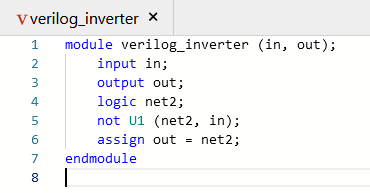
- Describe the module in Verilog
- The Verilog module must have the same name as the document
- Take care to define the module inputs and outputs
Step 3. Use the module
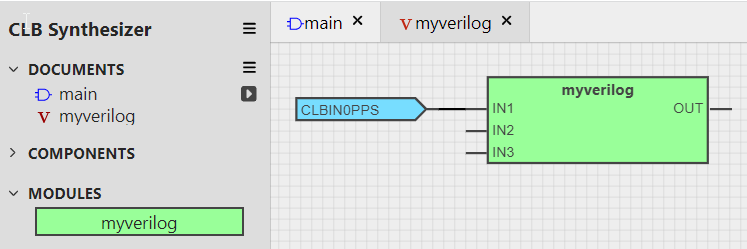
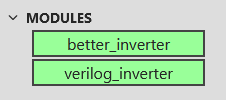
- When the module is complete and has no problems, switching back to the main/top-level document will update the modules list on the left side-bar
- Drag the new module onto the canvas
- Connect it up and use it

7.1 Using Verilog to Describe a Logic Design
Advanced users can make use of Verilog to describe their logic rather than drawing a logic circuit.
Step 1. Create a new Verilog document
- Click on the ‘New Verilog’ with ‘V’ symbol
- Name it as you like
Step 2. Add your Verilog module
- Delete the long line with random numbers and letters (used for internal debugging)
- Give your module the same name as the document (step 1)
- Define inputs and outputs at the module level
- Add the ‘code’

Step 3. Click on the main document tab, and select the Design side bar on the left
- Your Verilog module will appear under "modules"
- Drag it in and connect it up as any other logic symbol
