4 Customize at91bootstrap to boot from NAND Flash
-
Enter the following command to modify the configurations:
$ make at91bootstrap3-menuconfig
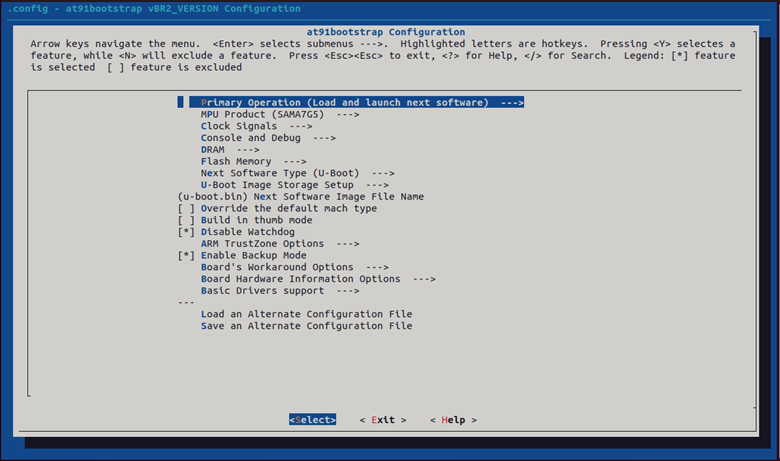
The at91bootstrap Configuration window opens. - In the menu, click Primary
Operation.
-
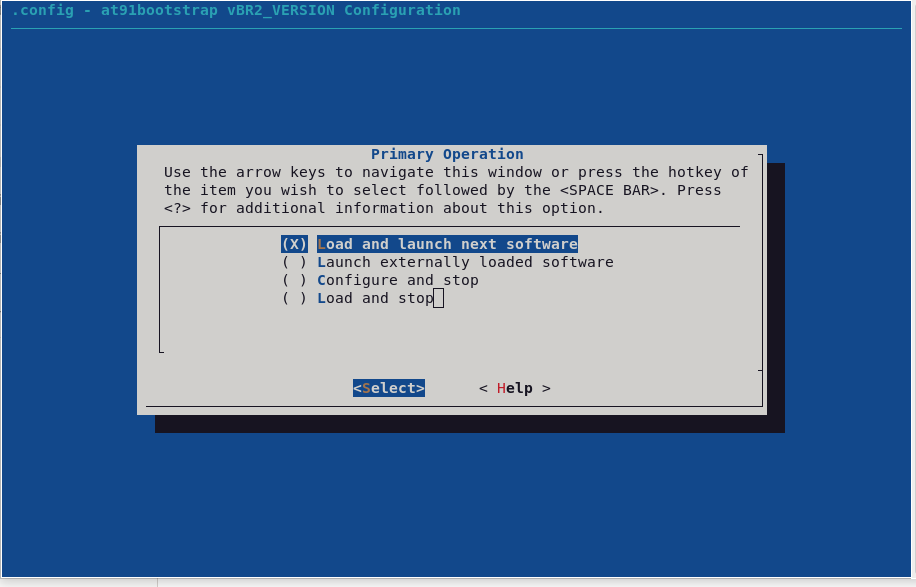
In the Primary Operation menu, ensure the Load and launch next software check box is selected. If not, select it and press Enter.
-
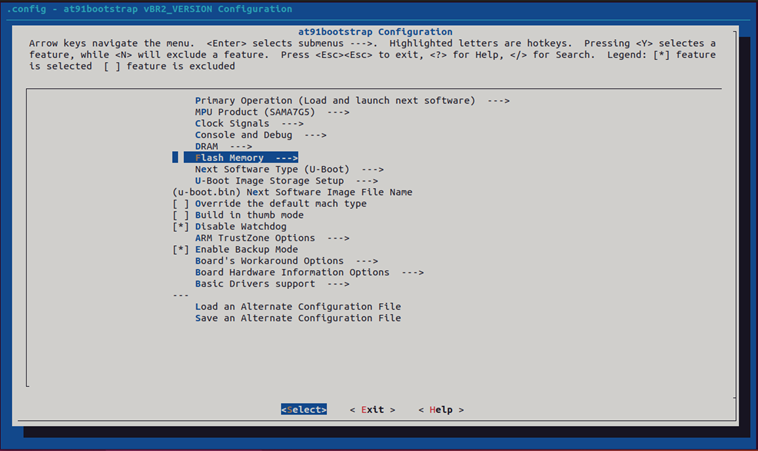
- In the at91bootstrap Configuration
window, select Flash Memory and press Enter.
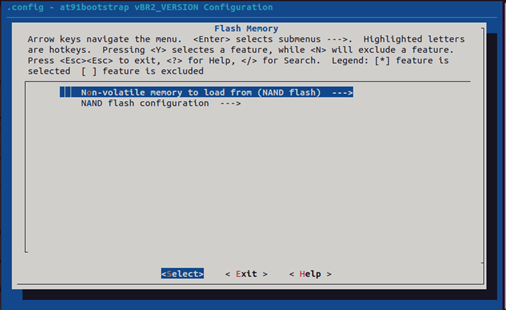
- In the Flash Memory menu, select
Non-volatile memory to load from and press Enter.
-
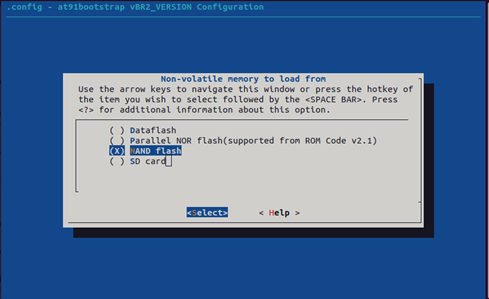
In the Non-volatile memory to load from menu, ensure NAND flash is selected. If not, select it and press Enter.
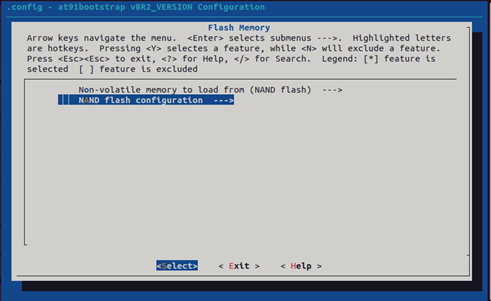
- In the Flash Memory menu, select
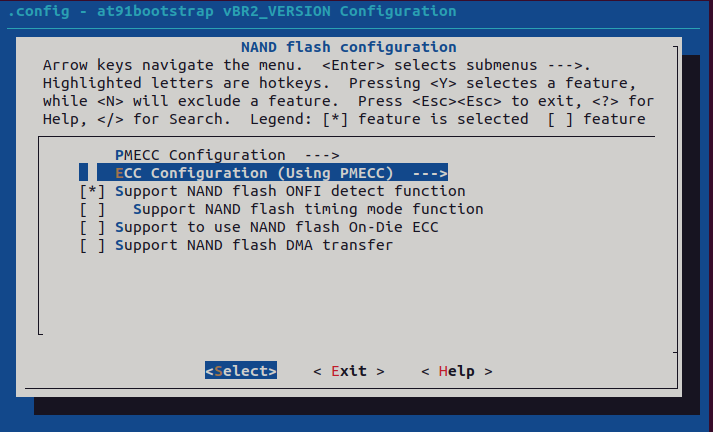
NAND flash configuration and press Enter.
- In the NAND flash configuration
menu:
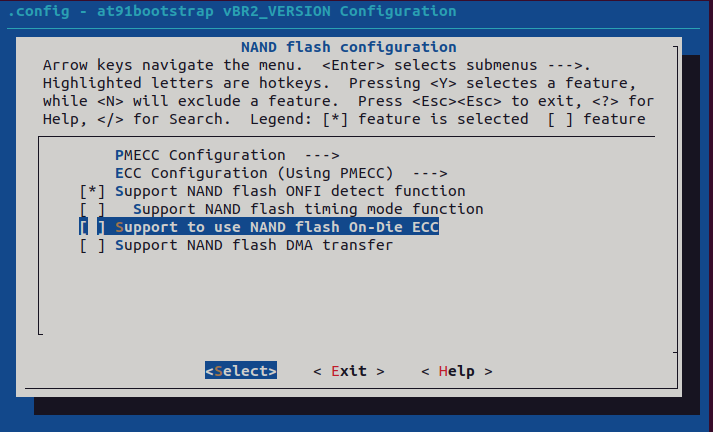
- Select Support NAND flash ONFI detect function and press Enter.
- Deselect Support to use NAND flash On-Die ECC and press Enter.
- In the NAND flash configuration
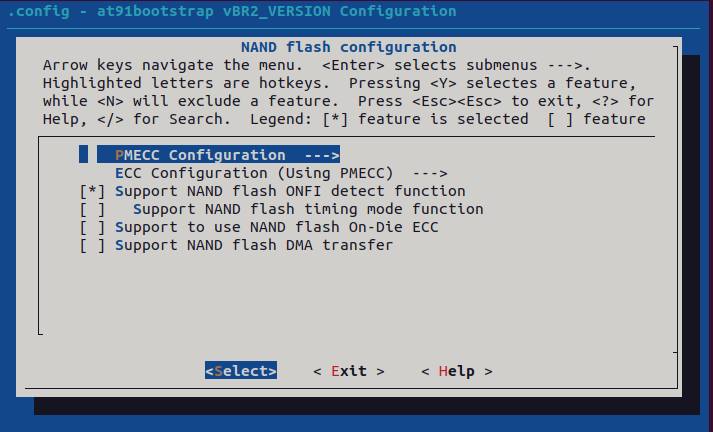
menu, select PMECC Configuration and press Enter.
- In the PMECC Configuration
window, select Auto-detect ONFI minimum error requirement and press Enter.

- In the NAND flash configuration
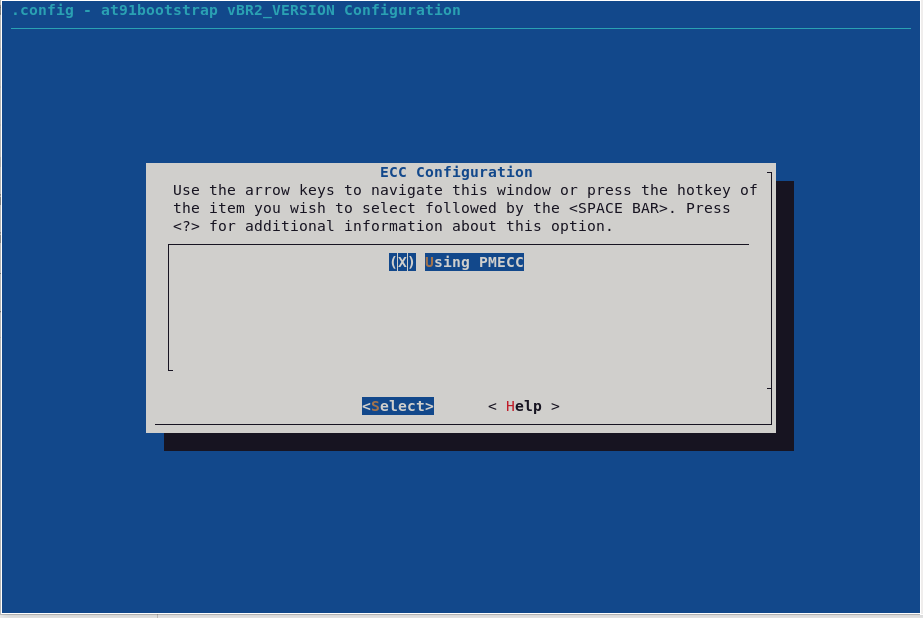
menu, select ECC Configuration and press Enter.
- In the ECC Configuration menu,
select Using PMECC and press Enter.
- Press ESC twice to exit the menu.
- In the Flash Memory menu, select
Non-volatile memory to load from and press Enter.
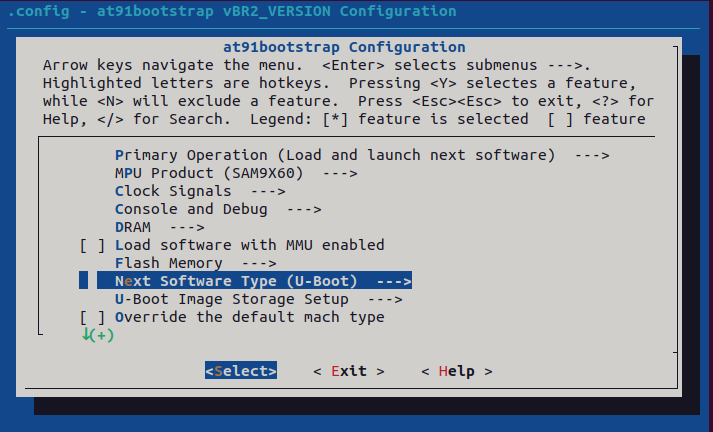
- In the at91bootstrap Configuration
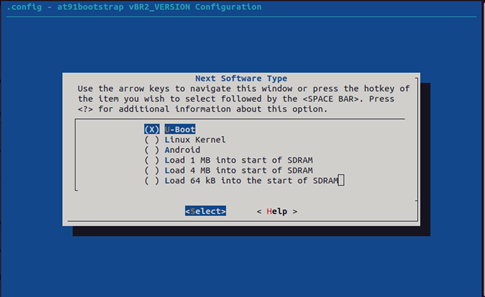
window, select Next Software Type and press Enter.
-
In the Next Software Type menu, ensure the U-Boot check box is selected. If not, select it and press Enter.
-
- In the at91bootstrap configuration
window, select U-Boot Image Storage Setup and press Enter.
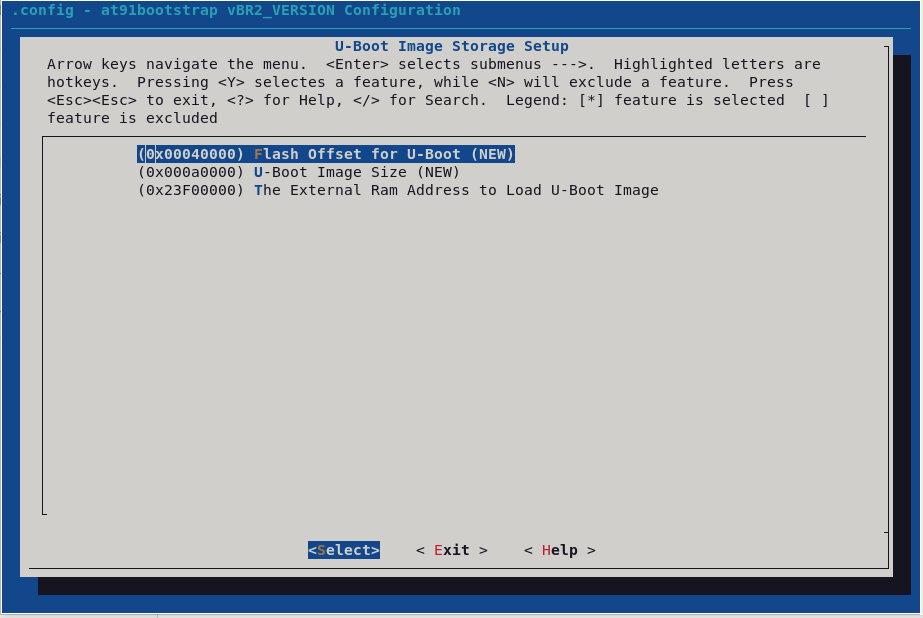
- In the U-Boot Image Storage
Setup menu, update the Flash Offset for U-Boot, U-Boot Image Size and
The External Ram Address to Load U-Boot Image details as shown in the image
below and press Enter.
- Press ESC twice to exit the menu.
- In the U-Boot Image Storage
Setup menu, update the Flash Offset for U-Boot, U-Boot Image Size and
The External Ram Address to Load U-Boot Image details as shown in the image
below and press Enter.
- Select Exit and press Enter.
- Click Yes.
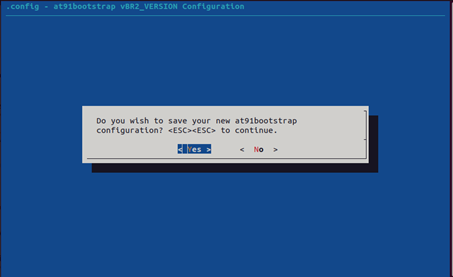
- Click Yes.
