
19.4 Import and Export Remote ESXi Systems using maxView Plugin in vSphere 8 HTML Client
maxView plugin provides the Import and Export systems feature to add multiple systems and export the added systems in “SystemConf.json” file, which can be used later to import the added systems in maxView plugin running on another machine.
Export feature is only applicable when maxView plugin manages at least one ESXi system.
- In the Monitoring section on the vSphere client's Shortcut page screen, click the maxView icon; the Host information screen appears.
- Click on the Export System button.
Select the IP address of the system that need to be exported. Click Export.
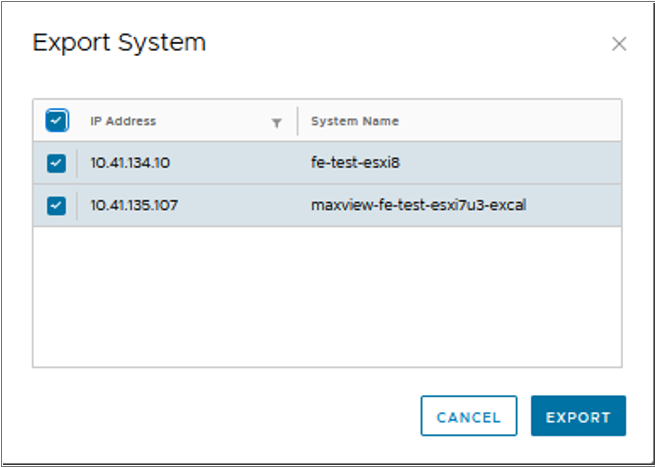
The exported systems are downloaded as “
SystemConf.json” file in the browser download directory.
Perform the following steps to import the ESXi systems into the vSphere client:
- Navigate to the Host screen and click the
Import button.
The Import System screen appears.
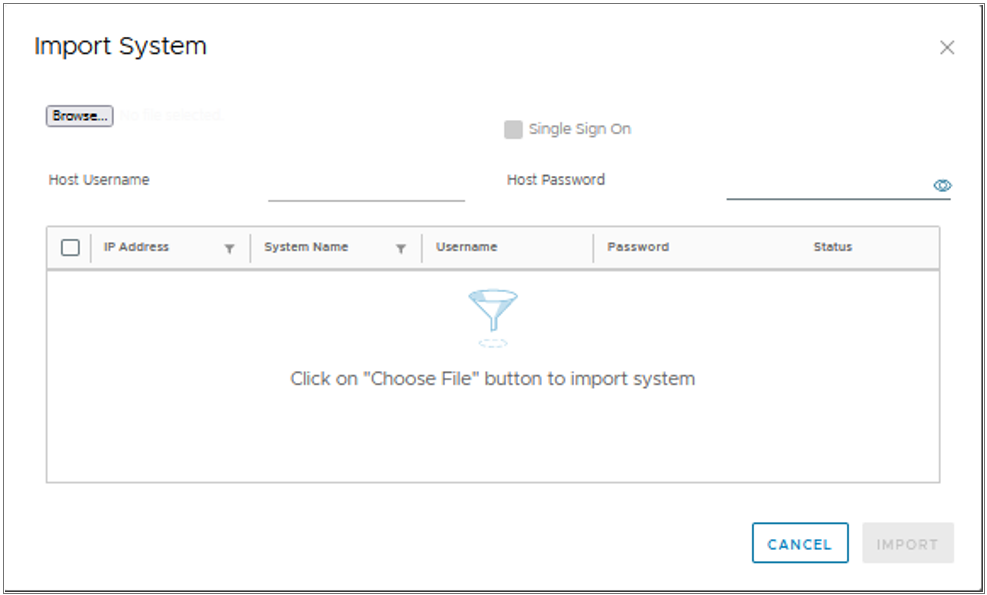
- Click Browse to
specify the path of the “
SystemConf.json” file.
Select the system name(s) and specify the login credentials. Select Single Sign On option to specify the Host Username and Host Password for all the selected systems that have same credentials. Otherwise, specify each system's credentials manually.
Note:Single sign on option is enabled only when more than one system is selected for import.
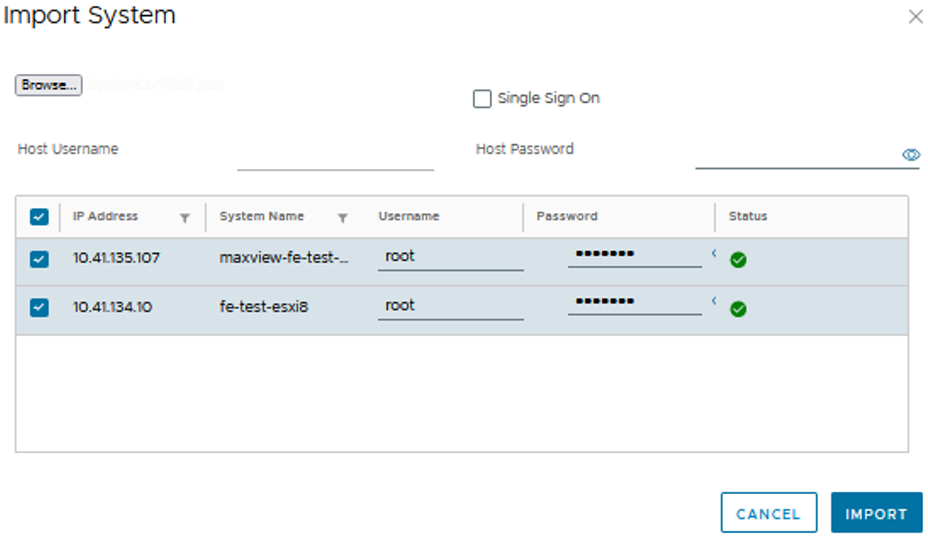
Click Import.
A Status message box appears stating that the "System added successfully".
Click Close and refresh the screen.
The imported systems will appear under the Host screen.
