
5.4.2 Creating a Logical Drive on an Existing Array
After creating an array, continue to build the storage space by creating more logical drives on that array. Use the On Existing Array configuration method to step through the process of creating a logical drive on an existing array, setting the RAID level, and configuring other settings.
To create a logical drive on a new array, see 5.4.1 Creating a Logical Drive on a New Array.
By default, maxView Storage Manager uses all available disk space to maximize the capacity of a new logical drive.
Logical drives can be added/created by selecting the existing array from the Enterprise view.
To create a logical drive on an existing array:
- In the Enterprise View, select a system, then select a controller on that system.
-
On the ribbon, in the Logical Device group, click
Create Logical Device.
-
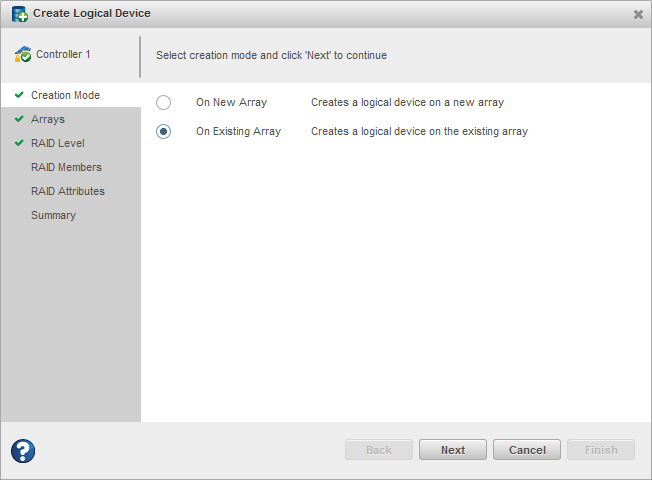
When the wizard opens, select On Existing
Array, then click Next.
-
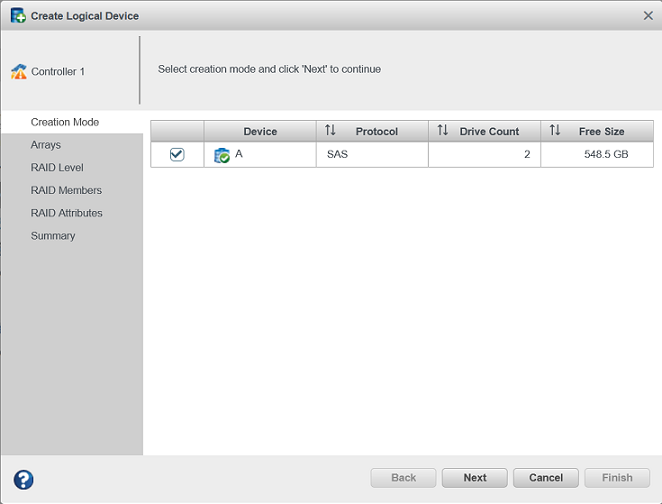
Select the array on which to create the logical drive, then click
Next.
 Note:
Note:For details on SED support operations on an existing array while creating a logical device, see 5.6.1 Create Logical Device.
-
Select a RAID level for the logical drive, then click
Next.
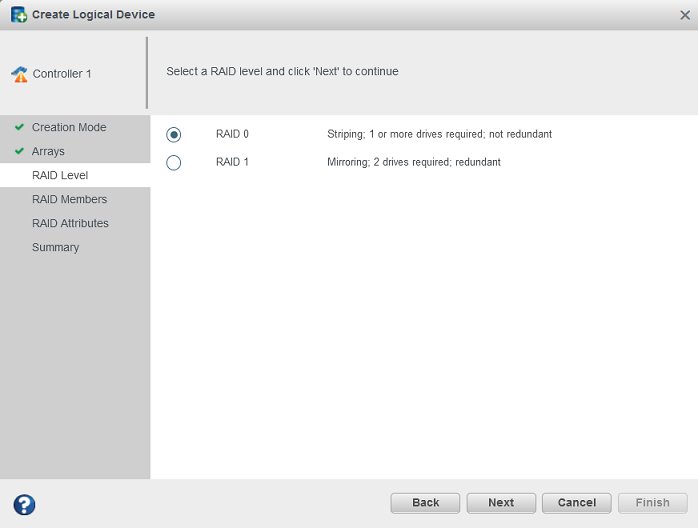 Note: Not all RAID levels are supported by all controllers. (See the Release Notes for more information.) See Selecting the Best RAID Level for more information about RAID levels.
 -
(Optional) In the RAID Attributes panel, customize the
logical drive settings.
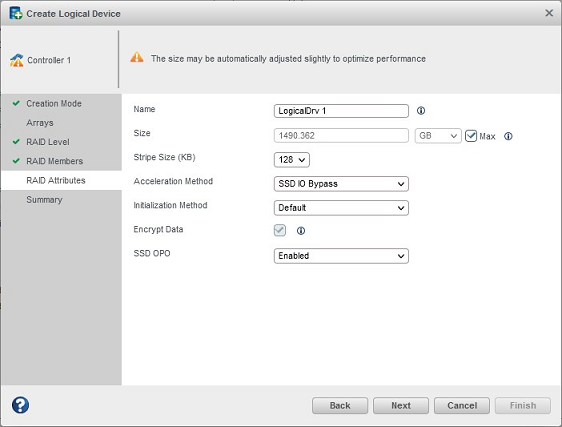
You can:
- Enter a name for the logical drive.
Names can include any combination of letters, numbers, and spaces.Note: Duplicate logical device names are not allowed.
- Set the size and unit of measure for the logical drive. (By default, a new logical drive uses all available disk space.)
- Change the stripe size—the amount of data, in bytes, written per disk in the logical drive. (The default stripe size usually provides the best performance.)
- Enable or disable controller caching.
- Set the initialization method to Default or Build. The
initialization method determines how the logical drive is prepared
for reading and writing, and how long initialization will take:
- Default—Initializes parity blocks in the background while the logical drive is available for access by the operating system. A lower RAID level results in faster parity initialization.
- Build—Overwrites both the data and parity blocks in the foreground. The logical drive remains invisible and unavailable to the operating system until the parity initialization process completes. All parity groups are initialized in parallel, but initialization is faster for single parity groups (RAID 5). RAID level does not affect performance during Build initialization.
Note: Not all initialization methods are available for all RAID levels. Create an encrypted or plaintext logical drive (for more information, see 9 Working with maxCrypto™ Devices)
- Enter a name for the logical drive.
Names can include any combination of letters, numbers, and spaces.
-
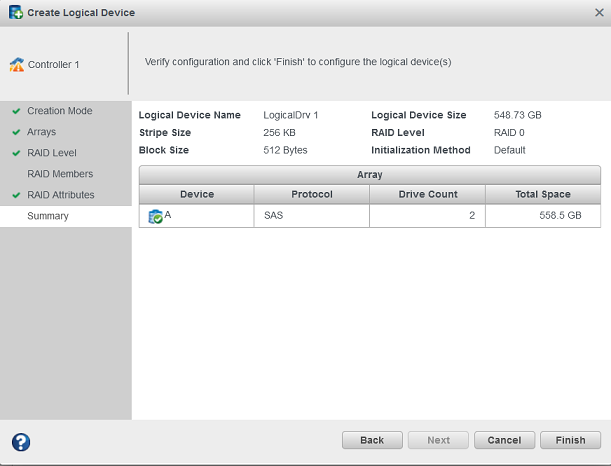
Click Next, then review the array and
logical drive settings.
This example shows a RAID 0 logical drive to be created on Array A.
-
Click Finish.
maxView Storage Manager builds the logical drive on the array. Use the Event Log and Task Log to track build progress.
- If you have other disk drives or available disk space and want to create more logical drives on an existing array, repeat Steps 2-8.
- Repeat Steps 1-9 for each controller in your storage space.
- Partition and format your logical drives. See 5.4.3 Partitioning and Formatting Your Logical Drives.