5.7.2 Add a File to the Project
To add a C code template file to the project, follow the steps below.
- If this is the first time you have used the XC-DSC
toolchain:
- Right click on the Source Files folder in the project tree. Select NewOther from the drop-down menu.
- In the New File dialog, click to expand the Microchip Embedded category to find and select the toolchain compiler folder.
- Under File Types, find and click on the main file. Then click Next to move to the Name and Location step.
- If you have used the XC-DSC
toolchain before:
- Right click on the Source Files folder in the project tree. Select New > mainXC-DSC.c to open the New mainXC-DSC.c dialog to the Name and Location step.
- Under File Name, you may change the default newmainXC-DSC.c name if you wish.
- Under Folder, enter a folder in which to place the file. The default is the project folder. Keeping the file in the project folder makes the project more portable.
- Click Finish.
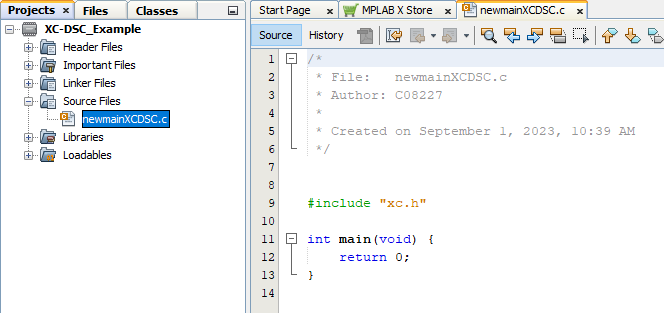
The project tree should now have the Source Files folder open, containing the file added, as well as the new file open in an Editor window (see following figure).
Note: If you add more than one file, the order in which you add
these files to the project is the order in which they will be linked.

