
3.3.1 Starting a New XC8 Application Project for an AVR® Device
- Open the Project
Wizard by selecting
File→New→Project... from the
Microchip Studio menu.
Figure 3-21. New Project Wizard 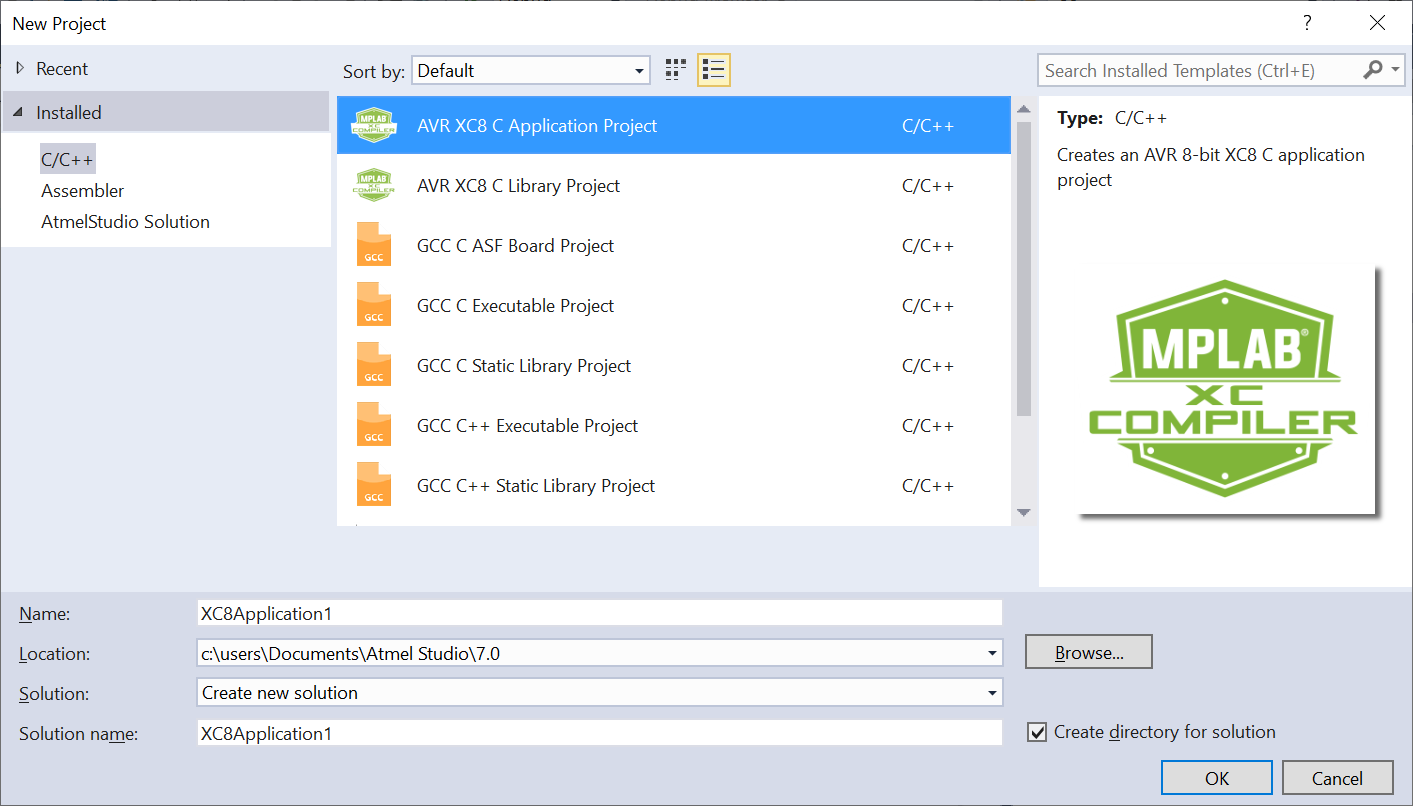
- Select
C/C++→AVR XC8 C
Application Project as a template, specify a
project name, select a location, and provide a solution name. A
source file with an empty
main()function will be added to the project by default. Press OK to proceed. - Select
C/C++→XC8 C Library
Project as a template, specify a project name,
select a location, and provide a solution name to create a library
project. A source file with an empty
myfunc()function will be added to the project by default. Press OK to proceed.Tip:See section Starting a New XC8 Library Project to learn more about XC8 Library projects.
- A device selection
dialog will appear. Choose the appropriate target device for your
project.
Figure 3-22. Device Selection Dialog 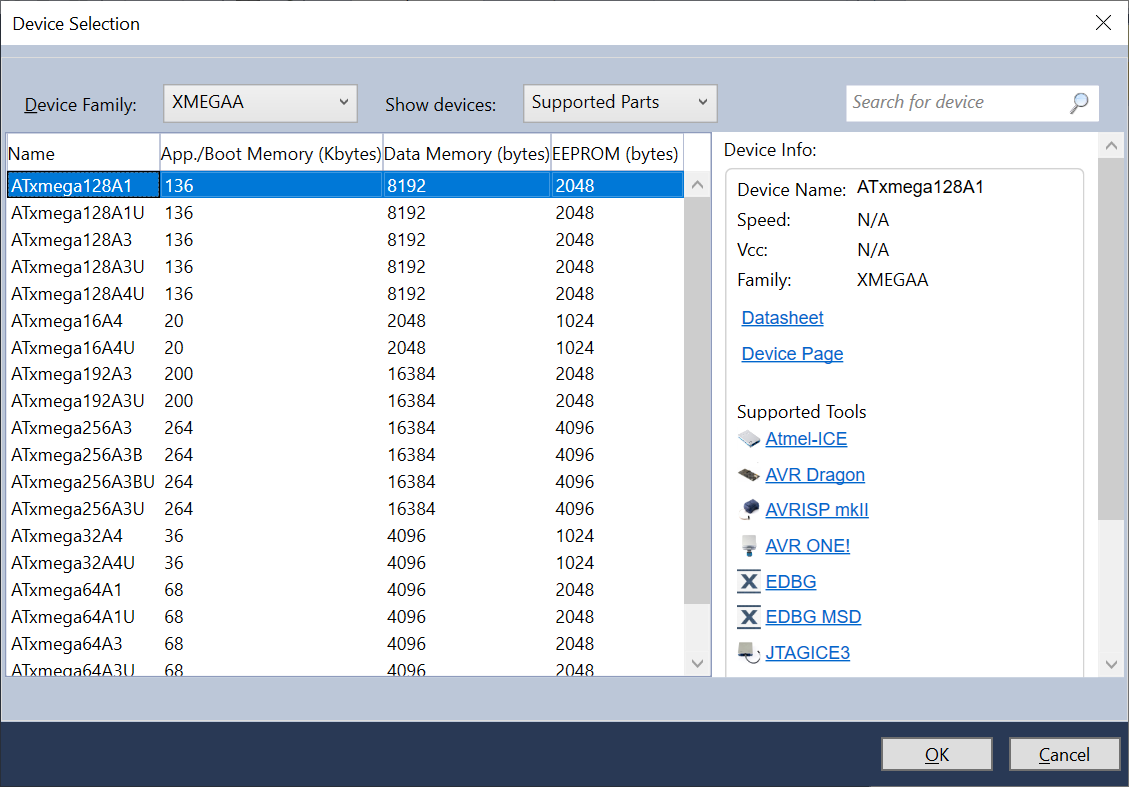
- Click OK to complete the project creation.
- Right click on the project node and select Build to build the project.
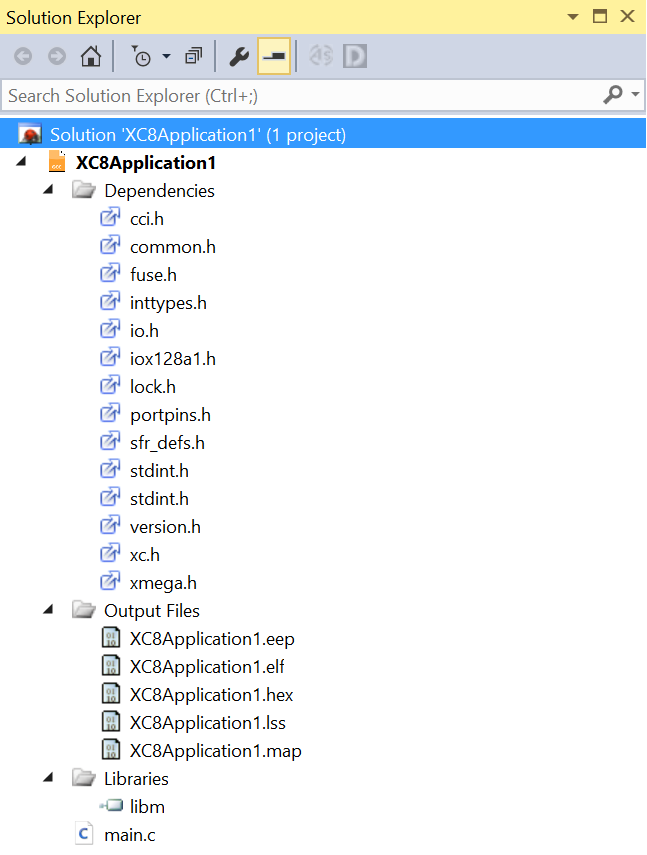
Dependencies
All the header files used in the build process will be displayed under this node. Double click on any file to open it in the editor.
Output Files
All output files will be displayed under this node.
Libraries
All Library files will be displayed under this node.
Tip:
See section Library Options Libraries Options to know more about Library options.