6.5.2 FFD Project Verification
- Connect the FFD device to the USB port. Users can monitor the status of the device
using the debug prints produced on the tera term tool. From the below image
- Bluetooth® LE advertising has started.
- FFD waits for provisioning parameters.
Figure 6-83. Tera Term 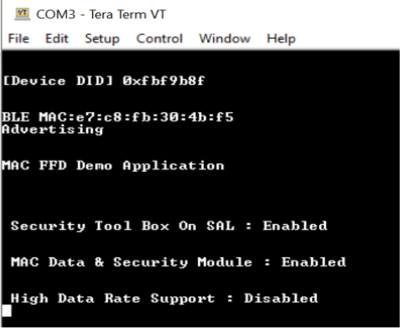
- Open the mobile app and select BLE
Provisioner.
Figure 6-84. BLE Provisioner 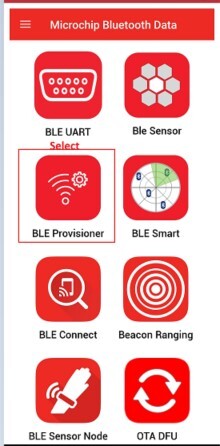
- The device name will be shown on the
mobile app. Select the device based on device name.
Figure 6-85. BLE Provisioner 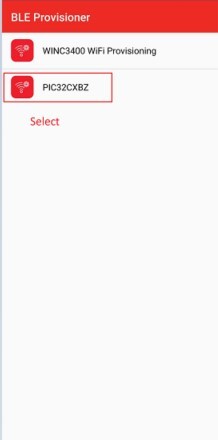
Figure 6-86. BLE Provisioner 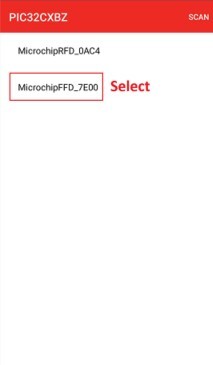
- Change the parameters (PAN ID and
Channel as per the requirement) by selecting provision option as illustrated
below.
Figure 6-87. Parameters 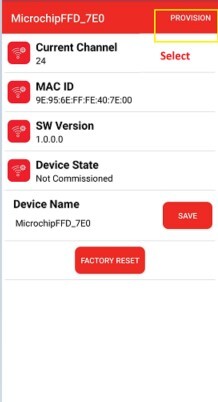
Figure 6-88. Parameters 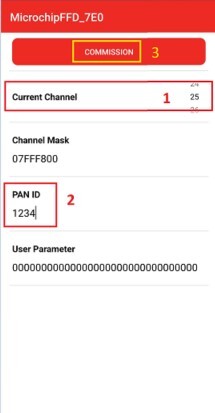
Figure 6-89. Commissioning 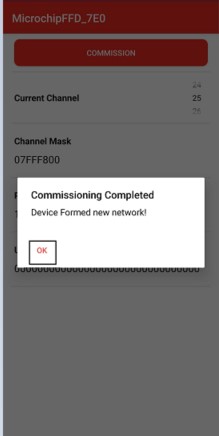
Figure 6-90. Commissioned 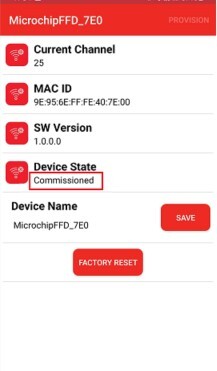
Figure 6-91. Tera Term 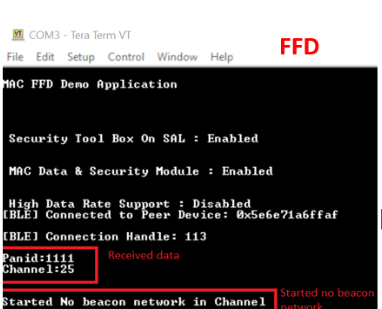
Procedure For Factory Reset
- During the factory reset
process, the device provisioning data is erased, and the device is reset to
its default state.
Figure 6-92. Factory Reset 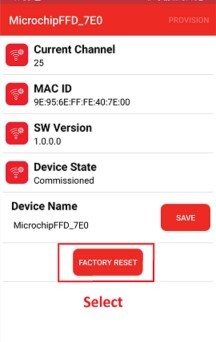
- After clicking the factory reset, “System reset” will be invoked, so the
device will disconnect from the Bluetooth LE. After the successful
completion of the factory reset, the device status will be switched to a not
commissioned state.
Figure 6-93. Tera Term 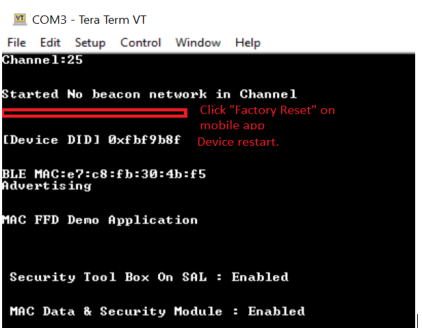
Procedure For RGB LED Control
- Open the mobile app and select
BLE Sensor>PIC32CXBZ
Figure 6-94. MBD App 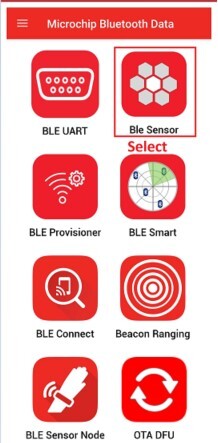
Figure 6-95. MBD App 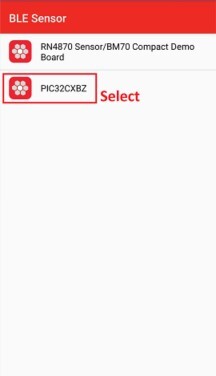
- Click on Scan option
available in top right corner of the screen, and select the device
Figure 6-96. Scanning 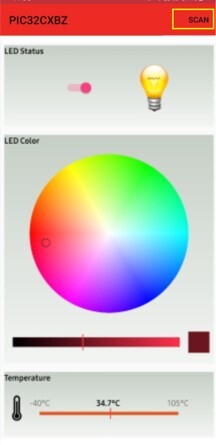
Figure 6-97. MicrochipFFD 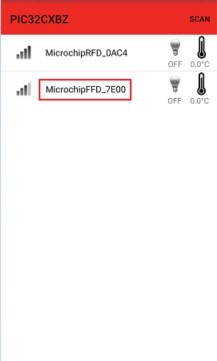
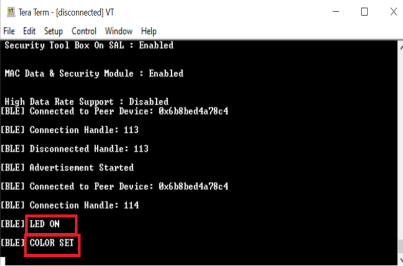
- Activate the RGB LED by turning on the LED Status feature within the interface.
- Select the preferred color from
the LED Color section of the interface, and the RGB LED on the
Coordinator will adjust accordingly.
Figure 6-98. MBD App 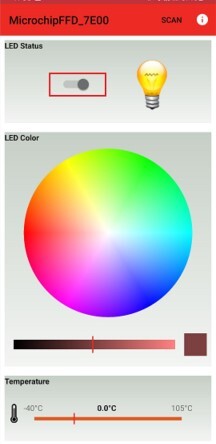
Figure 6-99. Tera Term