3 Generate the Encrypted Provisioning Package
- After reviewing your submission, Microchip will respond via your support case with the following:
- An RSA public key (always provided)
- A Certificate Signing Request (CSR) (only if using a custom PKI)
- Download these files from the attachments section of the support case.
Figure 3-1. Download RSA Key and CSR 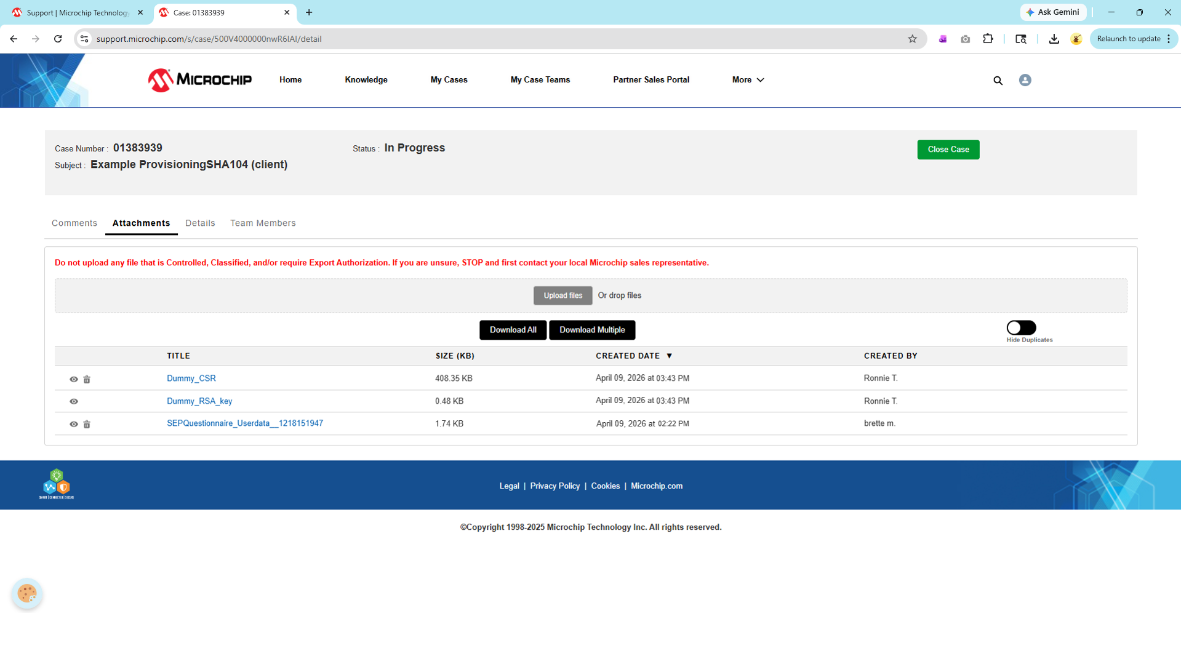
- Return to the Trust Platform Design Suite.
- Open the appropriate TrustFLEX/TrustCUSTOM configurator:
Figure 3-2. TPDS Configurator Tab 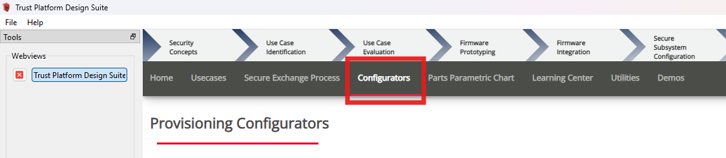
- Configure the device exactly as intended for production, including:
- Use cases
- Keys
- Certificates
- Slot configurationImportant: When generating the Encrypted Provisioning Package to request verification units, use real project secret keys for production so the final configuration and keys can be fully validated. During prototyping, use dummy keys to protect you real project secret keys.
- Click Generate Encrypted Provisioning Package.
Figure 3-3. Generate Encrypted Provisioning Package 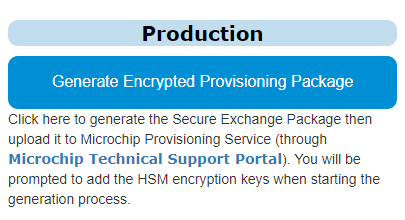
- In the pop-up window, select the following files:
- RSA key (required)
- CSR (if applicable)
- CA key (optional):
Figure 3-4. Upload RSA Key and CSR 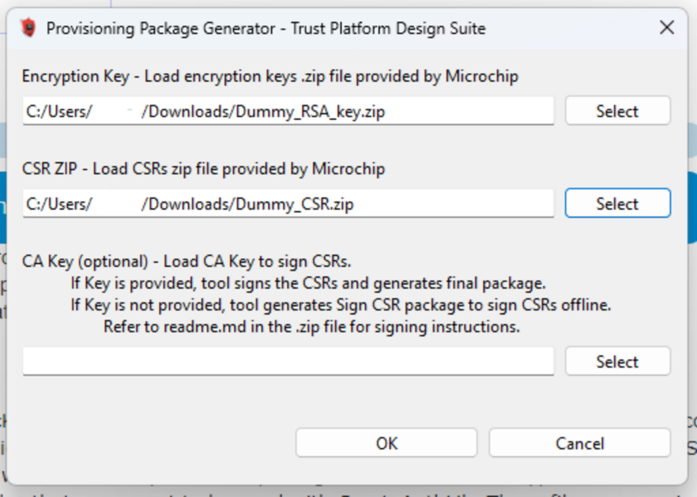
- Confirm the selection and download the encrypted provisioning package:
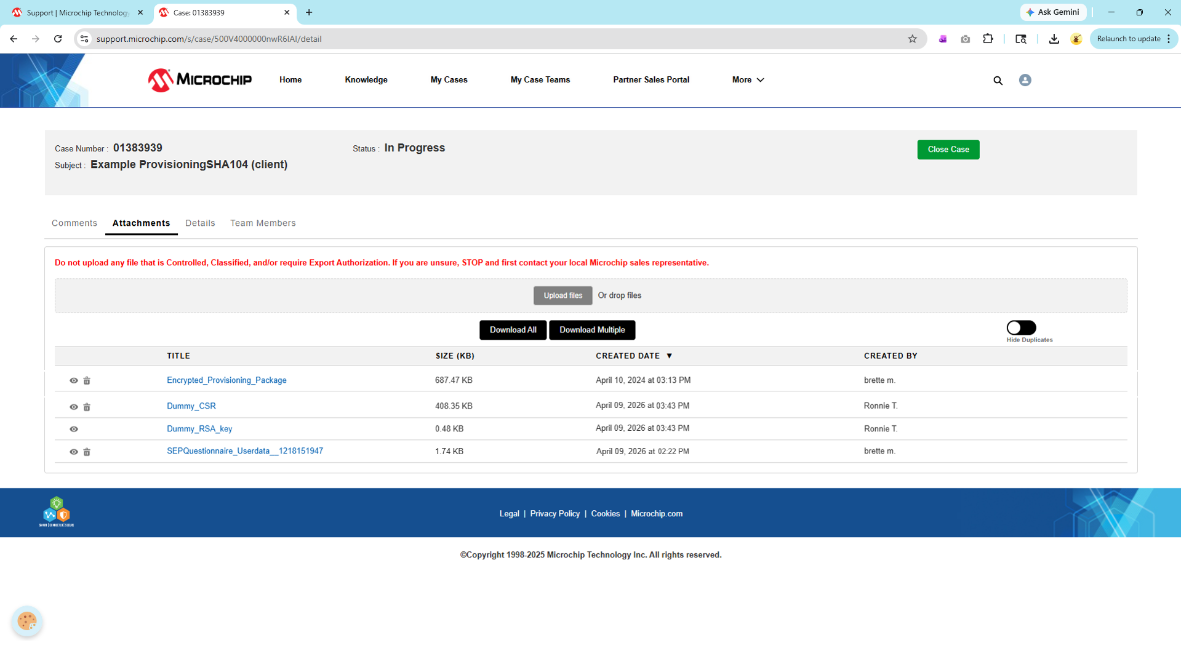
Figure 3-5. Download Confirmation 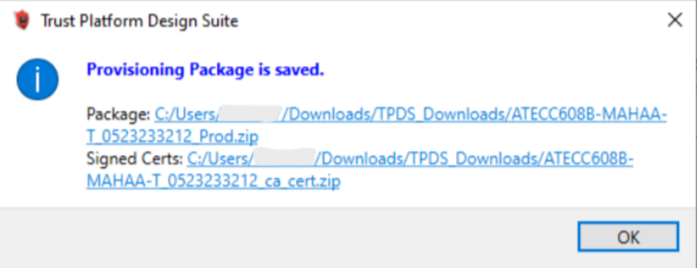
- Return to your myMicrochip support case.
- Under Attachments, click Upload Files.
- Select and open the encrypted provisioning package.
- Click Done.
Figure 3-6. Upload Encrypted Provisioning Package