
2.3.1 Create a New Project Using MPLAB® X IDE
-
To create a new project using the MPLAB X IDE, go to File → New Project… and the New Project wizard will appear. This step is described in Figure 2-4.
Figure 2-4. Create New Project 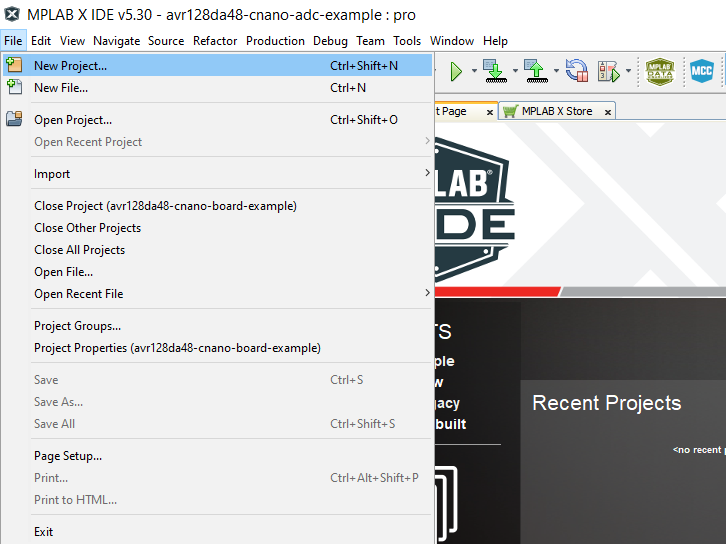
-
In the Choose Project step, select Microchip Embedded from Categories, and Standalone Project from Projects, then click Next. This will create a new stand-alone application project. This step is presented in Figure 2-5.
Figure 2-5. Choose Project 
-
The next step is to select the device for programming. The application presented in this document is implemented using the AVR128DA48 device from the 8-bit AVR MCUs family. After choosing this device, click Next.
Figure 2-6. Select Device 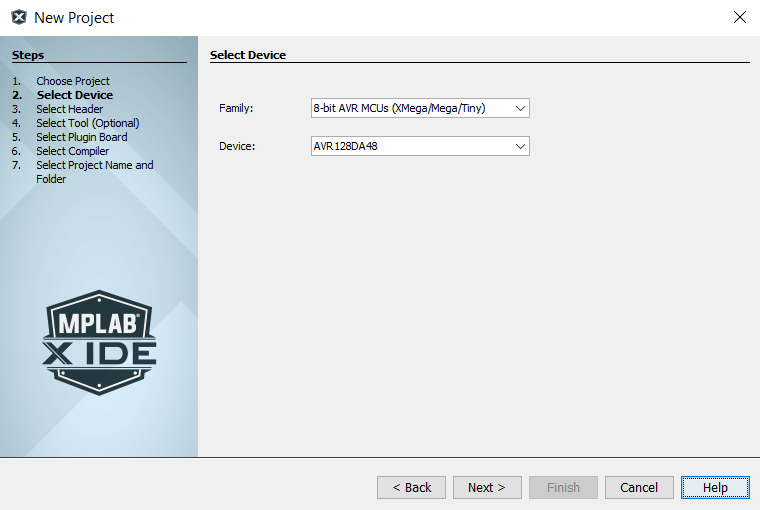
-
Then, in the Select Tool step, from Microchip Kits → AVR128DA48 Curiosity Nano (PKOB nano) select the desired tool (SN:MCHP…). This is an optional step. If the tool is not available yet, or it is not connected yet, the user may select the Simulator tool from Hardware Tools, or leave it unselected until it is required.
Figure 2-7. Select Tool 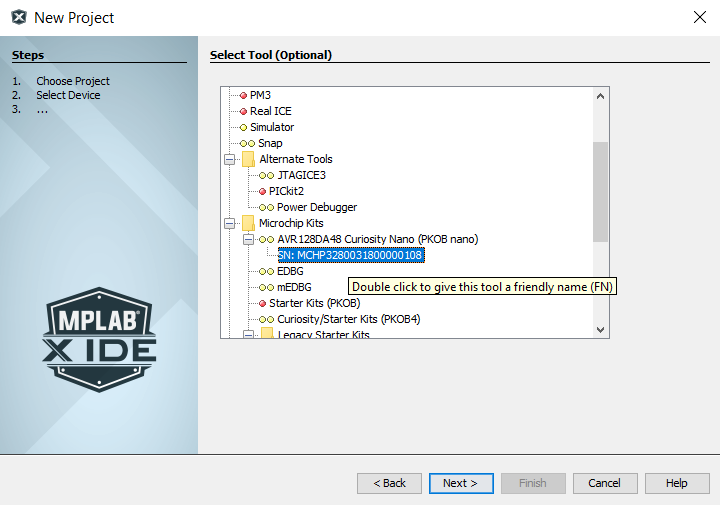 Info: The user can also double click on the tool name to give it a friendly name (FN).
 -
The desired version for the XC8 compiler is chosen for this project, as presented in Figure 2-8.
Figure 2-8. Select Compiler 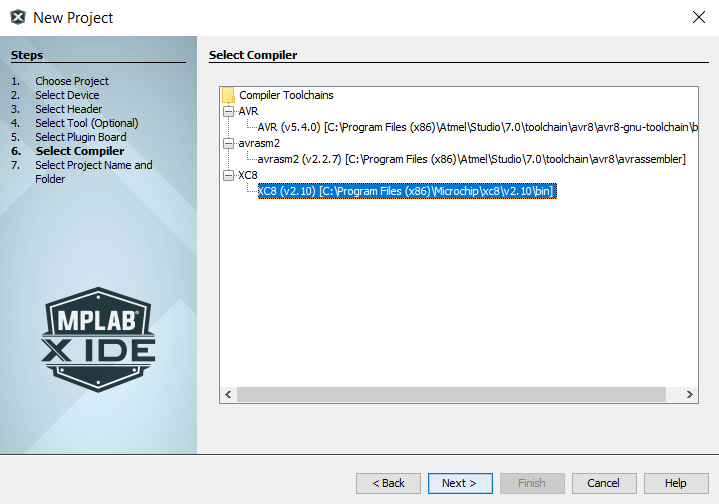
-
The final step is Select Project Name and Folder. For this example, the project name will be avr128da48-cnano-adc-diff. During this step, the user can also configure the project location, the project folder, and the encoding.
Figure 2-9. Select Project Name and Folder 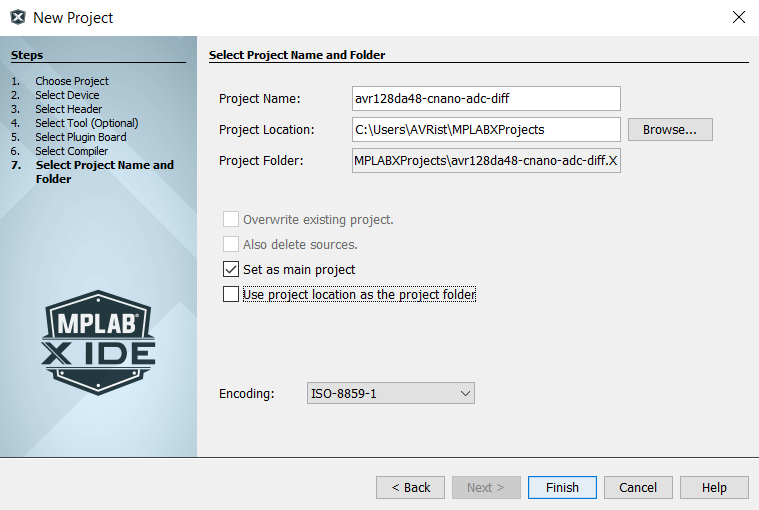
After completing all the required steps, a new and empty project will appear in the Projects window. All the necessary files will be introduced in the project using the MCC plug-in.