1.1.8 How to Create a Lump Sensor
Overview
This section provides step-by-step information for generating a lump sensor using Touch Configurator in MCC.
Creating Lump
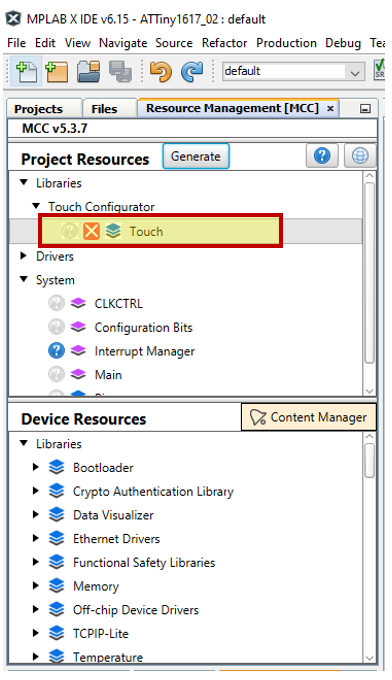
Step 1: Open Touch Configurator
Select MCC and open Touch Configurator in the Resource Management [MCC] tab.
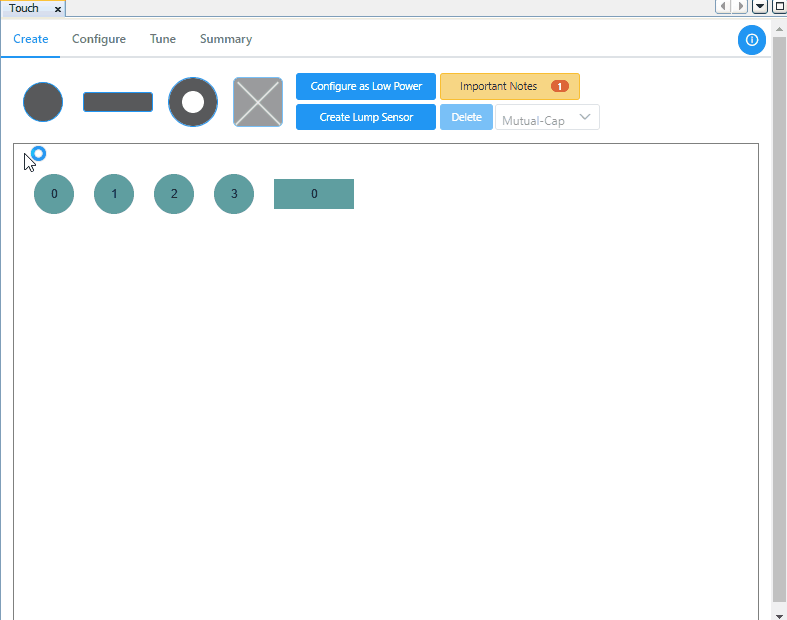
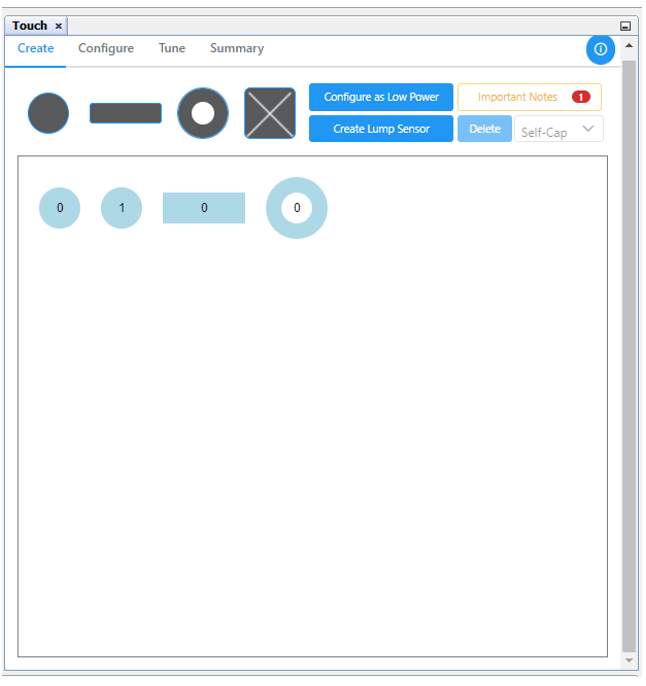
Step 2: Create Buttons, Sliders and Wheels.
Add the required number of buttons, sliders and wheels.
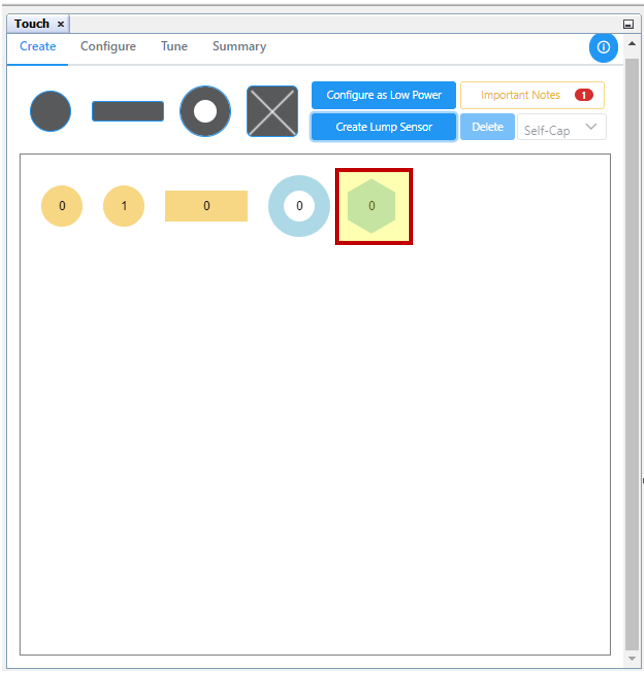
Step 3: Create Lump Button
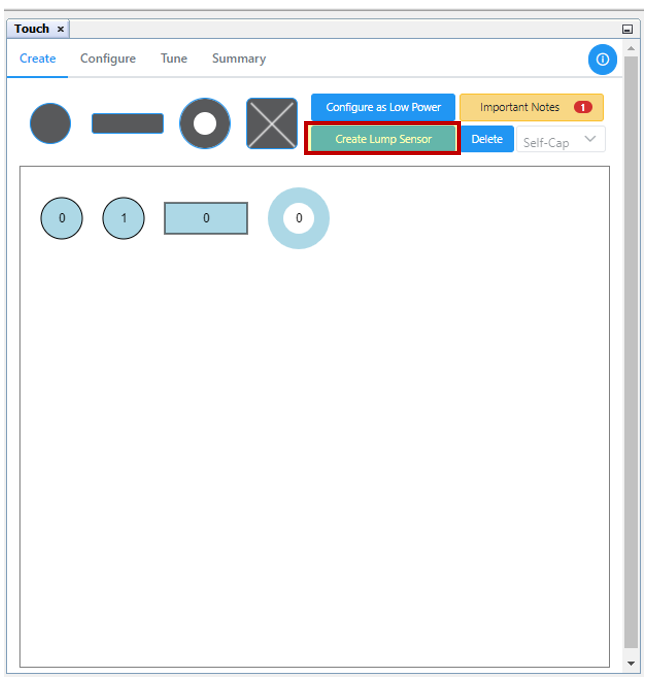
Press <CTRL> and click the sensors (buttons/sliders/wheels) to be configured as lump sensor (lump can also be created by mouse movement). Now click Create Lump Sensor .
Step 4: Visualize Lump Sensor
The hexagon graphic represents lump sensors. The lumped individual sensors will be displayed in yellow when the mouse cursor is placed over the lump sensor .
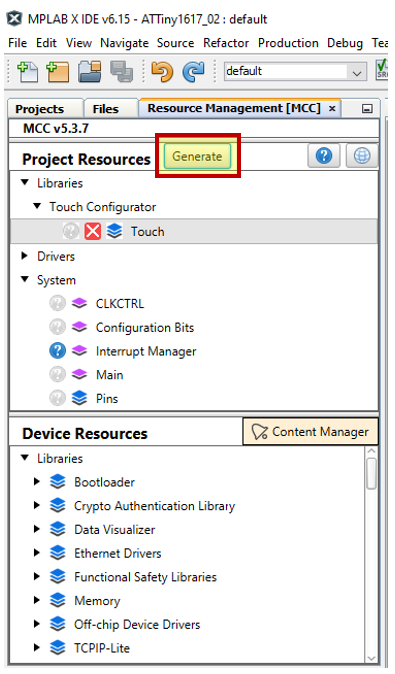
Step 5: Generate Lump Sensor Code
Click Generate in the Resource Management [MCC] tab.
The following animation shows the process of creating a Lump sensor in Touch Configurator.