4.1 Connecting the Board using the USB-C Serial Interface
(Ask a Question)To connect the board using the USB-C serial interface and then verifying the connection, perform the following steps:
- Insert the provided microSD card into the microSD card slot on the kit, if it is not already inserted.
- Connect the USB-C cable to the USB-C port on the
kit and a USB-C port on the host PC. The three power LEDs on the kit must
illuminate. Note: If the three power LEDs fail to illuminate, then it may be required to power the kit using an external power supply and the 5V barrel jack.
- After identifying the COM port numbers of the PIC64GX Curiosity board (see Connecting to UART Interfaces from Windows Hosts or Connecting to UART Interfaces from Linux Hosts depending on your host operating system), start three instances of the serial emulator of your choice (for example, PUTTY, TeraTerm and Screen); one for each COM port of the device. The default baud rate is 115200, no flow control and no parity.
- On the board, press Reset (the RESET_IN# push button located beside the PIC64 part).
- The first terminal displays the Hart Software Services (HSS) bootloader messages.
- The second terminal displays the Ubuntu boot messages and an Ubuntu boot prompt.
- The third terminal is unused in this example – it can be used to display messages from a second context if one is running on the kit in the AMP mode.
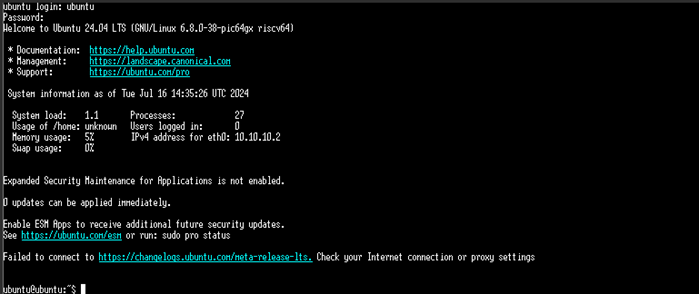
Figure 4-1. Login Prompt  Note: Some warnings may be displayed by the bootloader on boot, and they can be ignored.Note: The initial boot can take several minutes as the system is configured.
 - To login, use the following credentials on the serial terminal used by Ubuntu:
Username: ubuntu
Password: ubuntu
Note: You are required to set a new password on the initial login, subsequent logins must use the updated password.A welcome page and Ubuntu prompt is shown (note the welcome message may differ depending on the Ubuntu version used and if a network cable is connected):Figure 4-2. Welcome Screen