4 Running the Examples
Examples are available for each diagnostic test. Users can generate these examples if the options are enabled in the user interface.
- In the MCC window, navigate to the IEC60730 Class B Diagnostic Library module and enable a diagnostic test (e.g., CPU Program Counter).
- Switch to the CPU tab, and
enable the Generate Example box of the Program Counter test (see Figure 4-1).
Figure 4-1. Enabling the Program Counter Test Example 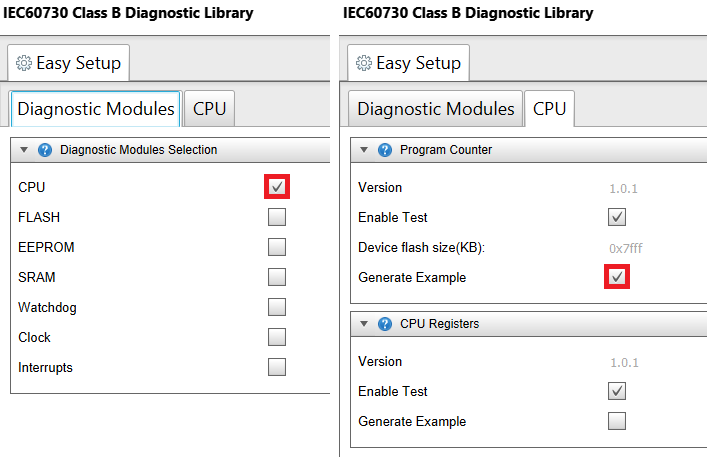
- For displaying the test example output, select a USART under Peripherals in the Device Resources panel.
- Enable Printf support for
AVR devices, or Redirect STDIO to USART for PIC®
devices. Configure the other options to match the preferred serial terminal
settings (see Figure 4-2).
Figure 4-2. Configuring the USART in ATtiny3217 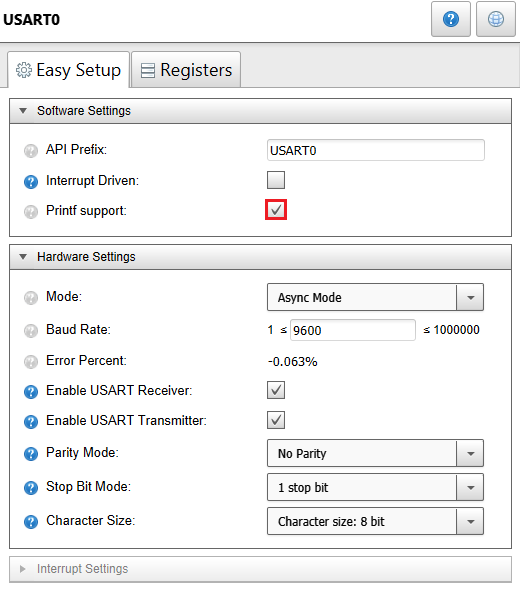
- Click the Generate button.
- Include the header
mcc_generated_files/diag_common/examples/diag_common_example.hinmain.c. This header contains all the generated example functions. - Call the example function
DIAG_CPU_ProgramCounter_Example()inmain()(see Figure 4-3).Figure 4-3. Adding the Test Example to main.c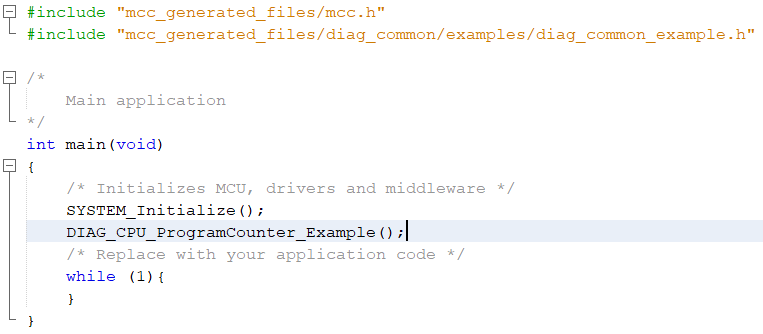
- Connect a board with the selected device to the PC (e.g., an ATtiny3217 Curiosity Nano).
- Build and program the board.
- Open and configure a serial
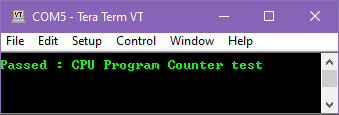
terminal to view the example output (see Figure 4-4).
Figure 4-4. Program Counter Test Output in the Serial Terminal