2 Adding Diagnostic Tests
This section describes how to add diagnostic tests using MCC and the IEC60730 Class B Diagnostic Libraries in MPLAB X projects.
- Create a new project in the MPLAB X IDE for any supported device specified in the library release notes (e.g., ATtiny3217). To view the release notes, refer to step 2.1 in Installing the Library or the Note above.
- Open MCC by clicking Tools →
Embedded → MPLAB® Code Configurator v4, or click the
 icon.
icon. - In the Device Resources panel under the Libraries → Functional Safety Libraries drop-down, select IEC60730 Class B Diagnostic Library.
- Enable the desired modules to be
added from the Diagnostic Modules tab selection (e.g., CPU). This
step will open the specific module tab, which contains the available diagnostic
tests (see Figure 2-1).
Figure 2-1. Enabling the CPU Tests 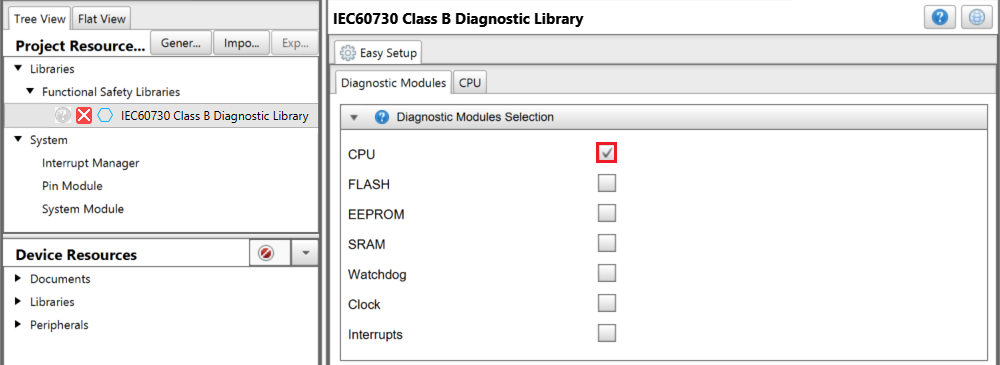
- Switch to the CPU tab, and
the available diagnostic tests are enabled by default (see Figure 2-2).
Figure 2-2. Available CPU Tests 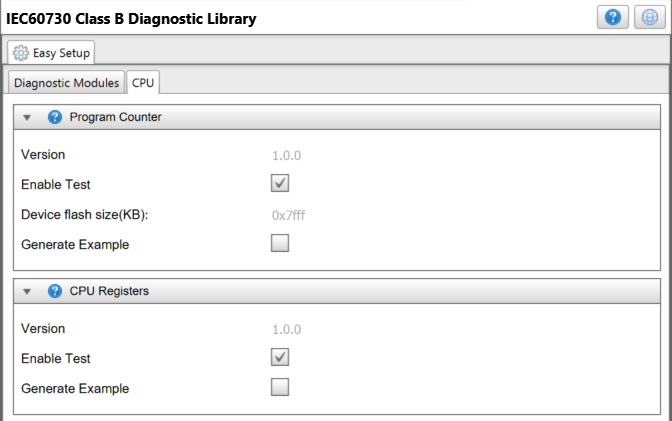
- Some diagnostic tests have
configurable parameters for modifying the tests as needed. In Figure 2-3, the Flash test has the option to
test the entire Flash memory or just 32 words as set by the Flash Length
parameter.
Figure 2-3. Configuring the Flash Test 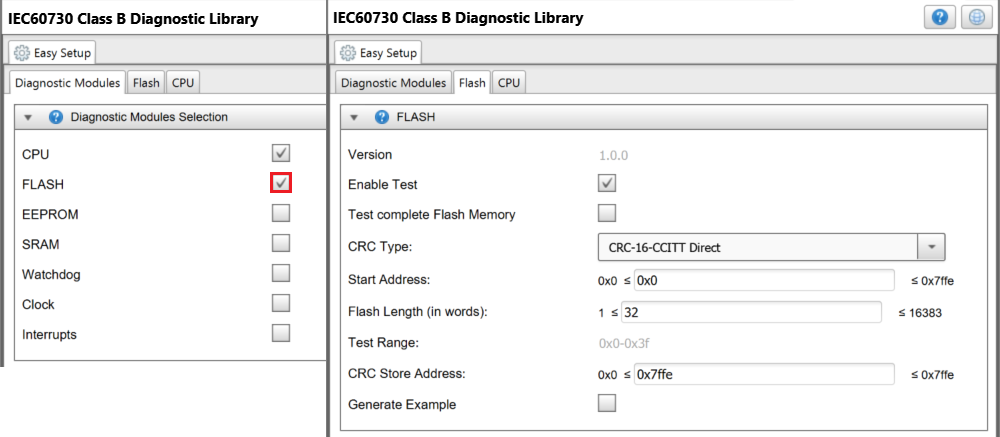
- Once all preferred tests are
enabled and configured, click the Generate button to add these test
codes, along with supporting API documentation, into the IDE project (see Figure 2-4 and Figure 2-5).
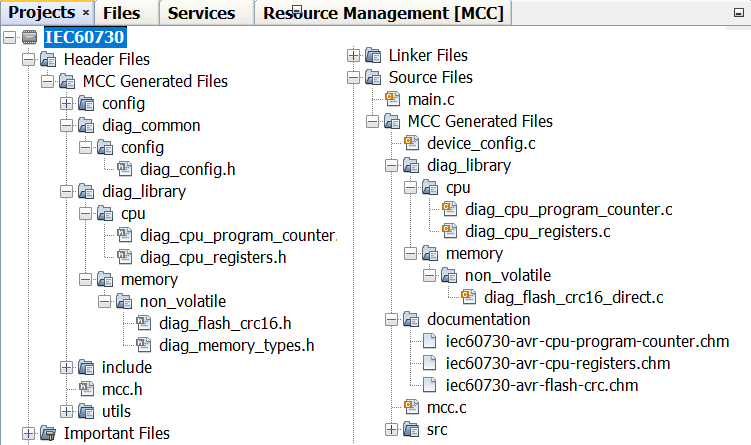
Figure 2-4. Generation of Test Files 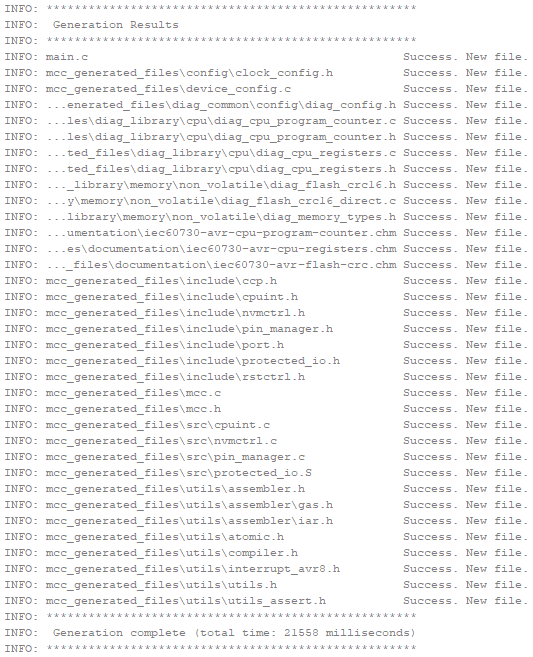
Figure 2-5. Project Files