5.9.2 Add a File to the Project
If You Have Opened MCC on Project Setup Finish
- In the MCC tab, click on Project Resources to display the Project Resources window. Then click on Generate.
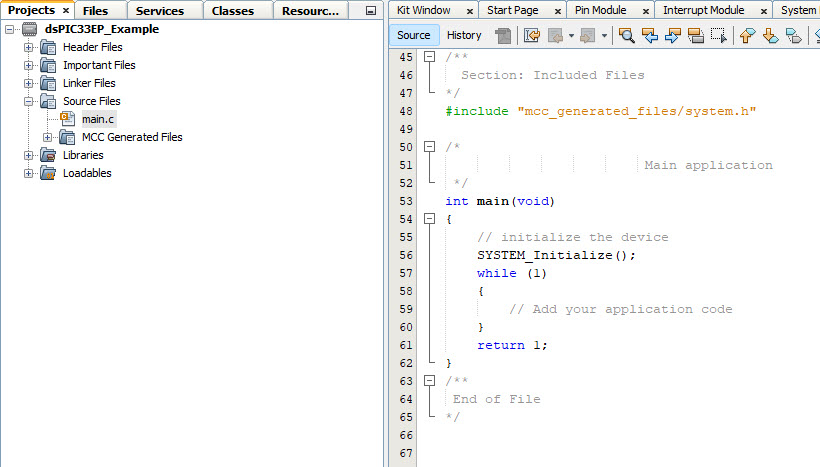
- The Projects tree should now have
the Source Files folder open containing the
main.cfile as well as other generated files. Double click on themain.cfile to see its contents in an Editor window (see figure below).
If You Have NOT Opened MCC on Project Setup Finish
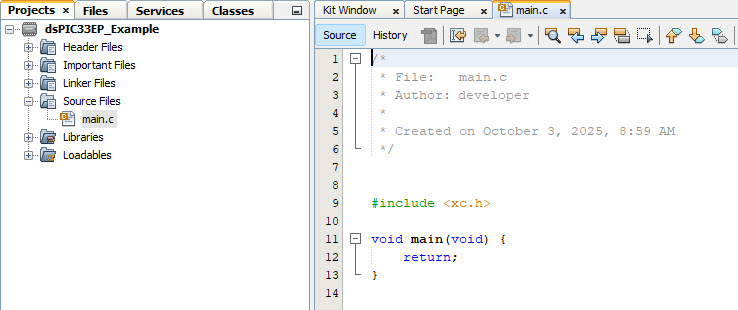
- Right click on the Source Files folder in the project tree. Select New > main.c to open the New main.c dialog to the Name and Location step.
- Under File
Name, change the default name
newmain.ctomain.c. - Under Folder, enter a folder in which to place the file. The default is the project folder. Keeping the file in the project folder makes the project more portable.
- Click Finish.
- The project tree should now have
the Source Files folder open, containing the file added,
as well as the new file open in an Editor window (see
figure below).Note: If you add more than one file, the order in which you add these files to the project is the order in which they will be linked.