3.1.2 Terminal Configuration Example
The following example shows how to connect the SPI interface to a terminal. However, the procedure is the same for any of the other available data sources. The target code used in this example can be found in Terminal Example Code.
Todo: Select correct tool in the
DGI Control Panel.
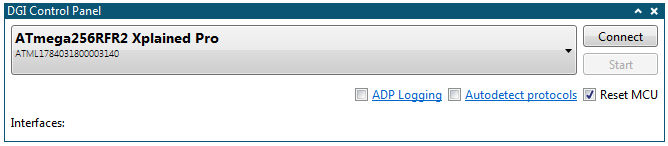
Todo: Click
Connect to make a connection to the DGI on the selected
tool.
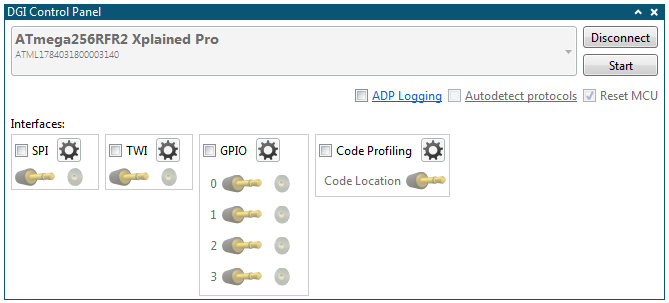
Todo:
- Click the SPI checkbox
- Open the SPI Configuration dialog by clicking the Gear button next to the SPI checkbox
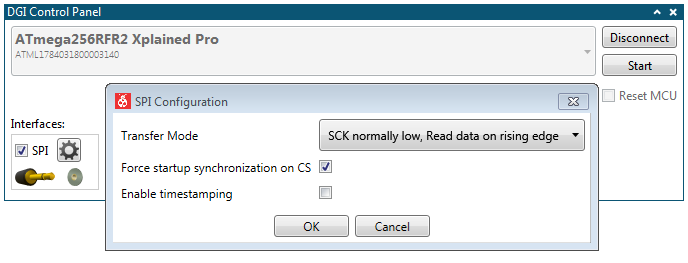
Todo:
- Set Transfer Mode to SCK normally low, Read data on rising edge
- Enable the Force start-up synchronization on CS option
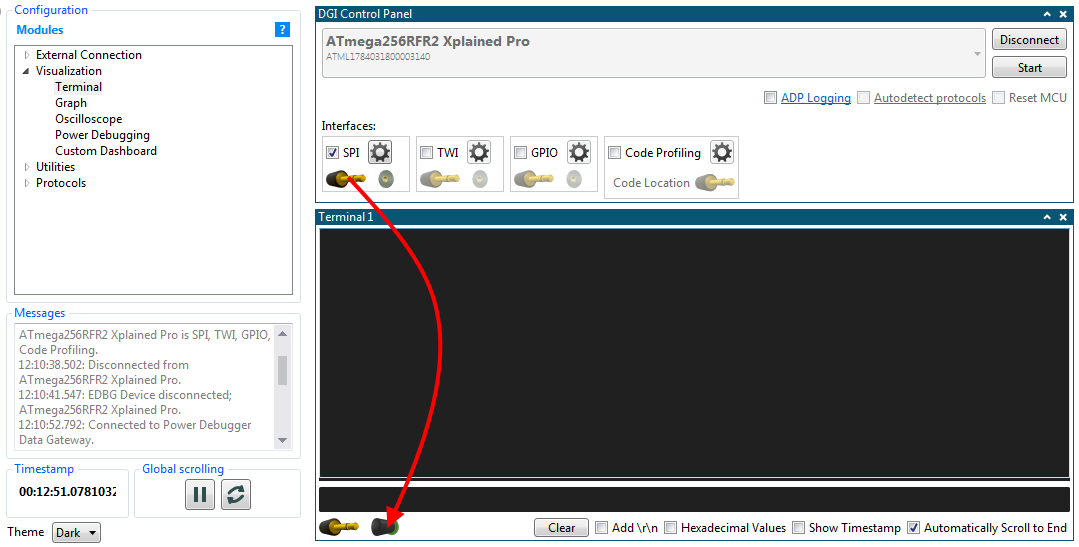
Todo:
- Open the configuration panel
- Add a Terminal view to the Visualizer
- Drag the source connector from the interface in the DGI Control Panel into the sink for the Terminal to make a connection
Todo:
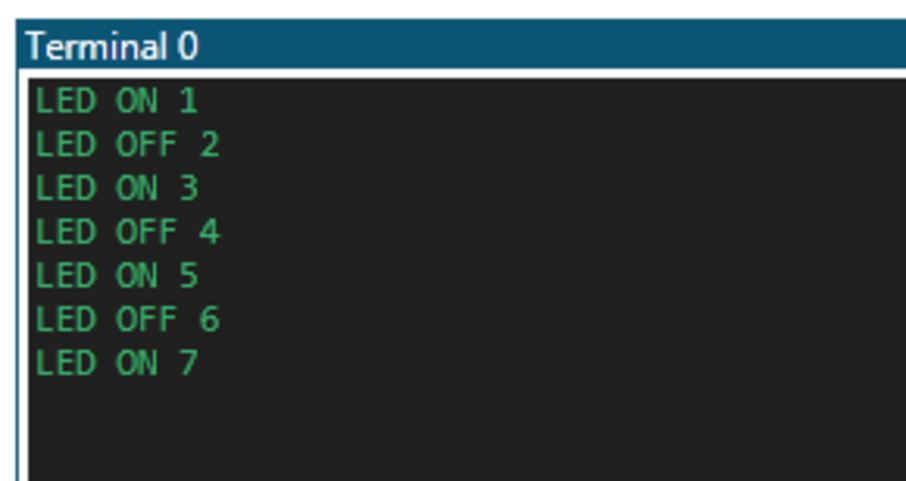
- Start the session
- Press the button (SW0) on the Xplained Pro board