
6.2.2.1 Building and Running the TCP Server Application
Building the Application
To build this application, open the project file
(
apps/tcp_server/firmware/tcp_server_sam_e54_xpro_rnwf02.X /)
in MPLAB X IDE. For more details on opening the project file in MPLAB X IDE, refer
to the Opening the Project File. The following table provides details on the project file.| Project Name | Description |
|---|---|
tcp_server_sam_e54_xpro_rnwf02.X |
|
Running the Application
- Mount the RNWF02 Add On Board on SAM E54 Xplained Pro evaluation kit at respective header. For more details about the boards placement in the SAM E54 X-plained host board, see Figure 6-58
- Connect the debugger USB port on the SAM E54 Xplained Pro evaluation kit to computer using a micro-USB cable.
- Open the project and launch MCC Harmony3.
- Configure Home-AP credentials for STA mode, using the RNWF02 Wi-Fi configuration options. For more details about the Wi-Fi settings configuration, See Figure 3-69.
-
Generate the code as illustrated below.
Figure 6-61. Generating the Code 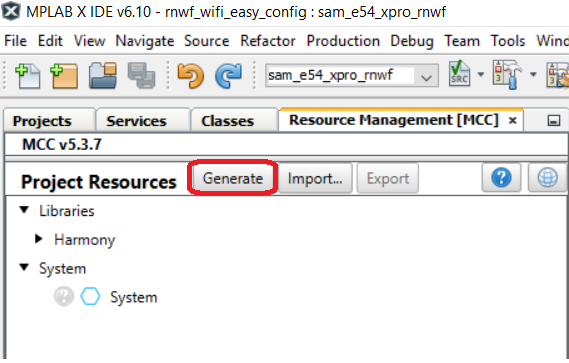
- Update the
SYS_RNWF_NET_NO_OF_CLIENT_SOCKETSmacro insys_rnwf_net_service.hto reflect the number of client sockets the system can manage in the Server mode (supports a maximum of five clients). -
Build and program the code to the hardware using MPLABX IDE.
Figure 6-62. Programming the Board 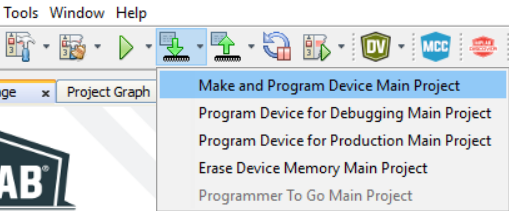
-
Open the Terminal application (for example, Tera Term or PuTTY) on the PC
Connect to the “EDBG Virtual COM Port” and configure the serial settings as follows:
- Baud: 115200
- Data: 8 Bits
- Parity: None
- Stop: 1 Bit
- Flow Control: None
-
As the board boots up, it will connect to Home-AP and print the IP address obtained. After establishing a successful TCP server-client connection, the application will continue listening on the socket number configured for incoming messages and then write them back to the client connected.
Figure 6-63. TCP Server - Serial Logs 
Figure 6-64. Mobile App TCP Client Logs 