
3.1 Creating a Mi-V SoftConsole Project
(Ask a Question)To create a Mi-V SoftConsole project, perform the following steps:
- Create a SoftConsole workspace folder on the host PC for storing SoftConsole projects. For example, D:\Tutorial\MiV_Workspace.
- Start SoftConsole.
- In the Workspace
Launcher dialog box, paste D:\Tutorial\MiV_Workspace
as the workspace location, and click Launch, as shown in the
following figure.
Figure 3-1. Workspace Launcher 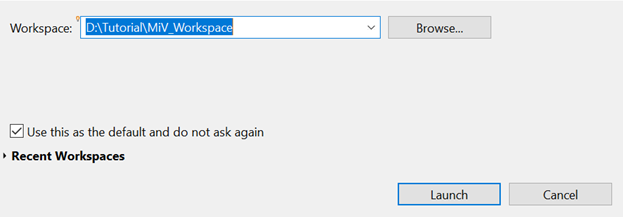
When the workspace is successfully created, the SoftConsole main window opens.
- Select , as shown in the following figure.
Figure 3-2. New C Project Creation 
- Expand C/C++ and select C Project in the New Project dialog box.
- Click Next.
- In the C Project
dialog box, perform the following steps:
- Enter a name for the project in the Project name field. For example, MiV_uart_blinky.
- In the Project type pane, expand
Executable, and select Empty
Project and the Toolchains as
RISC-V Cross GCC, as shown in the following figure.
Then, click Next.
Figure 3-3. C Project Dialog Box 
- Select the platforms and configurations
you want to deploy in the Select Configurations dialog box and
click Next, as shown in the following figure.
Figure 3-4. Select Configurations Dialog Box 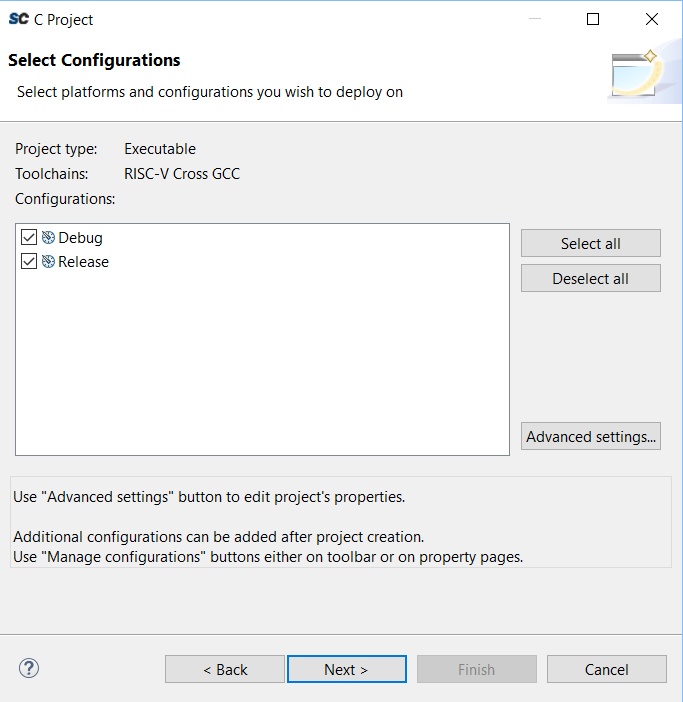
- Ensure that the Toolchain
name and Toolchain path in the GNU
RISC-V Cross Toolchain dialog box are set as shown in the following
figure.
Figure 3-5. GNU RISC-V Cross Toolchain 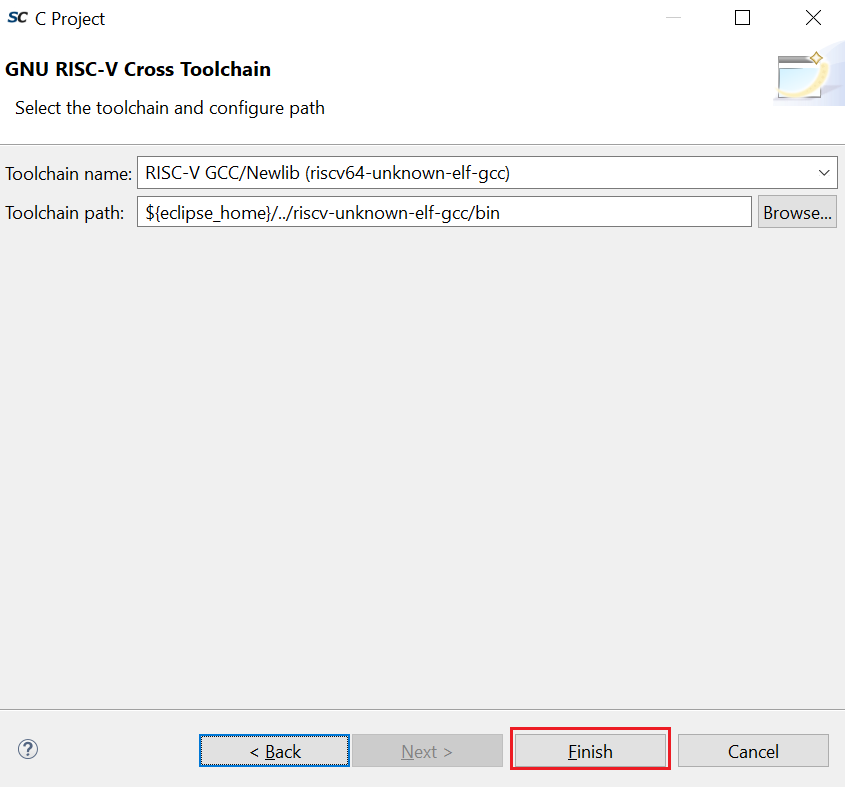
- Click Finish in the GNU RISC-V Cross
Toolchain wizard.An empty Mi-V project (MiV_uart_blinky) is created, as shown in the following figure.
Figure 3-6. Empty Mi-V Project 