
5.1.2.6.1 Uploading and Creating bin File for PFM OTA DFU
The following BLE OTA demo steps are common for any application implementing OTA functionality.
BLE sensor application is the sample project which implements OTA functioanlity as
explained in the above steps. The current image
(ble_sensor.X.production.signed.unified_gpiobased.hex or
ble_sensor.X.production.signed.unified_timerbased.hex) with OTA
capability and new upgradable .bin
(ble_sensor_1.0.0.1_enc_ota.bin) is also available in
\ble\building_blocks\peripheral\profile_services\pripheral_trp_uart\precompiled_hex
for your reference.
Hardware Requirement
| S. No. | Tool | Quantity |
|---|---|---|
| 1 | WBZ351 Curiosity Board | 1 |
| 2 | Micro USB cable | 1 |
| 3 | Android/iOS Smartphone | 1 |
Smartphone App
Microchip Bluetooth Data (MBD) iOS/Android app available in stores.
Demo Steps
- To perform the OTAU, the upgradable firmware bin file has to be created and
must be stored in the MBD app. To create the upgradable firmware bin file ,
the following changes in Project Properties must be done after creating the
project graph.
Figure 5-145. Project Properties - Header configuration 
Figure 5-146. Project Properties - OTA configuration 
After the Project Properties configurations, click on Create OTA File. The Upgradable .bin image with selected "Output File Name" will be created in .X folder. This is the image stored in OTAU Manager to send to OTAU Target.
- Send the upgrdable bin file
to the mail. Refer to the following screenshots to store the image received
on mail into MBD app.
-
Android Mobile:
Download the .bin file that was sent over email 
Downloading the .bin file 
open the downloaded .bin file with MBD 
Save the file in MBD by selecting "SAVE FILE" 
-
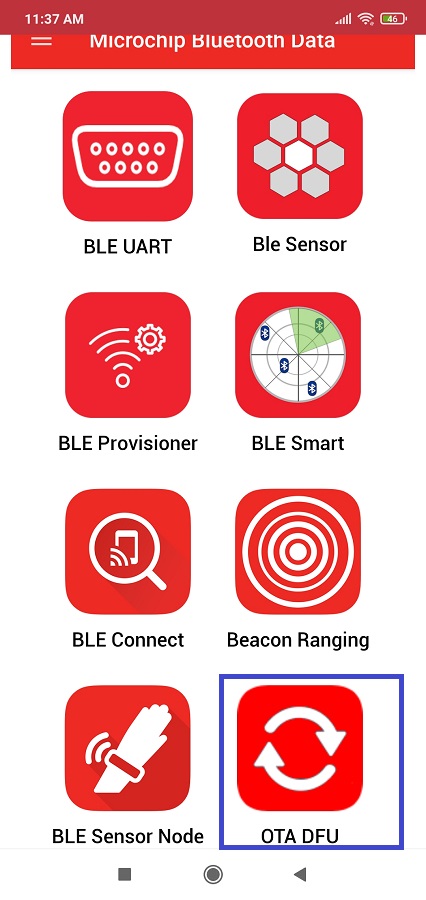
- Turn on mobile Bluetooth and
select “OTA DFU" tab of Microchip Bluetooth Data App on the mobile
device.
- Power On the OTA capable
target device (PIC32CX-BZ3/PIC32CX-BZ36 and WBZ35x) which was programmed in Programming the Application using
MPLABX IDE, see Programming the Current Application Image using MPLAB® X IDE from Related Links. Device will be
advertising. Click on “SCAN” button in mobile app and the device be visible
in scanned list. Click on intended device from the scanned list. Mobile app
will now get connected with OTA Target device.

- “Connected” message will
appear for a short while. Click the Select Image option to choose the
available firmware file.

- The OTAU firmware image file copied in the step 1 will be visible on screen.
Click on that image.

- After confirming the FW
version press OK button.

- Firmware update will be
initiated and the progress will be shown in mobile app. The process would
take few seconds.

- Once the complete image is
transferred, “OTA Update successfully” status will be shown in mobile app.
Click “OK” and then device will perform authentication of the image. If
validation is successful, then system reboot automatically.


- On bootup, device does the authentication of new image in Slot1 and then copies the new image to Slot0. Now the new image will be running from Slot0.
- To verify whether the running image on the target is newly upgraded image, follow steps 2 to 7 and check the current version.