
13.4 Configuring SmartTime Settings
(Ask a Question)The SmartTime Options dialog box allows you to change general, analysis, and advanced settings.
13.4.1 Configuring SmartTime General Settings
(Ask a Question)-
From the SmartTime Maximum/Minimum Delay Analysis View window, choose
Tools > Options.
The SmartTime Options dialog box appears.
Figure 13-1. SmartTime Options Dialog Box—General Settings for SmartFusion® 2, IGLOO® 2, and RTG4™ 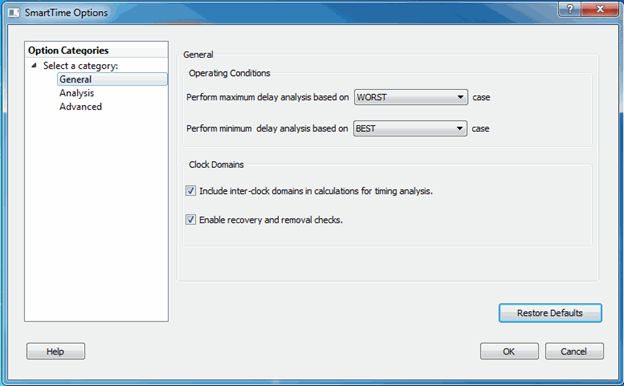
Figure 13-2. SmartTime Options Dialog Box—General Settings for PolarFire® 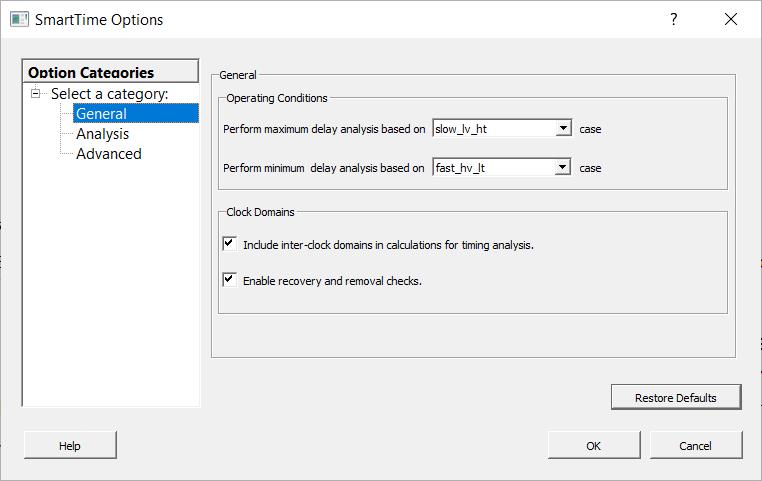
- In the General category, select the settings for the operating conditions. SmartTime performs maximum or minimum delay analysis based on the best, typical, or worst case.
- Specify whether you want SmartTime to use inter-clock domains in calculations for timing analysis.
- To revert the General settings to their default value, click Restore Defaults.
- Change Analysis and Advanced settings as necessary.
- When finished, click OK.
13.4.2 Configuring SmartTime Analysis Settings
(Ask a Question)-
From the SmartTime Maximum/Minimum Delay Analysis View window, choose
Tools > Options.
The SmartTime Options dialog box appears.
-
In the left pane, click Analysis.
Figure 13-3. SmartTime Options Dialog Box—Analysis Settings 
- Enter a number greater than 1 to specify the maximum number of paths to include in a path set during timing analysis.
- Check or uncheck whether to filter the paths by slack value. If you check this box, specify the slack range between the minimum slack and maximum slack.
- Check or uncheck whether to include clock network details.
- To specify the number of parallel paths in the expanded path, enter a number greater than 1.
- To revert the Analysis settings to their default value, click Restore Defaults.
- Change General and Advanced settings as necessary.
- When finished, click OK.
13.4.3 Configuring SmartTime Advanced Settings
(Ask a Question)-
From the SmartTime Maximum/Minimum Delay Analysis View window, choose
Tools > Options.
The SmartTime Options dialog box appears.
-
In the left pane, click Advanced.
Figure 13-4. SmartTime Options Dialog Box—Advanced Settings 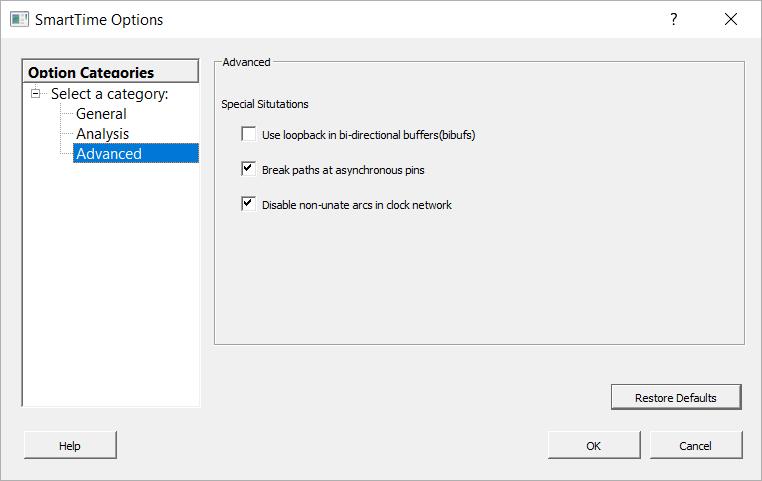
- Specify whether to use loopback in bidirectional buffers (bibufs) and/or break paths at asynchronous pins. Then specify whether to disable non-unate arcs in the clockpath.
- To revert the Advanced settings to their default value, click Restore Defaults.
- Change General and Analysis settings as necessary.
- When finished, click OK.