Create a New Project by clicking the
New Project icon or by selecting File>New Project.
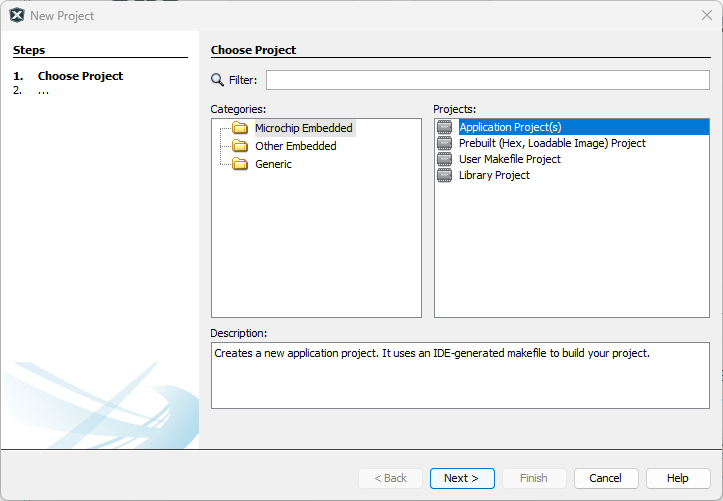
In the New Project window select
Application Project(s) and click Next.Figure 2-1. New MPLAB Project
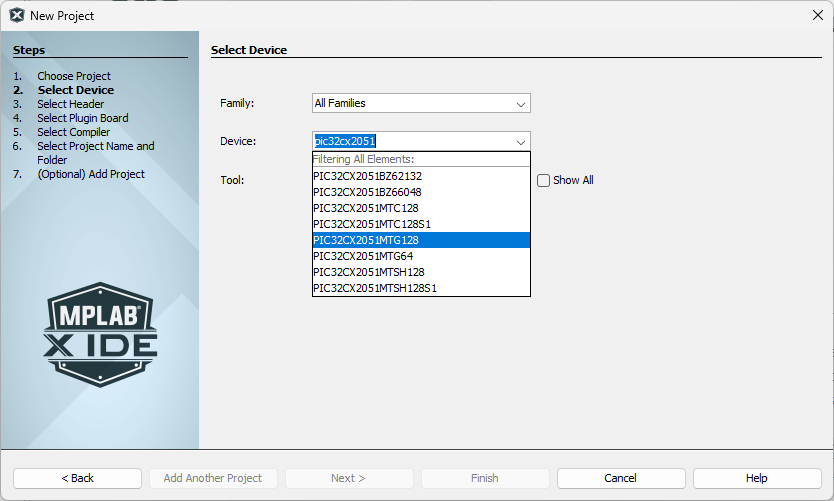
In Select Device window select
PIC32CX2051MTG128 (the part mounted on PIC32CXMTG-EK), and click Next.Figure 2-2. Select Device
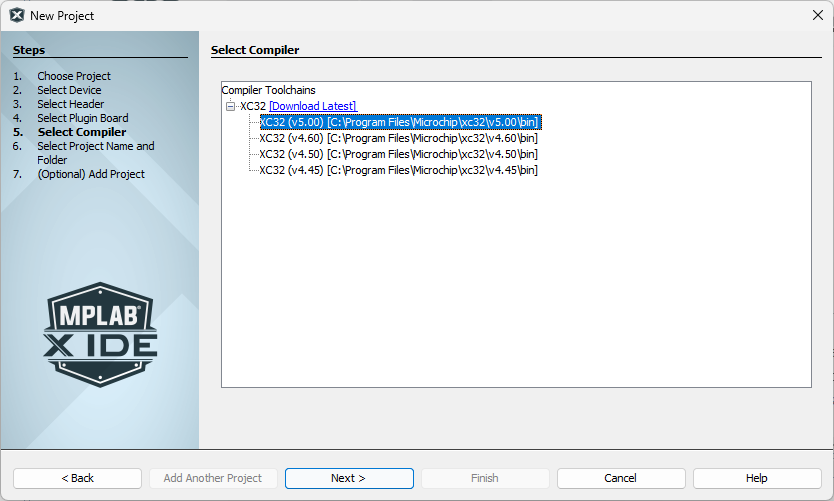
Select Compiler version on next
window and click Next.Figure 2-3. Select Compiler
Last step is setting the Project
Name, select it and click Finish.Figure 2-4. Select Project
Name
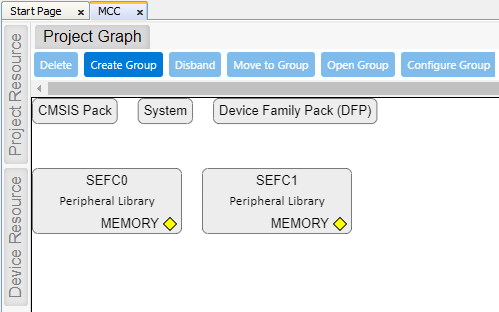
When clicking Finish, MCC is
automatically opened for the new project (may take a while), and the default
components are shown in Project Graph.Figure 2-5. MCC for New
Project