5.22 Set Configuration Values in the Configuration Bits Window
Select Configuration Bits from to open the Configuration Bits window. For details on using memory windows, see View or Change Device Memory.
The Configuration Bits window can aid you in developing your Configuration bit settings. However, you must set Configuration bits in code for production.
Working with the Configuration Bits Window
You can temporarily change Configuration bits during a debug session in the Configuration Bits window (see View or Change Device Memory.) Once you have the settings you want, you have several options to preserve these settings as discussed in the following sections.
You cannot edit the Configuration bits if you are not in a debug session. Also, if you rebuild, all changes in the Configuration Bits window will be lost.
For a summary of Configuration bits settings for different devices, see Configuration Settings Summary.
Edit Configuration Settings
Editing values in this window is always active, unlike other memory windows where you must be in debug mode. However, if you rebuild, all changes in the Configuration Bits window will be lost.
Default values of the editable fields will occur on initial entry to Configuration Bits view and also on Reset to Defaults menu action. When configuration bits are expressed in source code, the value of all editable fields will be initialized to the value assigned in source code. This occurs following the build action and after a successful load.
When you change a default value in the configuration window, you are reminded that this is a temporary change that will not be permanent until programmed into the target device.
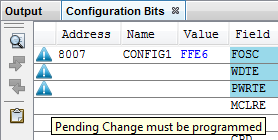
You can change values as follows:
-
Selection Box Values: Selection box values are available in the Option or Setting column. Simply click on the column value for the field that you want and select from the list to change.
-
Manual Entry Values: Manual entry values may be available in the Option or Setting column. The Option text will state that there is a user-selectable range, e.g., “User range: 0x0 - 0x3F”. The Setting text will state that a value needs to be entered, e.g., “Enter Hexadecimal value.”
Once you click on either the Option or Setting text for the field you want, the corresponding Value column will become editable. The value entered will be validated against absolute (raw) values, so there is no need to be concerned about the actual position with regard to where an edited field value will be applied. Attempts to ‘0’ pad entered values to approximate actual mask position will be filtered and corrected to an absolute value to the extent possible.
Generate Source Code to Output
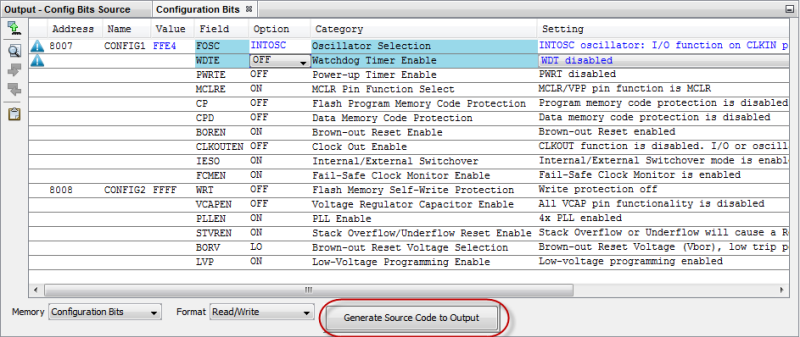
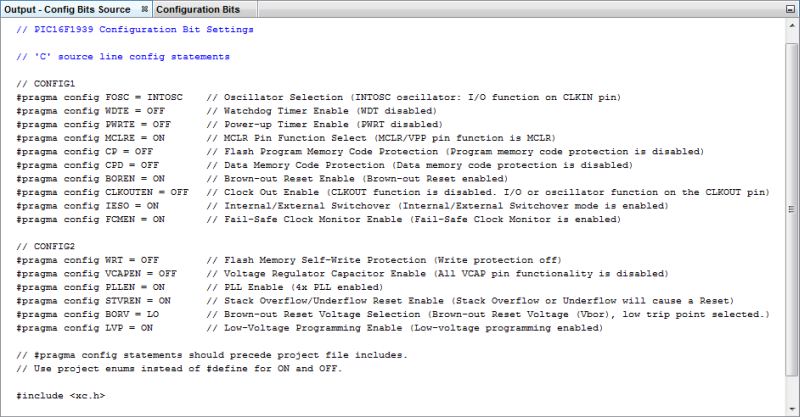
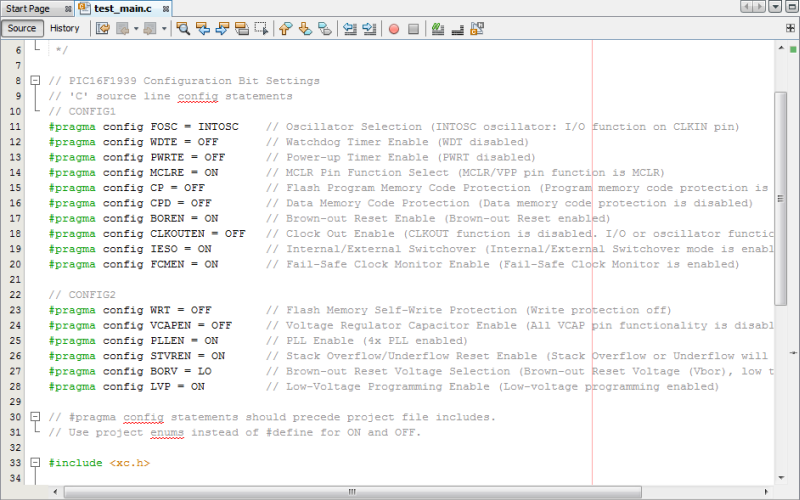
Click on the button Generate Source Code to Output on the bottom of the Configuration Bits window (first figure below). This will generate Configuration Bit Settings in the Output window that you can then copy into your code (second figure below).
Insert Source Code in Editor
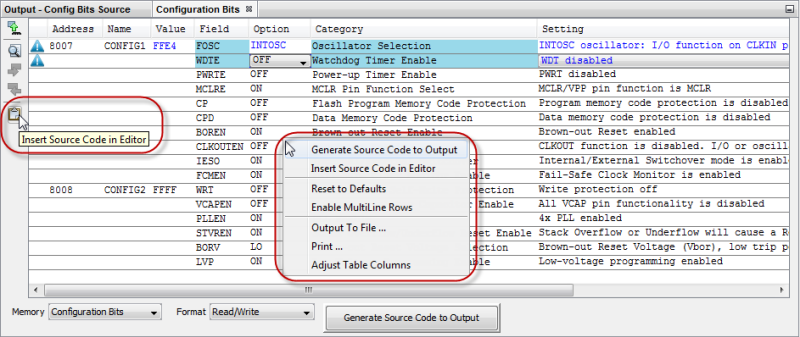
You can select to Insert Source Code In Editor from the Configuration Bits window context menu or side bar “clipboard” icon (first figure below). Open or create a main project file in the editor, place the cursor where you want the configuration bits settings to go, then click on the icon (second figure below).
Program Device for Debugging
Click on the IDE toolbar icon Program device for debugging to program the current values of the Configuration Bits window into a device. See Program a Device.
Setting Configuration Bits in Assembly Projects
For MPLAB XC assembly projects, you can still use the
Configuration Bits window. Add a simple C file to your project
to contain the generated #pragma config macros. Then you will not have
to hand-enter assembly config words.
There are no differences between the assembly config
words and #pragma config; they both write a single program word and
result in the same program size. However, the #pragma config syntax is
more flexible and allows for improved validation, formatting, and descriptive
comments.
