
13.3.10 Linking files
You can add or change links for individual files in your project, or change all the links in your files at once.
To add a link to an individual file, right-click the file in the Design Explorer and choose
Create Link From File. Navigate to the file you wish to link
to your project and click Create Link. The Project Manager adds the file to your Design
Explorer; a small link icon ![]() indicates that
the source file is not stored with the project.
indicates that
the source file is not stored with the project. ![]() If you have a single project file with a broken
link , right-click the file and choose Change Link. This opens
the Change Link dialog box and enables you to specify a new file location.
If you have a single project file with a broken
link , right-click the file and choose Change Link. This opens
the Change Link dialog box and enables you to specify a new file location.
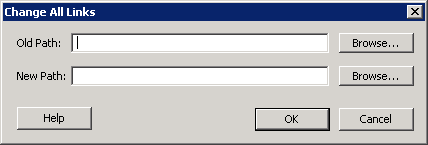
You can update all the links in your project at once. This is useful when you are linking to shared network folders that may have been renamed or moved. To change links for your entire project, from the File menu, choose Change All Links. This opens the Change All Links dialog box. Enter (or browse) your old and new paths to update the links for your project.
To unlink a file, right-click the file in the Files tab and choose Unlink: copy file locally. This copies the file to the directory in your project folder that corresponds to the file type.
To unlink all files and copy them to your local project, from the File menu choose Unlink All: Copy files locally.
You can also change/remove links from the Design Explorer; to do so, right-click the file in the Design Explorer > Modules defined in multiple files and choose Change Link.