
5.6.8 Designer Constraint File Organization
Use the Organize Constraints for Designer dialog box to specify the constraint files that you want Designer to use for your current module.
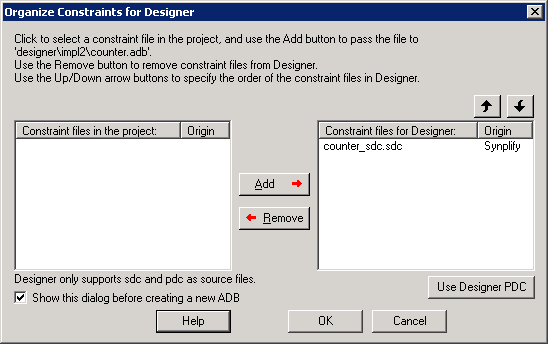
You can also specify the order in which you want to import these files into Designer and consider dependencies between them.
To select constraint files for Designer, select a file in the Constraint files in the project list and click the Add button. Libero adds the file to the Constraint files for Designer list.
To remove constraint files from Designer, select a file in the Constraint files for Designer list and click the Remove button. The Project Manager removes the files from the Constraint files for Designer list.
Use the Up and Down arrow buttons to specify the order that you want your constraint files imported into Designer. When a constraint file generated by a tool is added to the list of constraint files for Designer, it is added before any user constraint files. You can change the order of any file, but Microchip recommends that you do not pass user constraint files before tool constraint files.
If you add both Synplify and PALACE constraint files to the list, the recommended (and default) order is:
- Synplify constraint file
- PALACE constraint files
- User constraint files
Use Designer PDC - Enables you to export a PDC file from your design so you can use it for incremental flow. The Project Manager opens the ADB, exports a PDC file, and replaces all input PDC files with the updated version.