
1.1 Create a New Project
- Open MPLAB X IDE.
- Create a new project by either:
- Clicking the new project icon
 or
or - Selecting File > New Project.
- Clicking the new project icon
- In the “New Project” window:
- Select “Microchip Embedded”.
- Select “Application
Project(s)”.
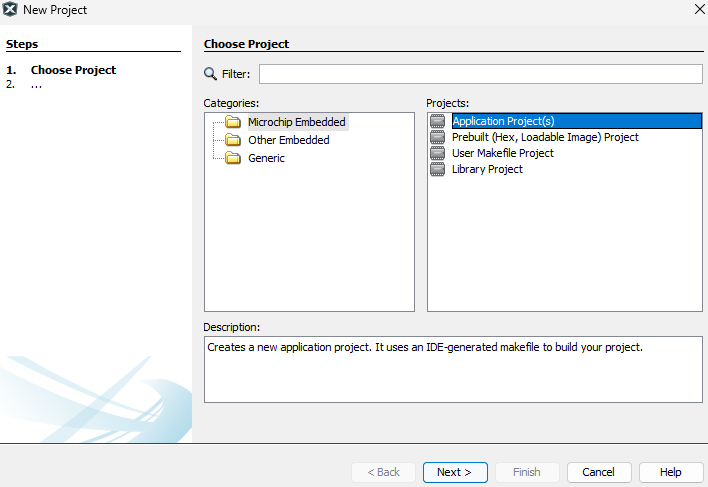
- Click Next.
- From the “Device” drop-down
list, select “ATSAME54P20A”.
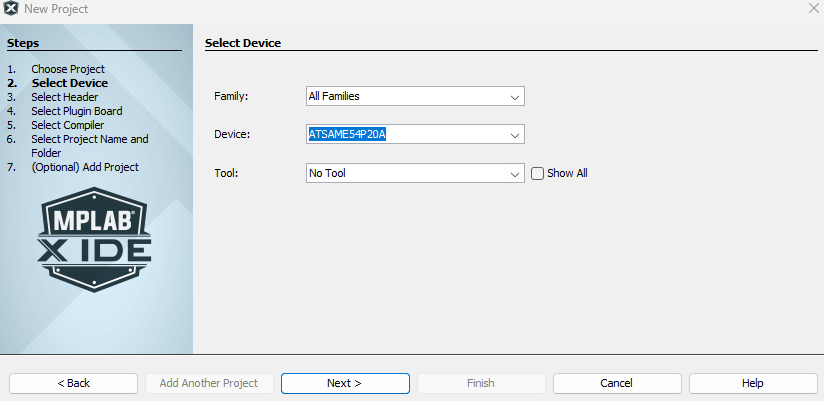
- Click Next.
- Select “XC32” Compiler.
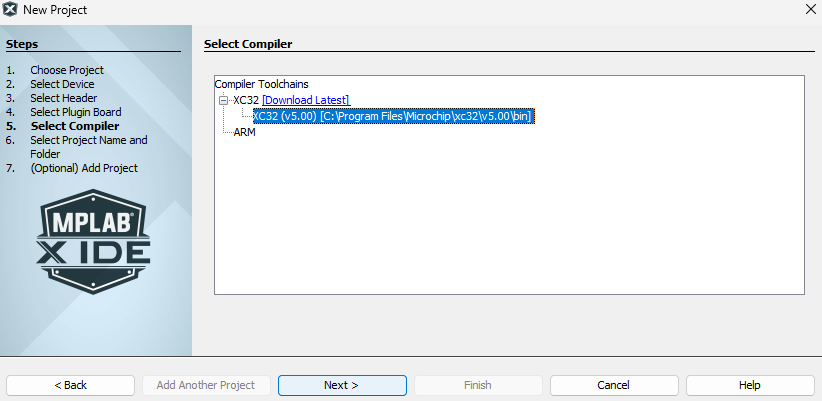
- Click Next.
- Enter a project name.
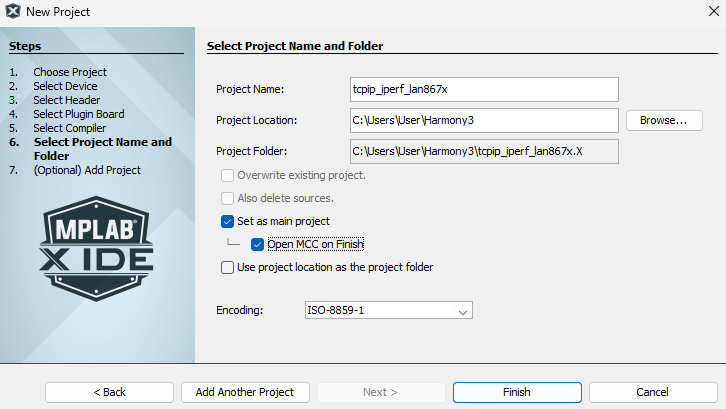
- Click Finish.
This loads the MCC and initiates your project.
The default MCC looks as follows: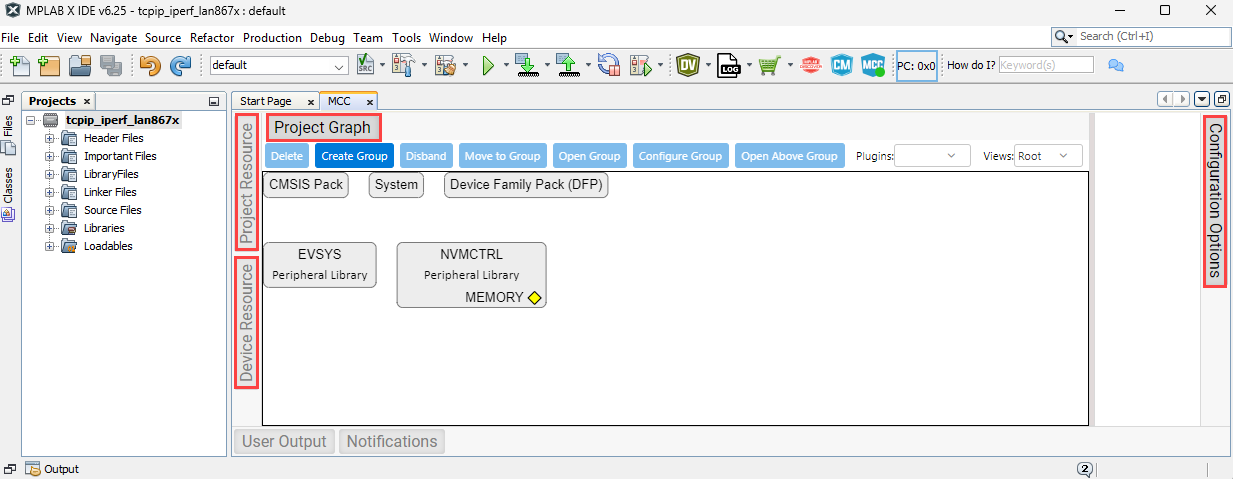 The main parts of the MCC are:
- Project Resource
- Device Resource
- Project Graph
- Configuration Options