
15.3.8 Creating a Logical Cone
Use logical cones to view, highlight, and cross-probe a selected subset of your netlist.
You can create as many logical cones as you want. A logical cone displays only the objects you add to it. Initially, the cone does not contain objects.
To create a logical cone:
- In NetlistViewer, from the
LogicalCone menu, choose Create New
Cone.
A new window appears in which you can add logic to the cone. The name of the new cone appears in the Logical Cones tab of the Hierarchy window.
Figure 15-27. New Logical Cone Window Added 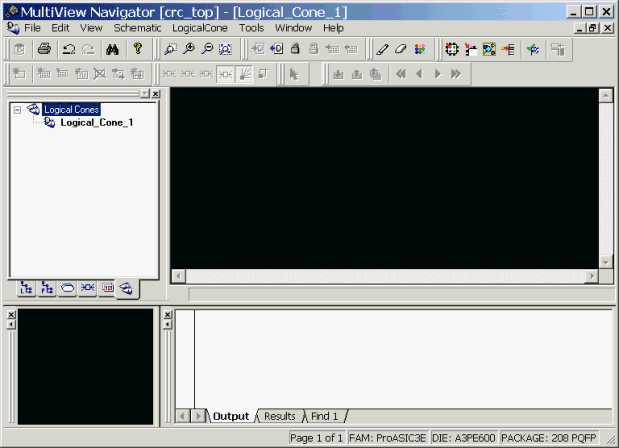
- In NetlistViewer, select one or more objects.
- Right-click the selected object(s).
- From the right-click menu, choose LogicalCone > Add To Active Cone > Selection.
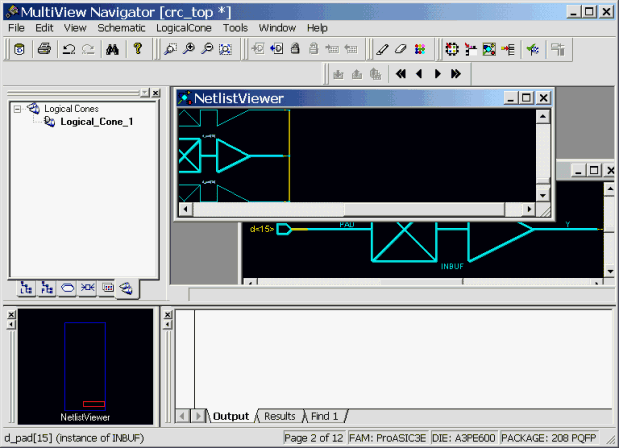
A Logical Cone window containing only the selected object(s) appears as shown in the following example. You can add and delete objects from a logical cone window.
Note: If no cones exist in the current design, you can skip a step.
Just select one or more objects, right-click, and then choose from the right-click menu.