
9.22.9 Customizing the Toolbar
Display the tools and commands you frequently use in the toolbar by customizing it.
To customize the toolbar:
- From the Customize menu, choose Toolbars. The Customize dialog appears.
- Click the Toolbar
tab and check the tools you want to display by checking their respective
boxes.Note: You can remove tools from your toolbar by deselecting tools from the Toolbar field.
Figure 9-153. Customize Dialog Box 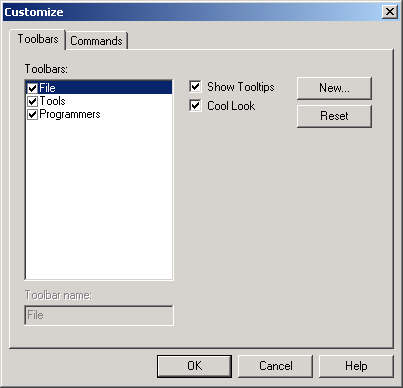
- Click inside the Show Tooltips checkbox for assistance in identifying icons on your toolbar when you scroll across them with your mouse.
- Click inside the Cool Look checkbox to change the look of your toolbar.
- Click OK.
You can create multiple toolbars and assign names to them. Click the New button and type in a name in the New toolbar dialog box to create a new toolbar. The name of your toolbar will display in the Toolbar field. Reset your toolbar to the default settings by clicking the Reset button.
To customize commands:
- From the Customize menu, choose Toolbars. The Customize dialog appears.
- Click the Commands
tab.
Figure 9-154. Customize Dialog Box 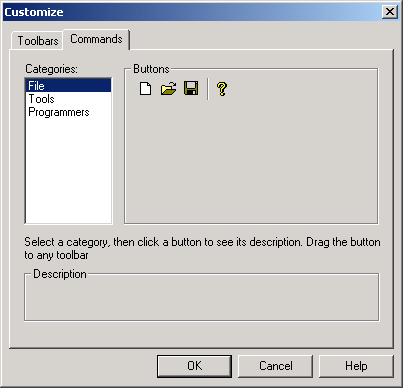
- Select a category by clicking one of three options (File, Tools, or Programmers). As you click an option, the buttons to the right of the category area change accordingly.
- Click and drag a button to your toolbar.
- Click OK after you have customized your toolbar.
You can also remove commands from your toolbar by reversing the click and drag method described in the steps above. Click and drag tools from your toolbar to the Buttons field in the Customize dialog box.